Categories
Build a block

Build a Block: Super Bear Paw

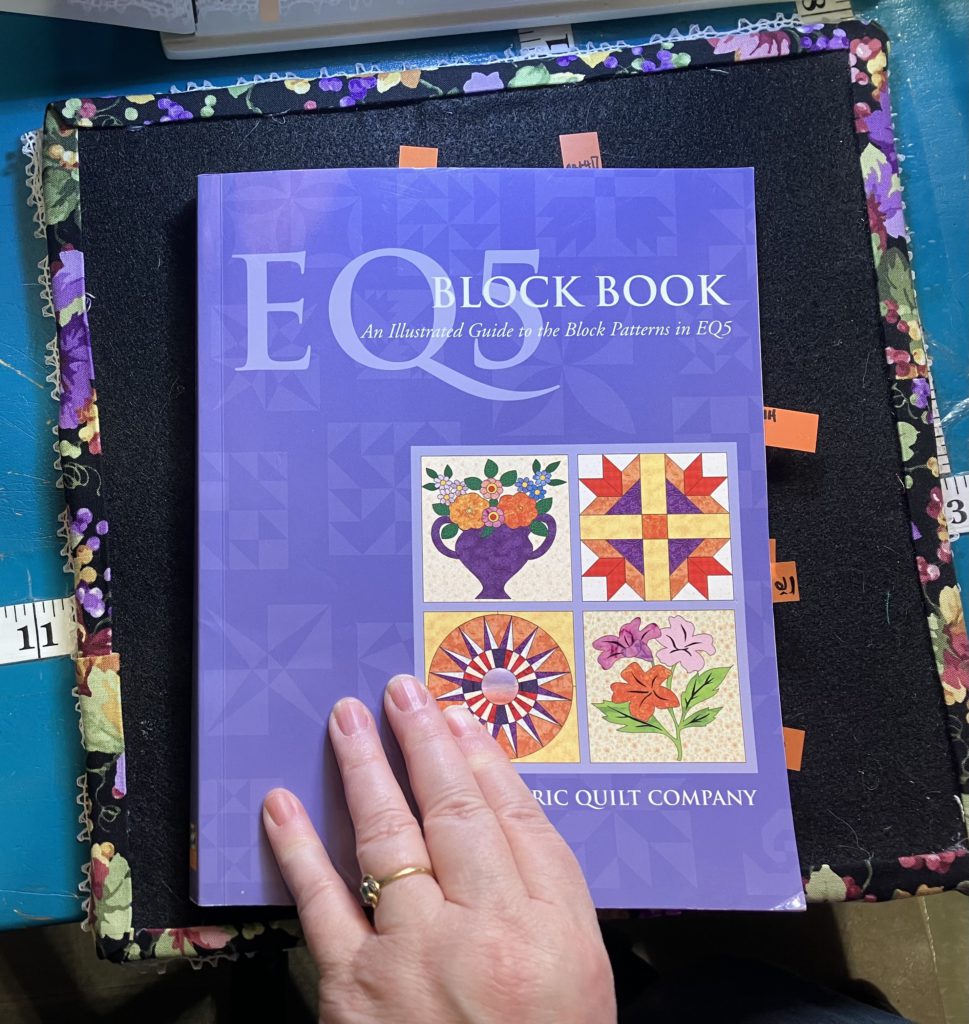
I love block books that do not have set measurements for the blocks. This old EQ book fits the bill!

I only made this block in one size because the proportions are perfect just the way they are. The video showing block assembly can be found here. The cutting chart is at the end of this post.

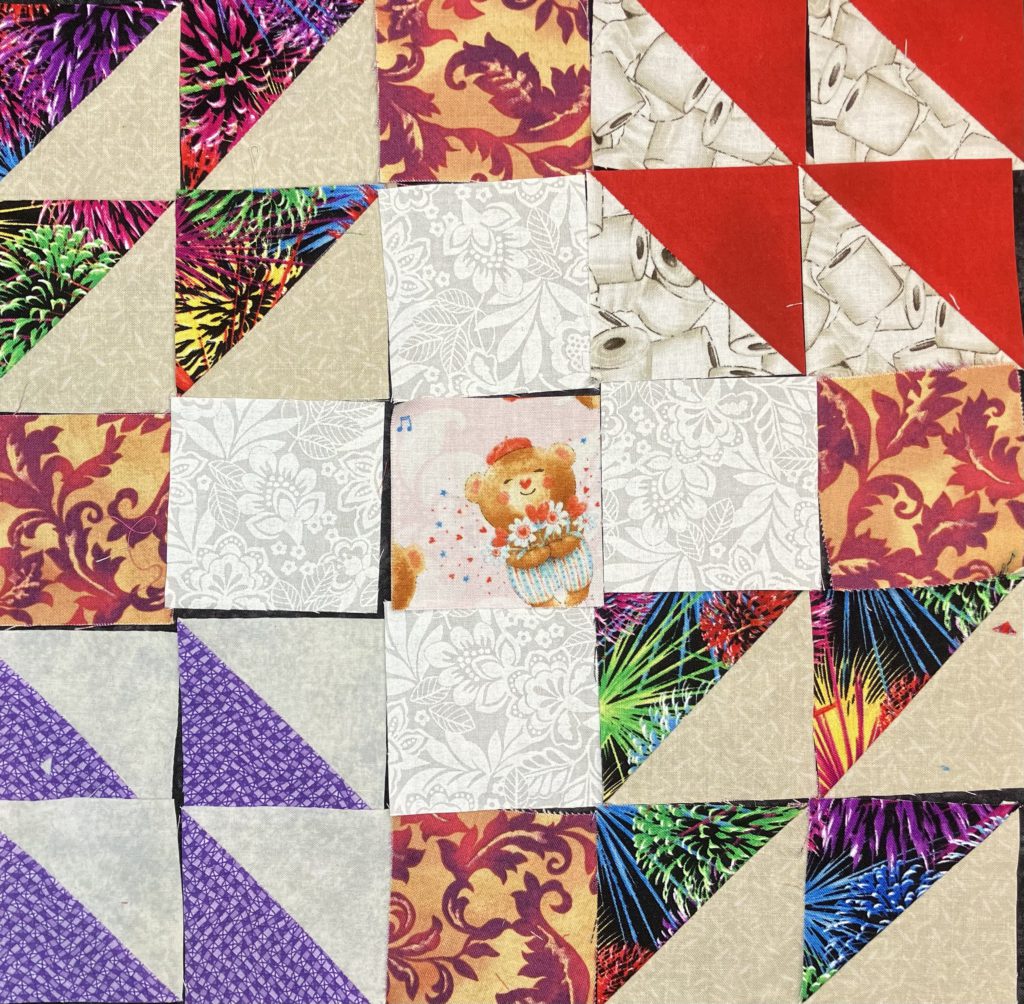
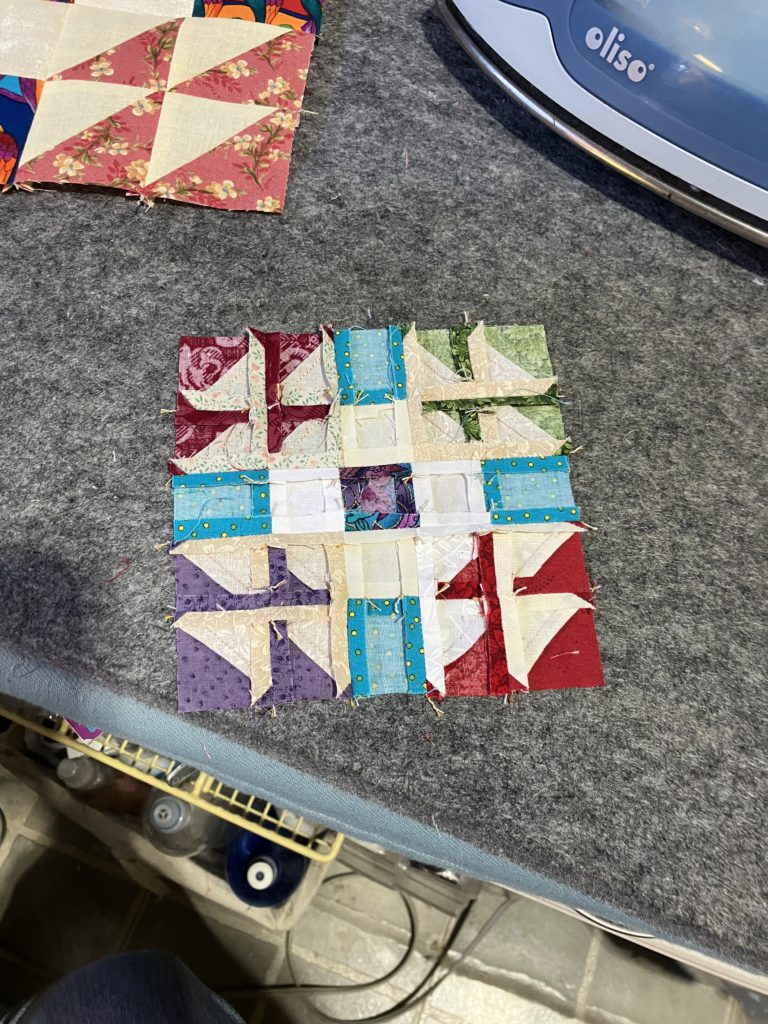
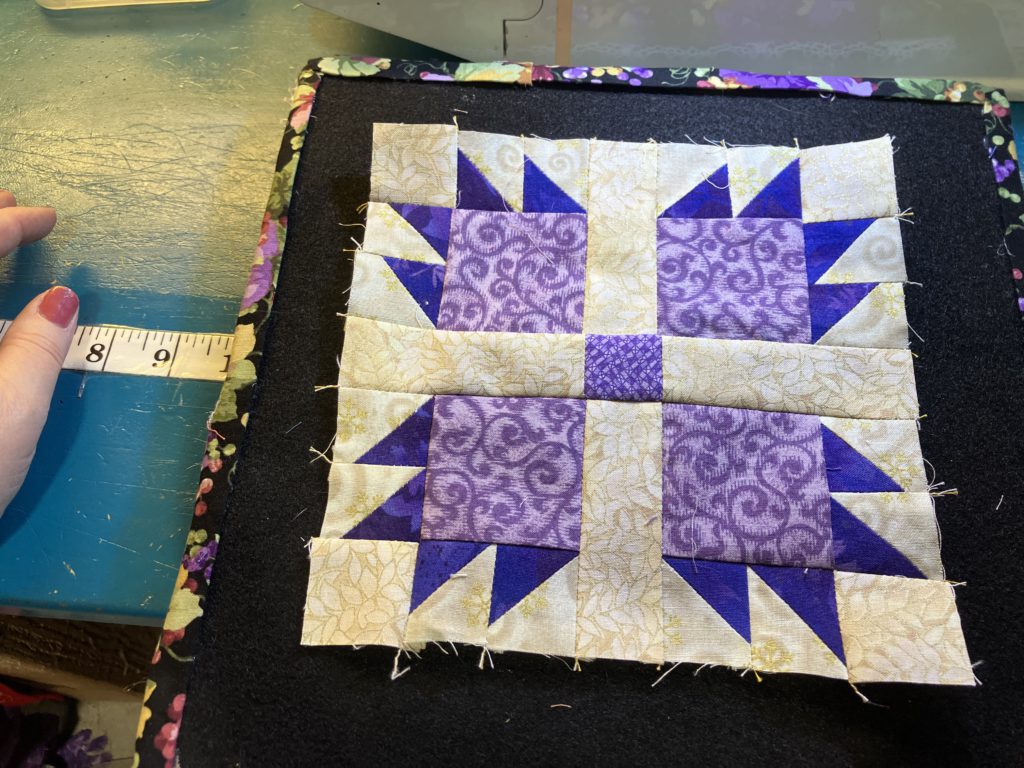
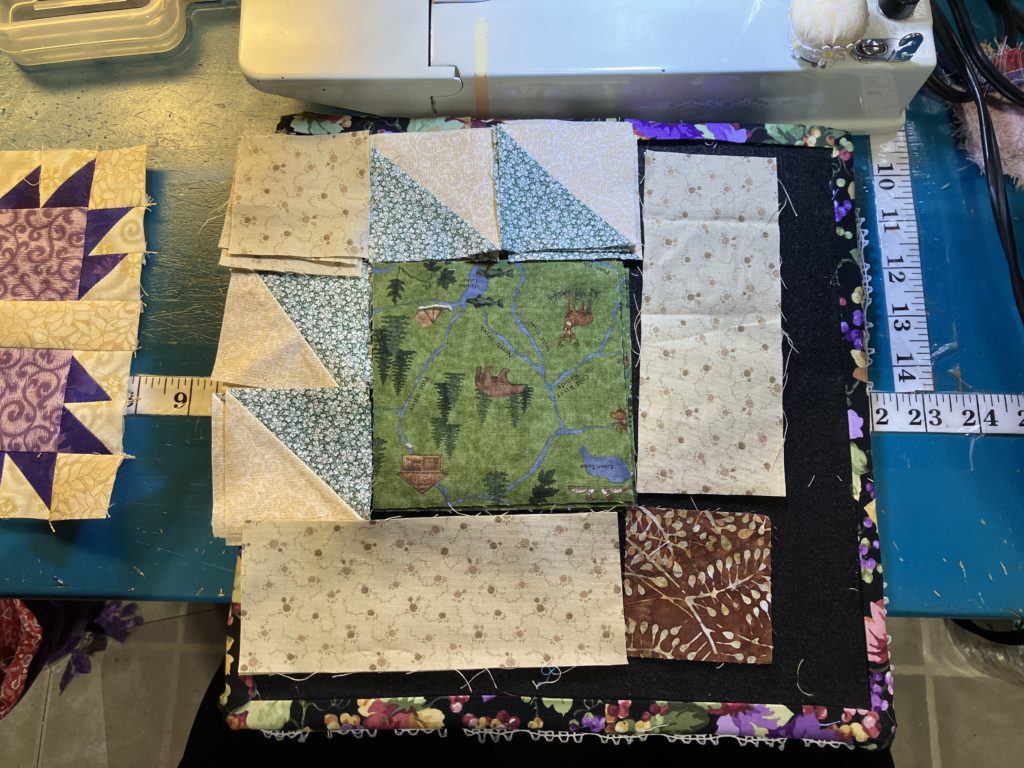
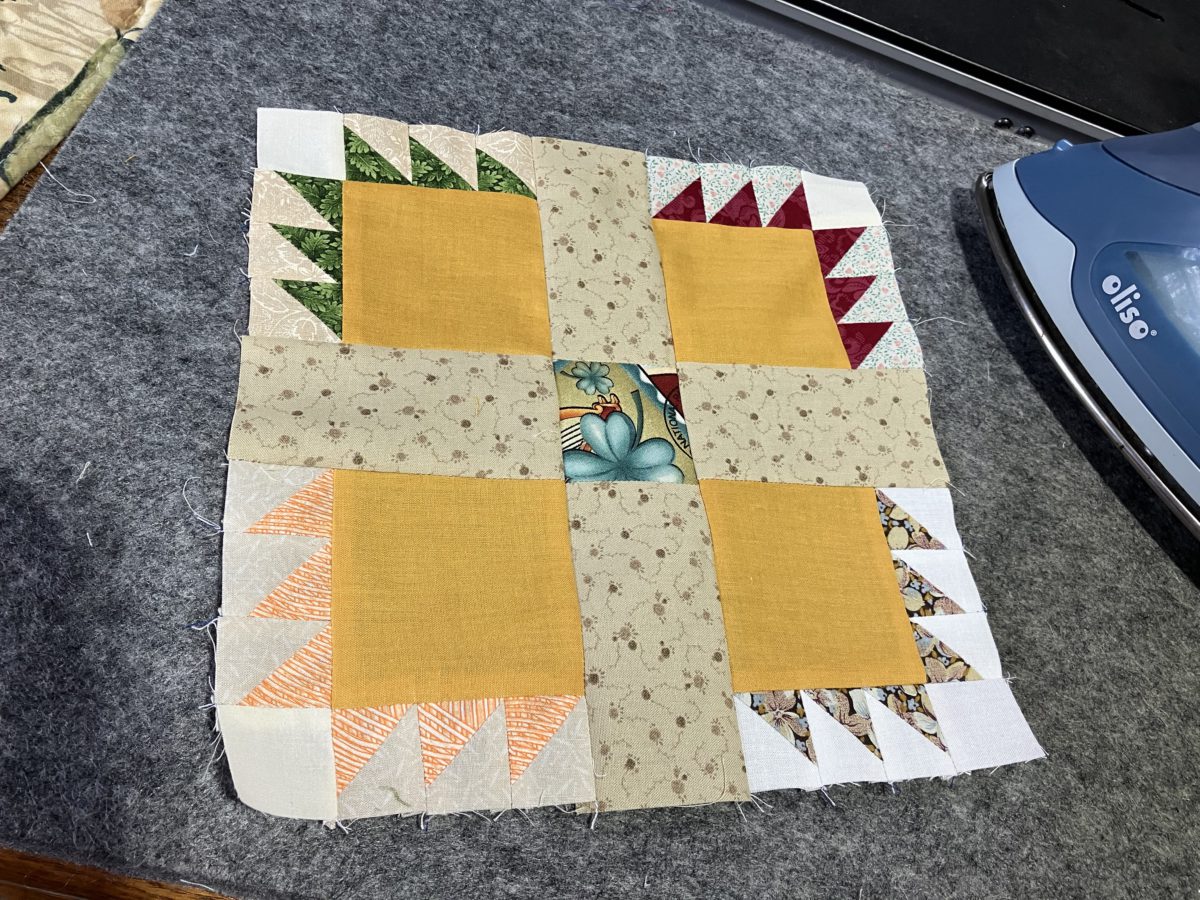
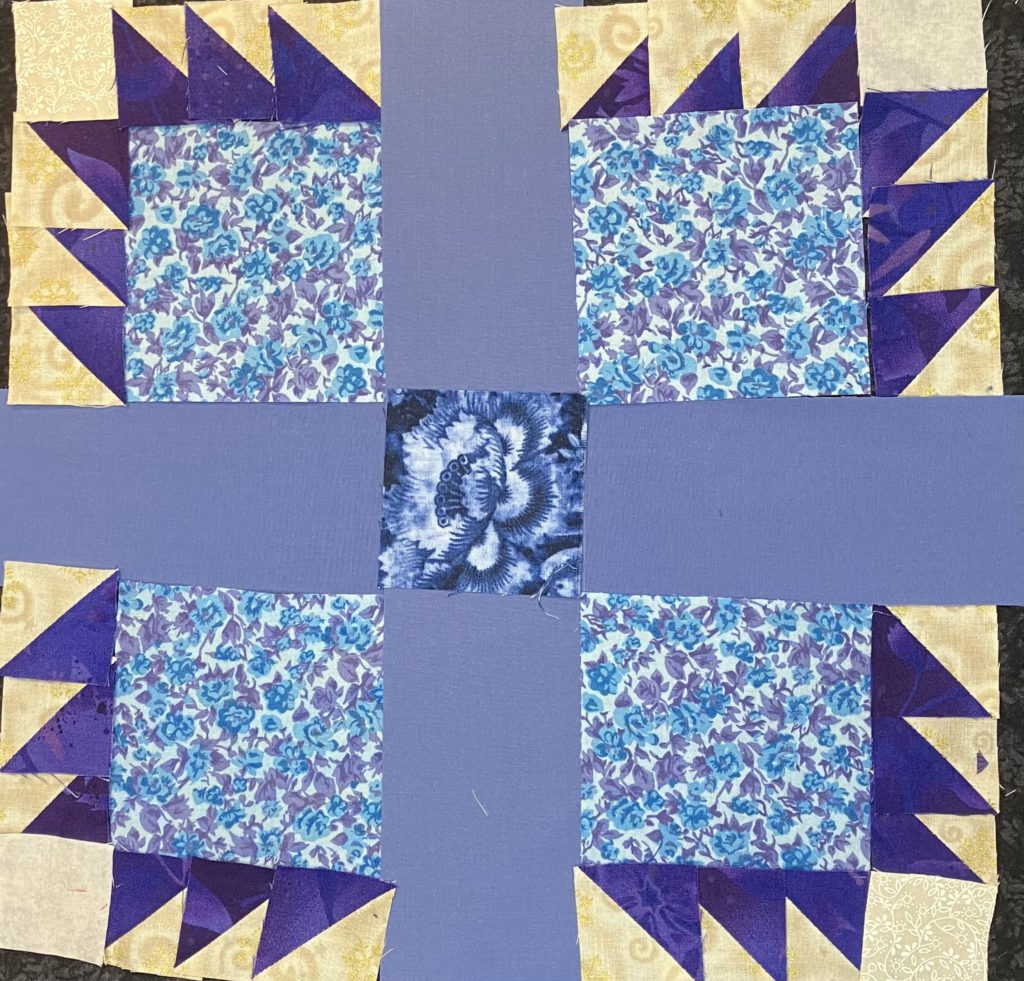
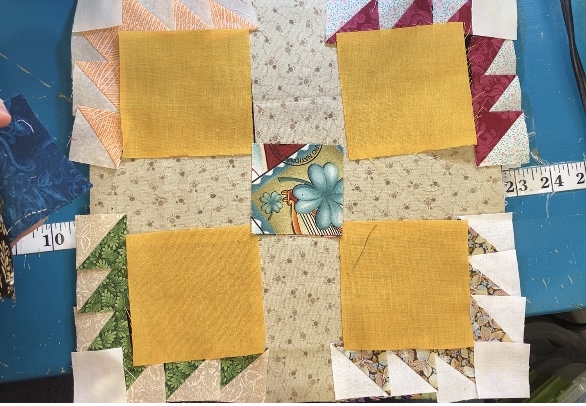
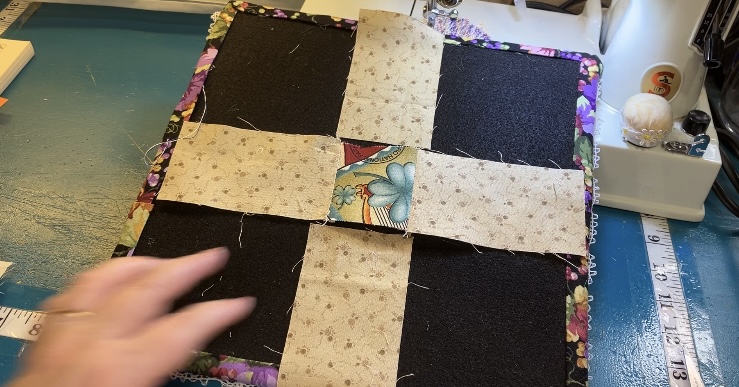
Here is the basic layout of the block:

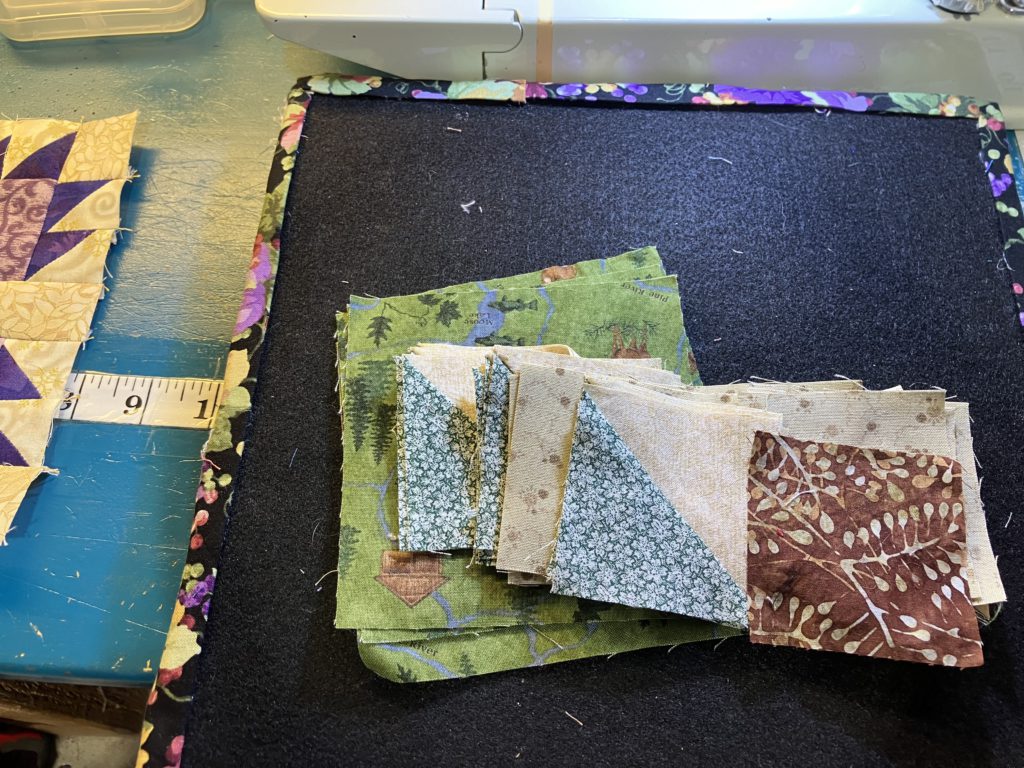
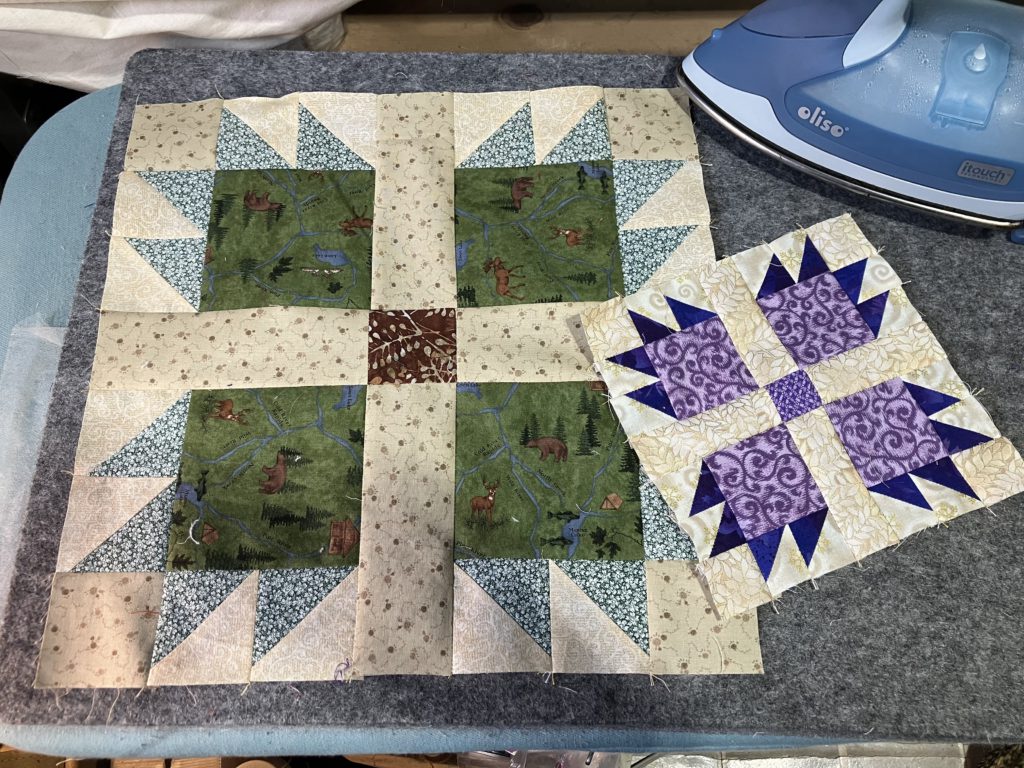
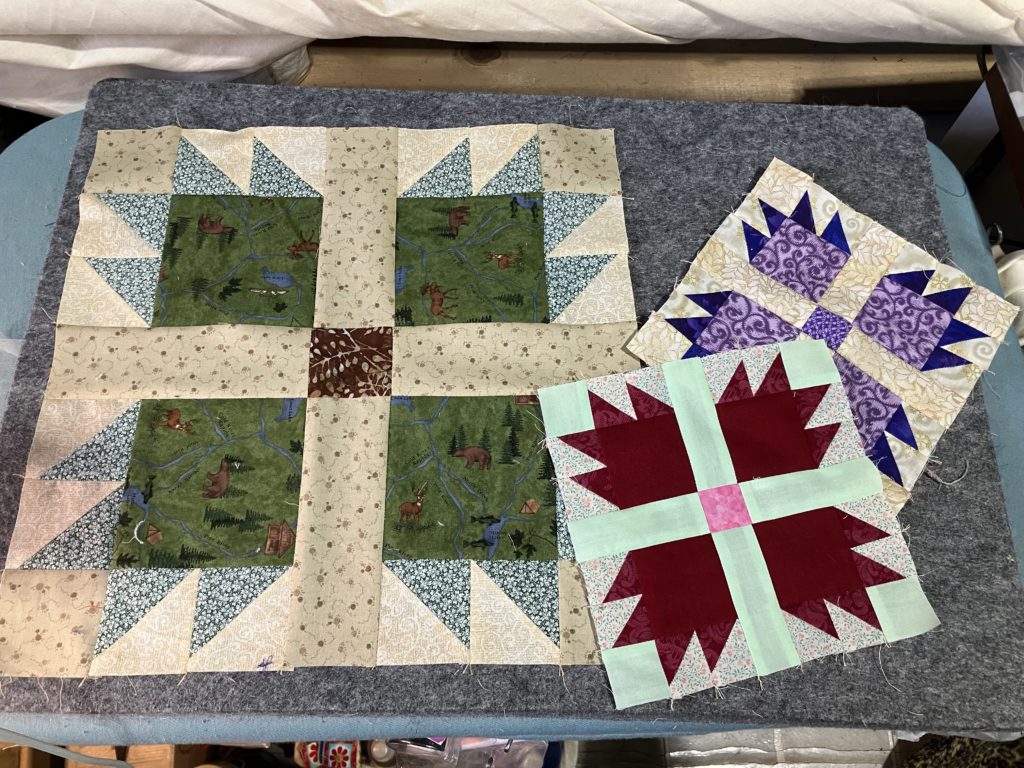
In this version each paw has different claws:

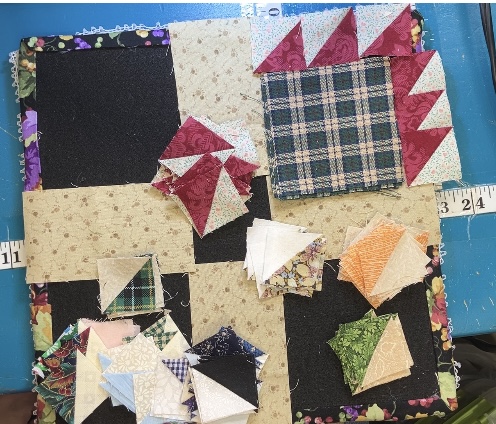
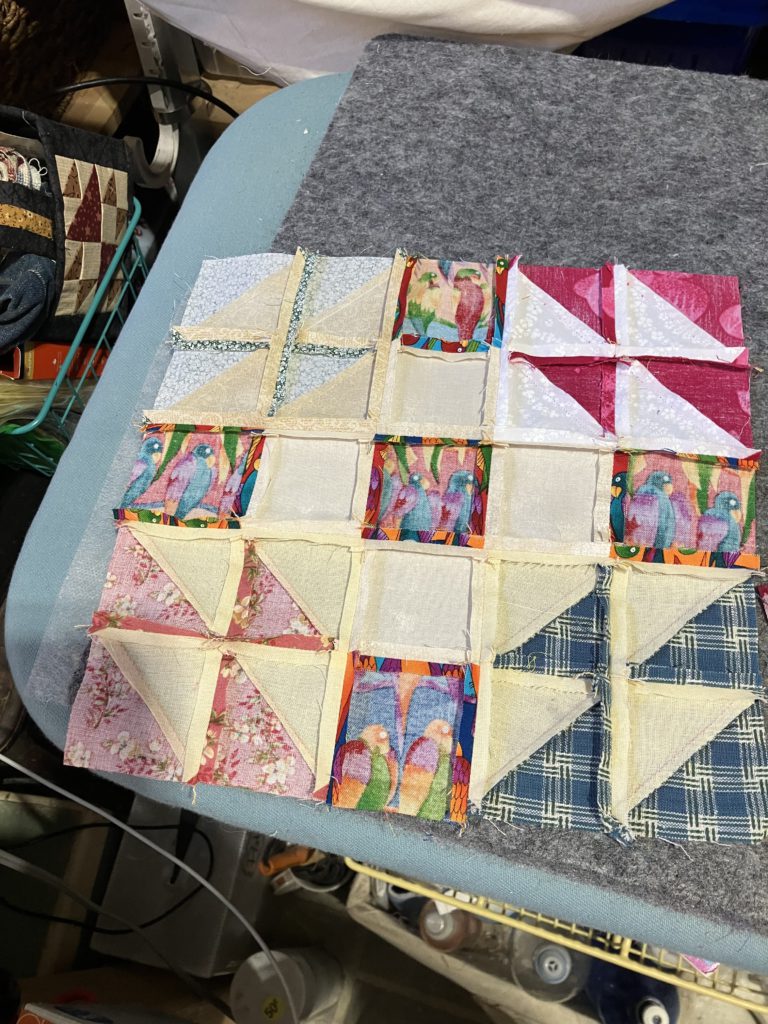
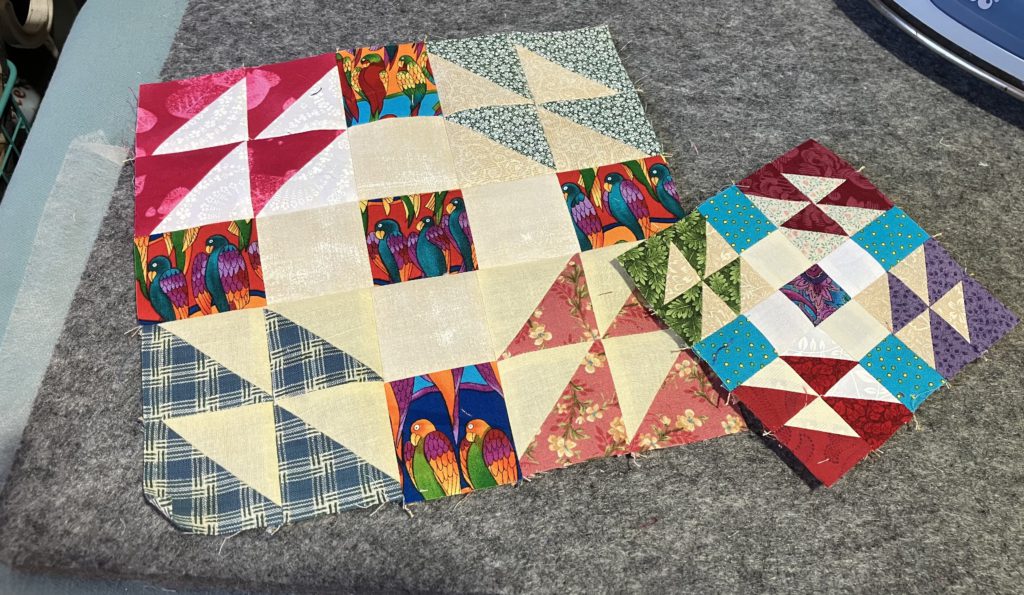
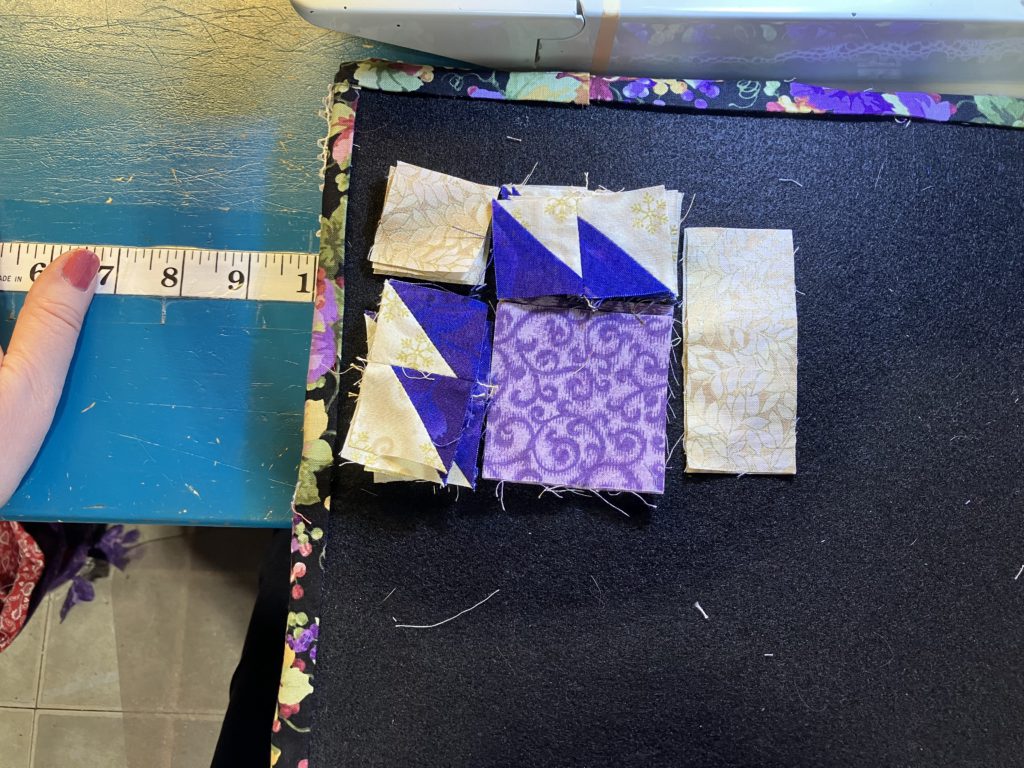
After the initial layout, I move the blocks into one pile…a pile of quadrant blocks…that can be speed pieced.

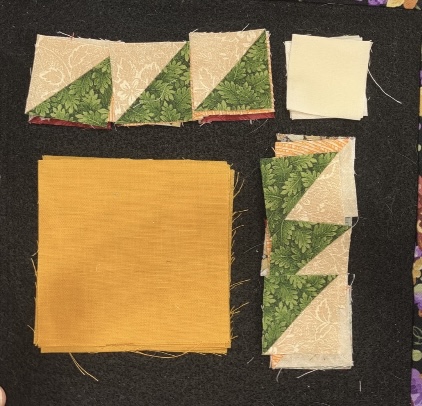
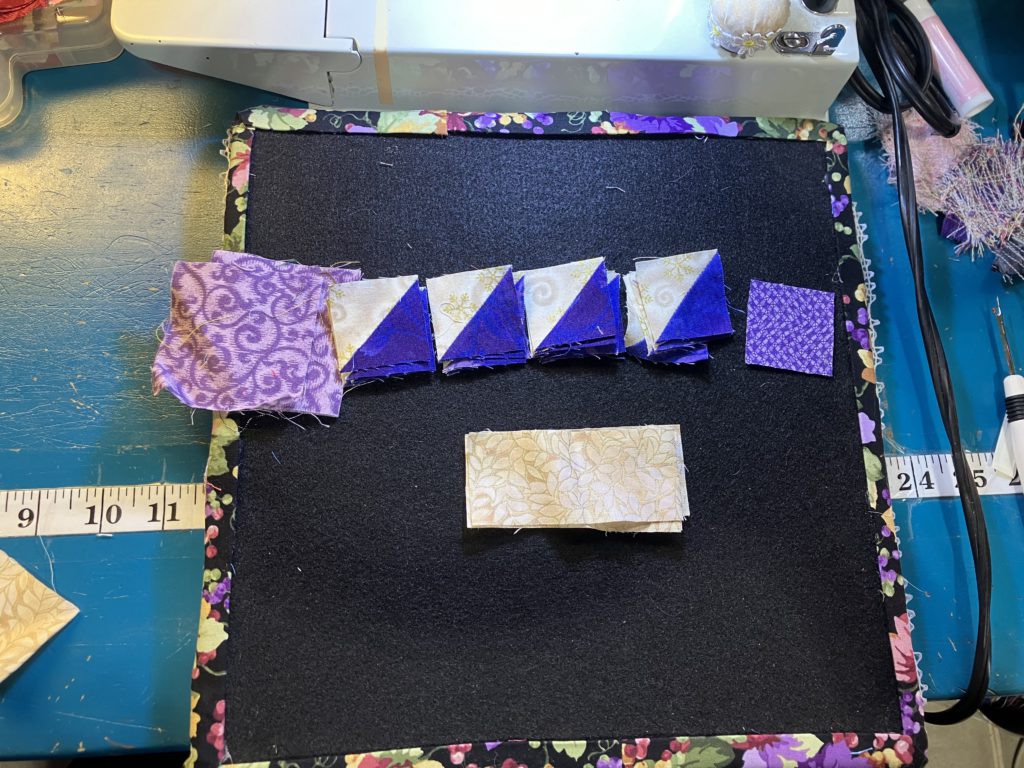
I speed pieced the sets of claws…adding the corner square to the top row. I pressed seams open to reduce bulk.

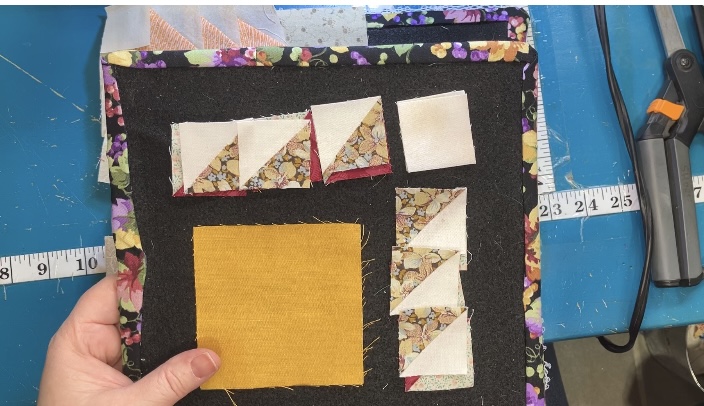
I add the side claws to one of the 3 1/2″ blocks. Speed piece all four blocks.

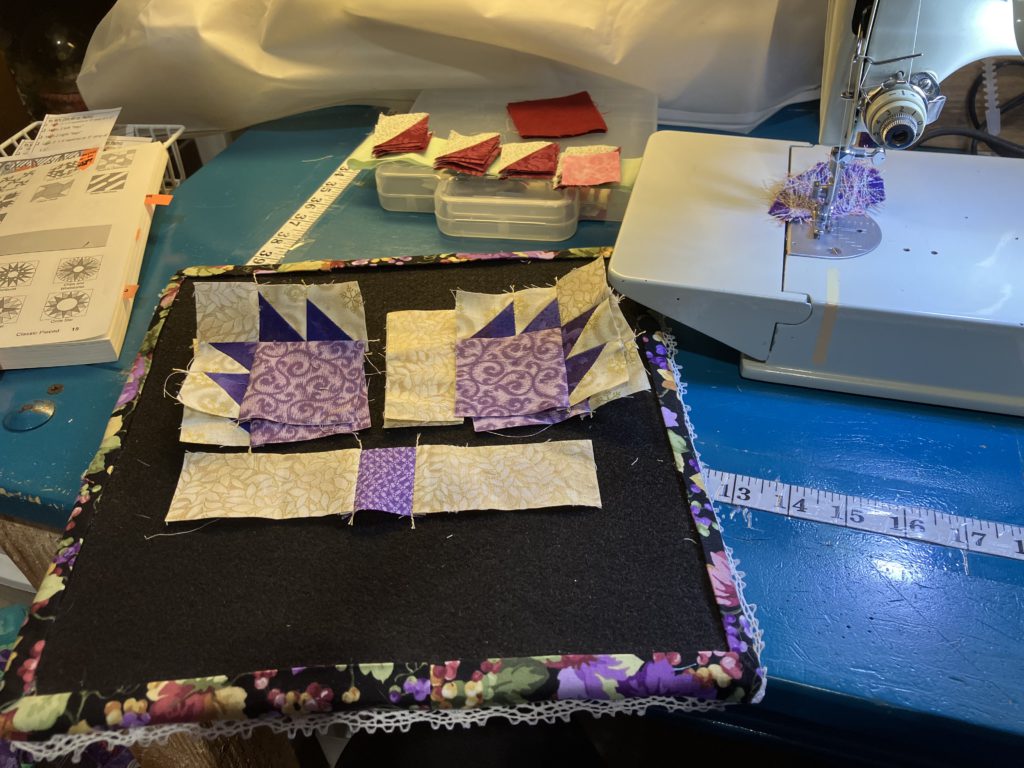
After pressing to the large block, I add the “top” row of claws to all four blocks.

I also prepare the center row by sewing two of the sashing pieces to the center block. Press towards the center block.

Sew two of the super bear paw units to the center sashing to create a top and bottom row. Press towards the sashing.

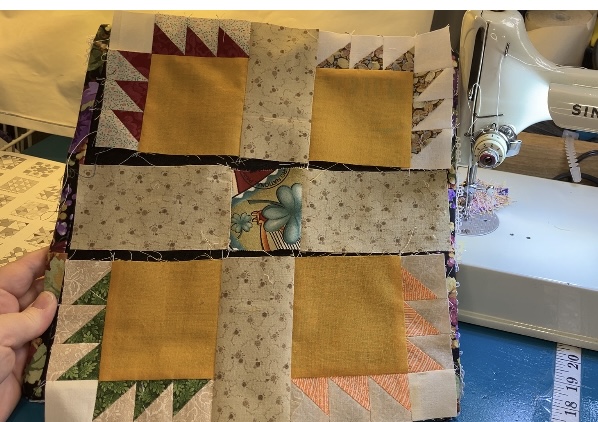
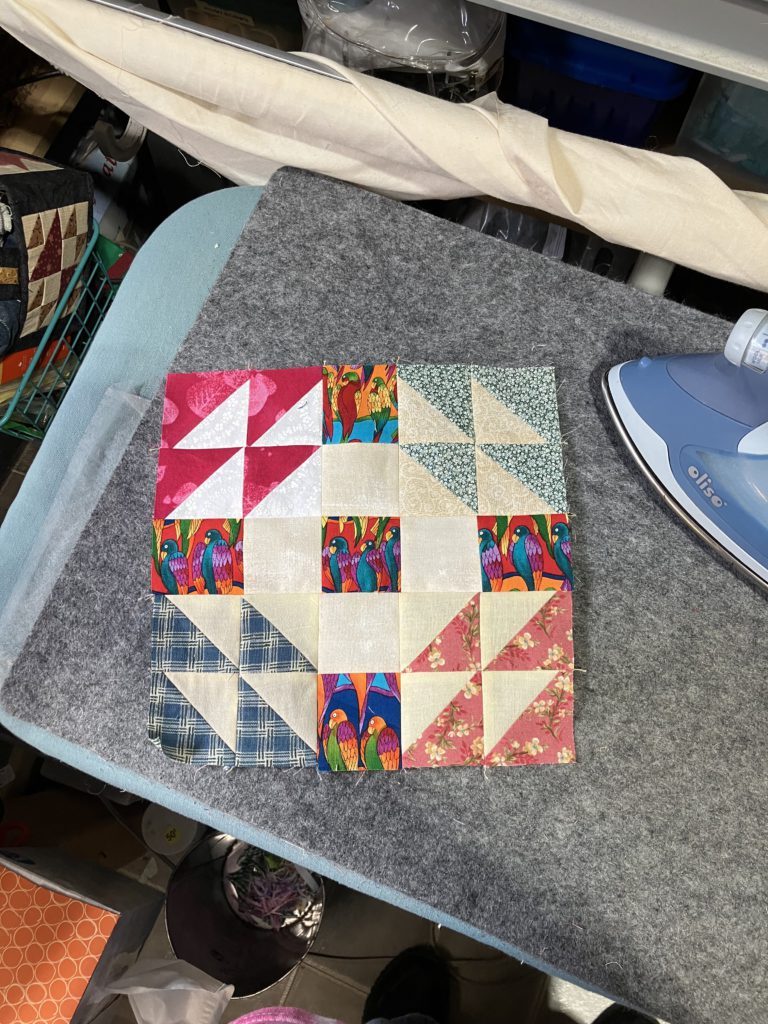
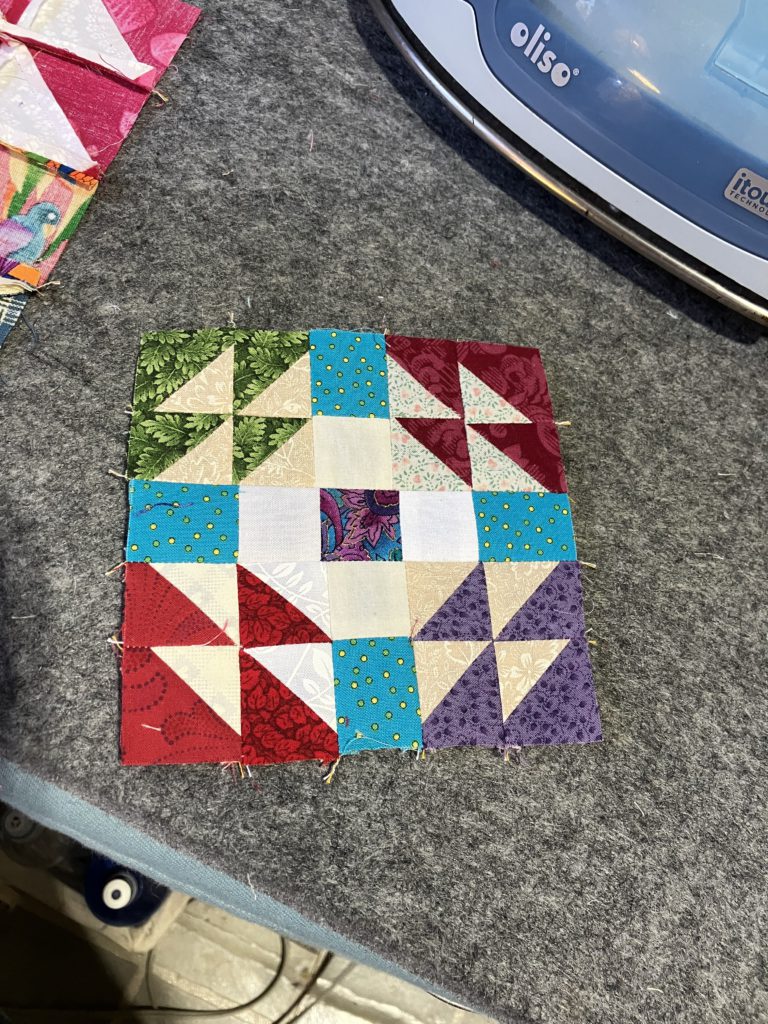
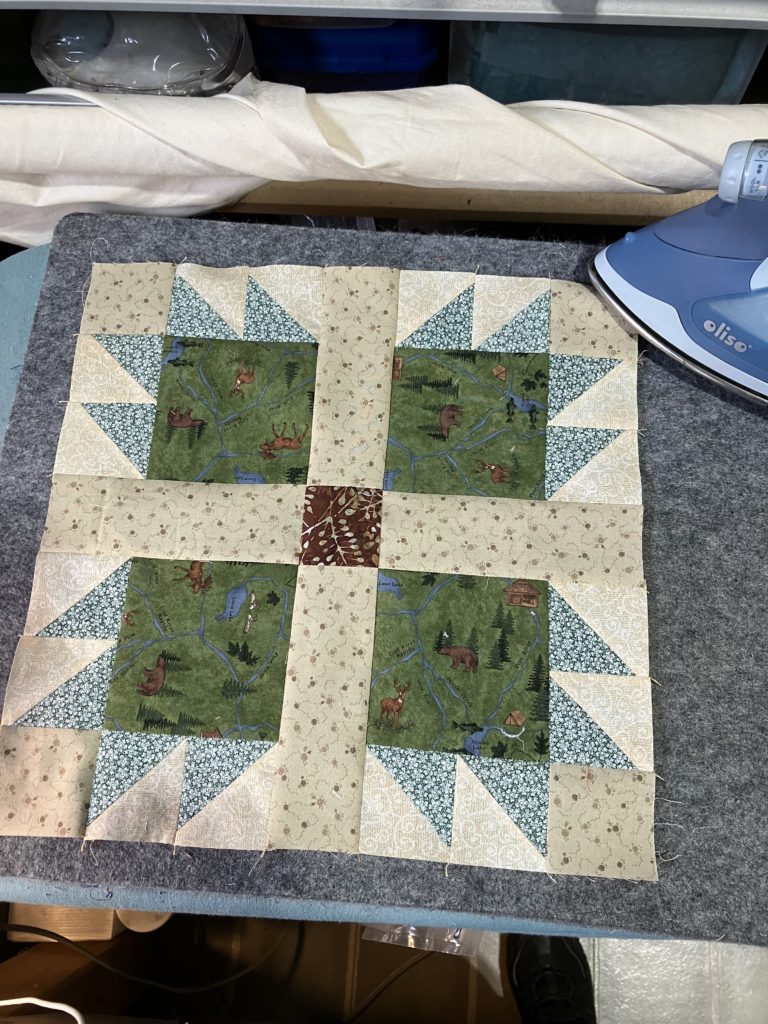
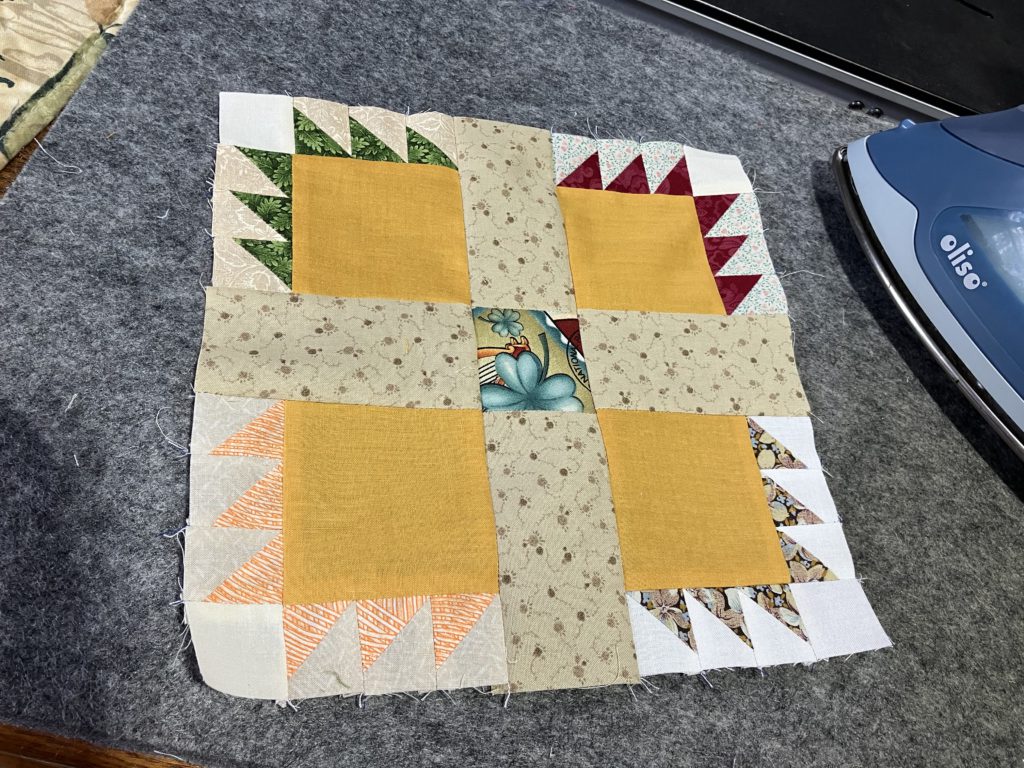
Join the rows to finish the block…tah-done!

Here is the cutting chart:

To print, you may have to save the page to your device first.

I hope that you are enjoying this build a block series!

Later,

Lorrie

Categories
Build a block quilting scraps sewing

Build a Block: Wedding Ring

It’s that time of the week! Time to make another block!

I know this block as Wedding Ring, but the EQ5 book that inspired me called it Odd Scraps Patchwork.  It is a 5 by 5 block.

The video that shows step by step assembly can be viewed here on YouTube. 


Here is the “rough copy” from my video from back in October. I showed the block layed out, but never sewed it.

For this block, you will need:

16 (bonus) half square triangles, 5 darks, and 4 lights. These blocks should all be the same size. The ones shown below are the 2 1/2″ blocks. The picture below shows all seams pressed open for ease of assembly.

Here is the completed block. It finishes at 10 1/2″. Love those colorful birds!

Here is a smaller 5 1/2 inch version made with 1 1/2″ blocks.

Again, all seams are pressed open.

Here are both examples the 10 1/2″ and the 5 1/2″. As you can see in the picture below, it changes the look of the block when it is on point. (I didn’t notice this until I sat down and started typing the text than went with this post!)

Now for the cutting charts I have been promising:

The cutting chart above is printable, but you will need to download it and save it in your downloads file first.

I hope you enjoy making this great scrappy block! Please contact me on facebook or at my gmail account. Comments have been turned off because I am not interested in black market viagra!

Have a great day!

Later,

Lorrie

Categories
Build a block quilting scraps sewing

Build a Block: Border Block

Glad to see you here for my weekly Build a Block post! This one is going to be short and sweet because this block is so easy to make…and has so few pieces!

The video for block construction can be found here.

This block finishes at 8 1/2″ square. It is constructed from the following pieces:

Center: 2 1/2″ x 8 1/2″,

outside strips: Two 2 1/2″ x 8 1/2″

Bonus triangles: Sixteen 1 1/2″ bonus half square triangle blocks…8 on each side of the center strip…look closely at the placement below (both pictures are a little different…you decide it is your block!)

I sewed the half square triangle blocks in strips first. Then I pressed those seams open to reduce bulk. You could press then any direction you want. There are no points to match, so it is really your personal preference…as always. (I read in a quilt book yesterday…whatever you do is right…it is your quilt. Amen to that!)

I think this block would also look good as a six in block, using a 2 1/2″ strip in the middle and 1 1/2″ strips on the outsides and only 6 bonus half square triangles in those strips.

I can also envision this block as part of a row in a row quilt…with alternating blocks turned so one goes side to side and the next goes up and down. That would be a great way to use scraps and those half square triangle blocks, too.

On a happy note, this is my 100th blog on this platform. (I had a blog on another platform before…it crashed and burned…time to start over in a new place with the help of my son. I appreciate his help more than he realizes!

I hope you have a great time making this easy block! As always, Enjoy!

Later,

Lorrie

Categories
Build a block quilting scraps sewing

Build a Block: Bear’s Paws

This is yet another block to use up the bonus half square triangles. I made an quilt early on in my quilting experience using this block. It was a gift to my mother-in-law. Sadly, I do not even have a picture of it to share…maybe next time I visit I will have her get the quilt out!

If you are interested in the video version of this constuction, go here.

I made two sizes today: 7 1/2″ and 14 1/2″. These blocks go together quickly, especially if you have the half square triangles already to use. The cutting chart is at the end of this post.

Here is the purple version:

You will notice in the picture above that I, ooops, forgot the background corner blocks!

Here is the corner block…layed out to sew four at a time…

Please notice the placement of the “claws”. They are sewn in opposite directions. You can NOT stack all 8 sets together and sew!

Here I have assembled the paws and have them ready for the final assembly. The center sashing is pressed towards the larger sashing pieces. When the paws are added to the sashing, those rows are pressed towards the sashing strip in the middle.

Here is the pressed block.

Ta-dah! Ta-done! This is the little 7 1/2″ block. Cute, eh?

Now for the bigger version. Here are my pieces:

It is assembled the same way…just twice the size!

Ta-dah! Ta-done!

Both blocks!

Another block snuck in there!

Please note the number of pieces in ( ) at the top of each column.

Here is the cutting chart:

I hope that you are enjoying the Build a Block blogs…especially for the cutting charts. They are PDF’s, so they should be printable.

I love hearing from readers and viewers, but unfortunately, I keep receiving unrelated comments…and inappropriate advertisements. So, consequently, comments are turned off for this blog. You can contact me through my YouTube channel or Facebook group. (I am sure you can figure out the name of those places, if you are here reading…hint, hint.)

Have a wonderful day!

Later,

Lorrie