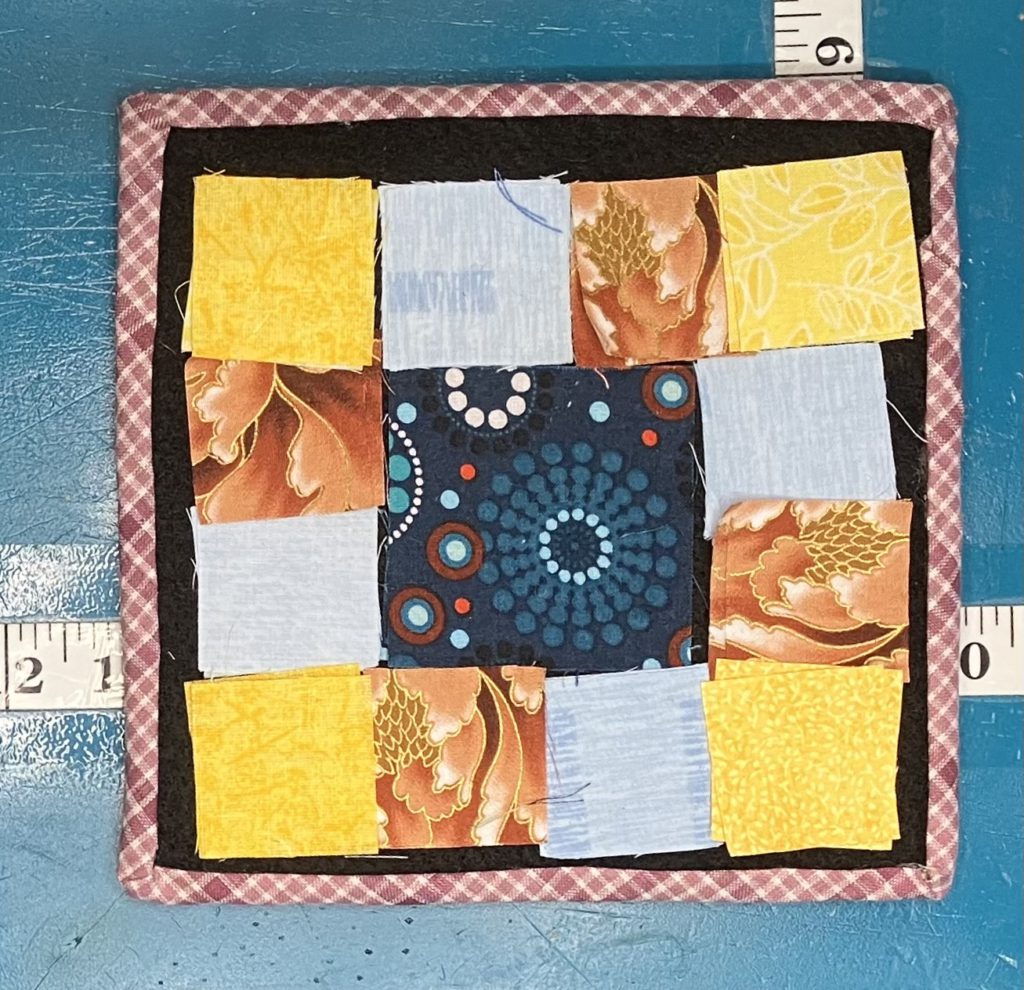
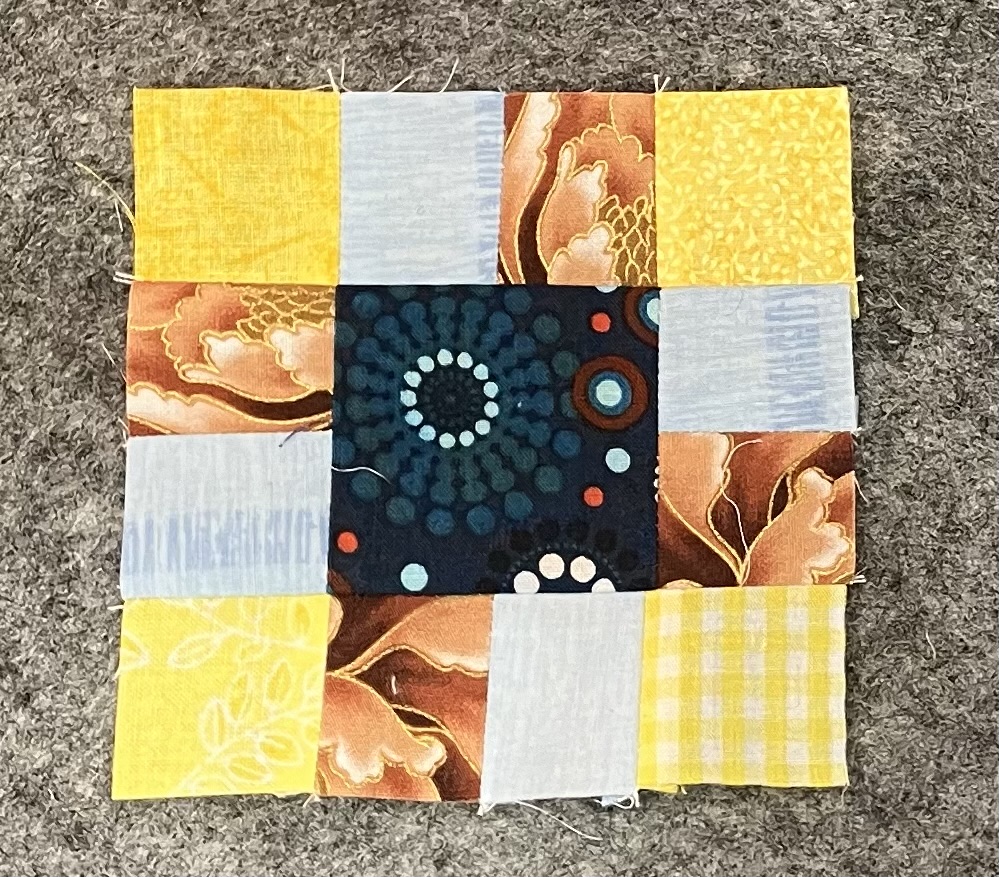
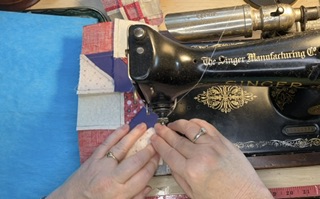
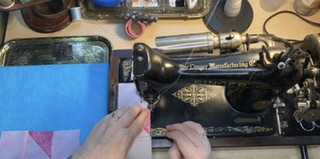
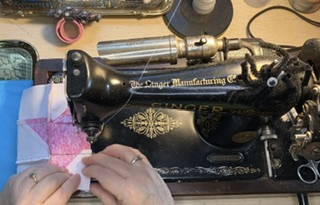
This post is related to the YouTube short that shows a sped up version of the assembly of this block. See the YouTube video here. This block makes a great leader/ender project to use when assembling another project.
This block is made with 1 1/2 and 2 1/2 inch squares. It could easily be made from other sizes. Block construction is simple.
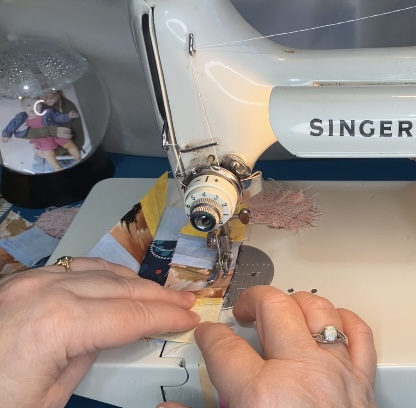
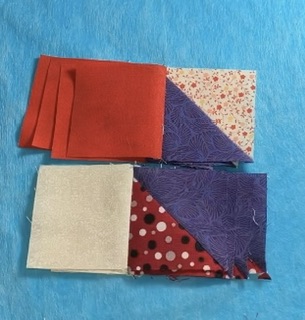
Using your smaller squares, make 4 sets of 2 squares.
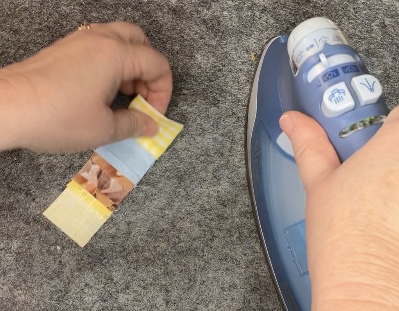
Press open…or however you desire.
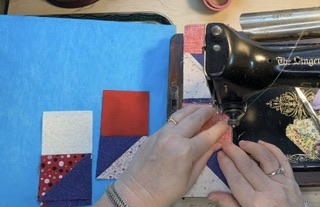
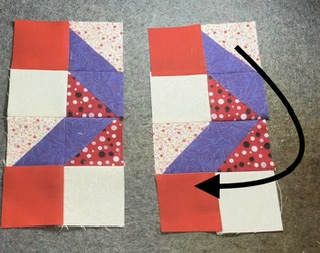
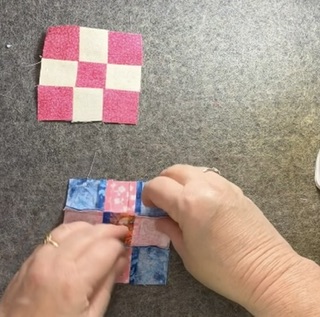
Join 2 of these sets to your center square on opposite sides.
Press towards the larger center block.
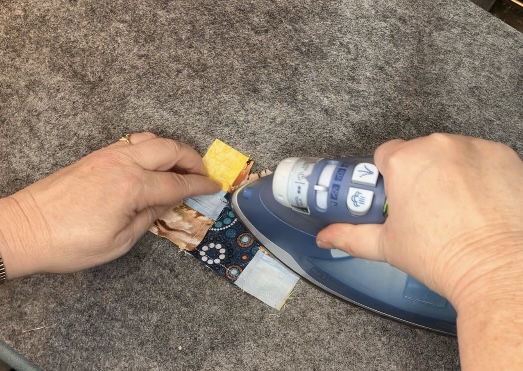
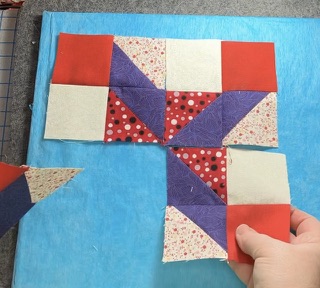
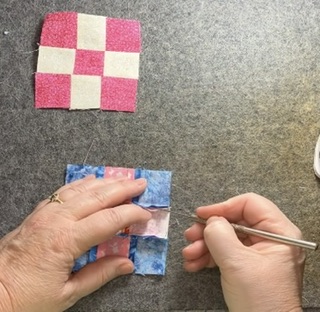
Add blocks to the ends of the 2 sets of 2 squares as pictured below. Then press seams open.
Add blocks to the center unit on both sides.
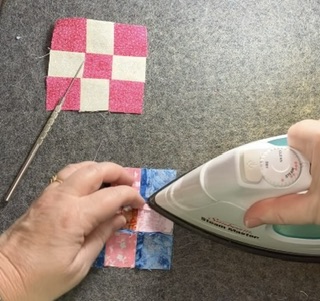
Press seams open or however you wish.
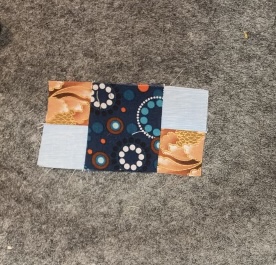
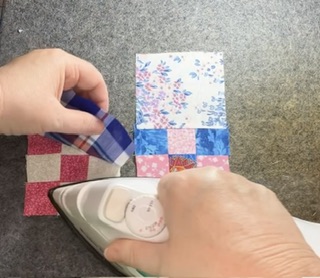
Ta-Dah! One little scrappy block!
I hope that you are enjoying this series of Build A Block! I am having great fun using up those scrapps while I share with you! I would love to see what you are up to today!
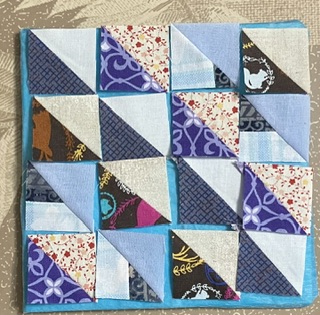
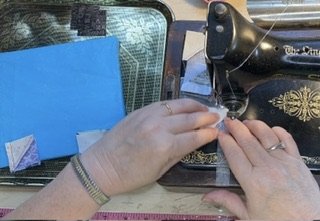
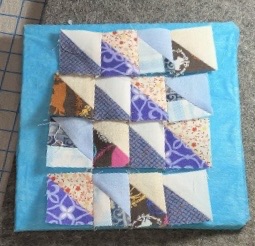
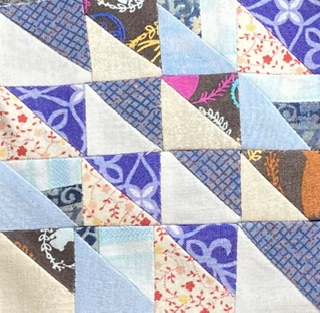
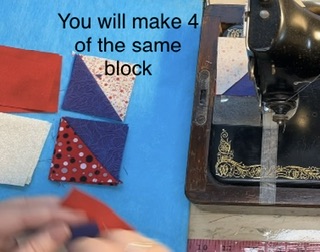
This block is made from 16 one and half inch squares. It makes a 4 inch finished block. It could easily be made using 2 1/2, 3 1/2, or 4 1/2 inch half square triangles to create an 8, 12, or 16 block. I made this block using all bonus pieces. You can see in the picture that I even used bonus triangles that are pieced pieces.
I start by laying out my pieces on a small design board. I actually had several similar bonus triangles to make a pattern…random is excellent and less stressful.
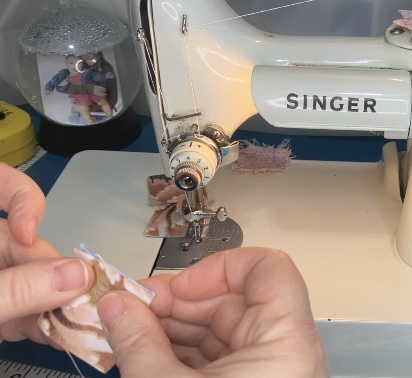
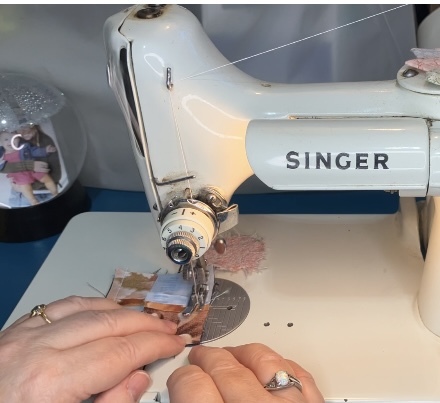
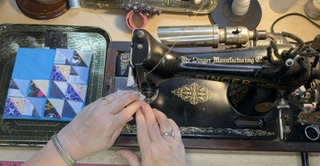
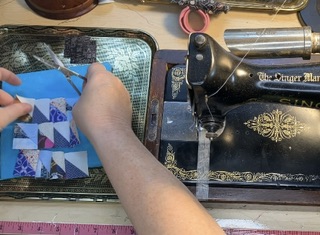
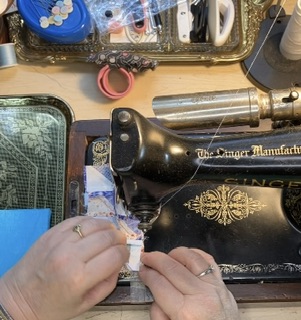
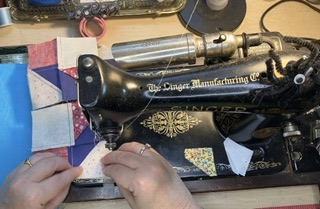
I sew the first to half square triangles from the left side of the block together, as well as the ones on the right. Speed piece is great…zoom, zoom.
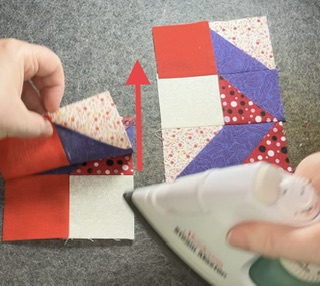
I sew the units of two together to make rows of 4 pieces before I press. As a personal preference I press seams open. To the sides is okay, too, but open makes tiny blocks lay flatter. There are lots of seams there to squish.
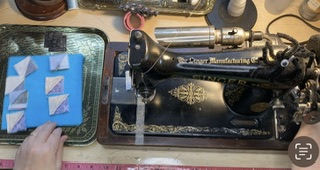
I lay the pressed units back on the design board. If I am doing random pieces, I don’t really worry about this. If I have a design, I like to lay it out again to make sure I still have a design. (I am not going to pick these pieces apart if I have somehow reversed units though.)
Time to sew the rows together. Sew the rows together 2 at a time…so you can speed piece. Sew those two units together to complete the block. I do this before you press.
Press all seams open for a super flat block.
This is the easiest way to use bonus half square triangles into a completed block. These bonus triangles can be arranged into different shapes to be used for borders, etc. So versatile!
Now that I am trimming my collection of blocks, I am having lots of fun using these units.
Enjoy! One of these can be whipped up in 5 minutes, maybe less!
What bonus triangle blocks would you like to see me make? I look forward to hearing from you! Comments are open!
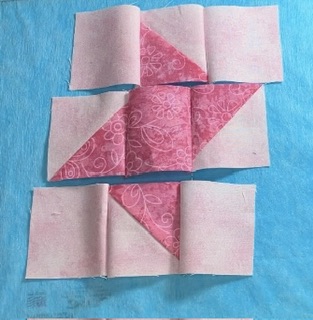
The version of this block shown below finishes at 8 inches. It could easily be a 4, 12, or 16 inch block, too.
As always, and because it is so easy to get a triangle moving in an unintended direction, I lay out the block before I sew.
This block is actually the same 4 sections turned in different directions. That makes it great for speed piecing! Zoom, zoom!
Here I have rearranged the block into a piles that are 4 sections to speed sew all at the same time.
I love the purple trapezoid made from the 2 half square triangles. These squares are much easier to deal with than a cut out trapezoid and 2 small triangle pieces. Trapezoids have some serious bias edges that stretch and distort the unit. Starching the fabric before cutting pieces like that is helpful, but using half square triangle units is even better!
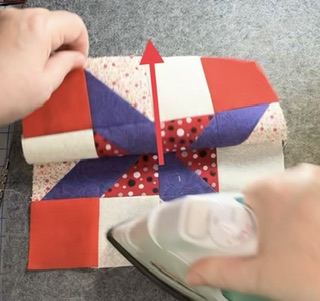
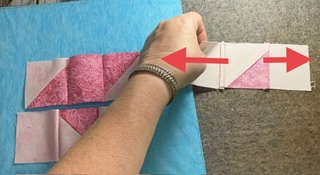
Sew the units together in rows.
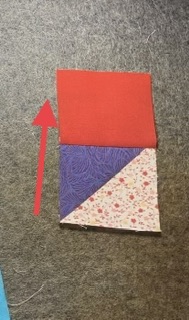
Press the top row towards the solid square on the left. It looks like up in this picture.
Press the bottom row towards the triangle square. I know that this seems counterintuitive, but will work out better when it comes to sewing the rows together and piecing the rest of the block. You could press the seam open if you wish for a flatter unit.
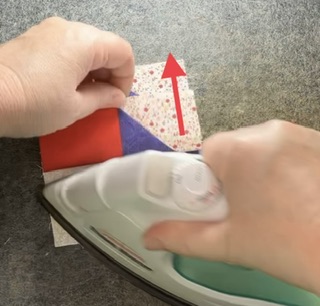
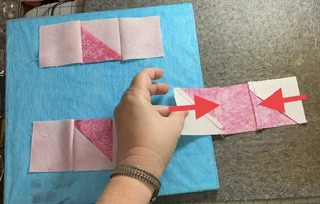
Again it looks like I am pressing upward, but I just turn the block so that I am pressing in that direction. I get flatter more accuate pieces when I press in that direction. It is a personal preference and the most comfortable way for me to hold the iron.
Here the blocks are laying in units by row…4 deep. Better safe than sorry!
Sew the rows together. Seams should nest together nicely to make block construction easy without pinning…unless you want to, of course.
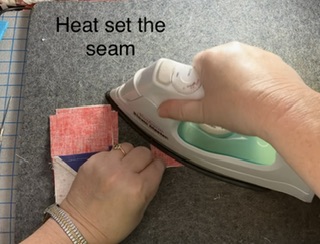
I always thought heat setting the seam was silly, until I tried it. It does make the seam press flatter in the end.
I press this unit towards the top row. Pressing the seam open is always a good option, too.
These units are nice and flat…ready to put together. Notice that the trapezoid shape has a little hitch on the right for the seam allowance.
Spin the units around to lay them out.
Sew the top 2 block units together. Then sew the bottom 2 block units together.
Press one unit to one side.
Press the other unit…which is identical…to the other side.
Turn the units to the correct layout. Sew the last 2 units together.
Press to one side…or in my case the top.
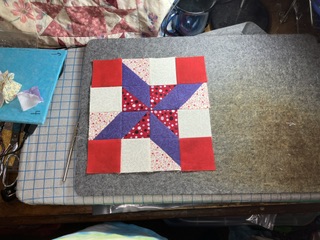
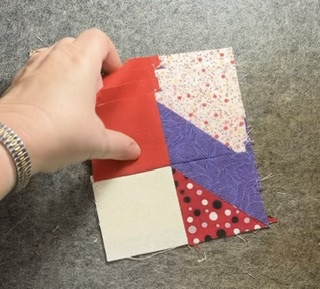
You now have a beautiful Clay’s Choice block.
As a note of warning, you will notice that my wool mat is a little discolored on the right bottom corner. That is what happens when you use starch and get it on the wool mat. To prevent this, use a pressing cloth underneath to prevent starch overspray.
I am enjoying the process of assembling blocks with the bonus triangle squares. Every time I look at quilt books I am noticing them. They are jumping off the pages at me!
What blocks are you making using these bonus pieces? There seem to be millions out there!
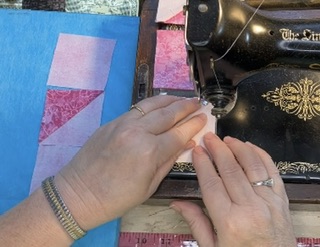
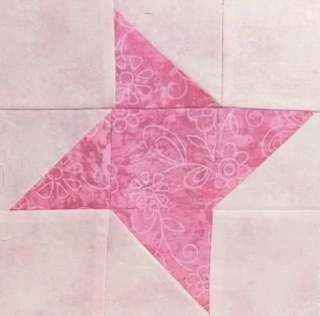
This post goes along with my YouTube short of the same title. It is part of my series on using up bonus half-square triangle blocks. I like friendship star blocks because they are simple. The asymmetrical aspect of the block makes me a little crazy. I always lay the pieces out ahead of time so I don’t have to pick them and fix them later.
I will practice a little more with this fish-eye zoomed in view. It is an interesting perspective.
After laying out the pieces, sew the pieces together like you would any old nine patch.
After sewing the first two pieces together in each row, I lay the pieces back on the design board. Better safe than sorry!
Add the rest of the blocks of the blocks to each row. Lay them out again….safety, safety, safety.
Press the top and bottom rows outward.
Press the middle row toward the center.
Sew the top and middle row together. Seams should nestle together.
Sew the bottom row to the unit you just created.
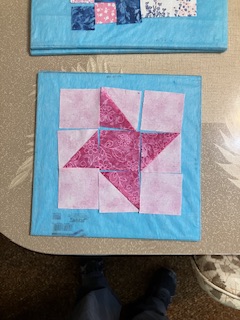
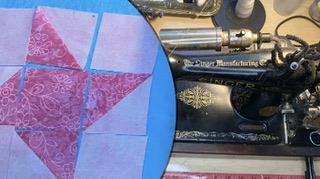
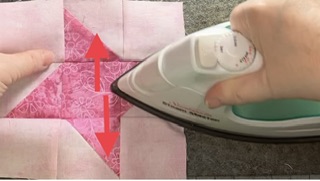
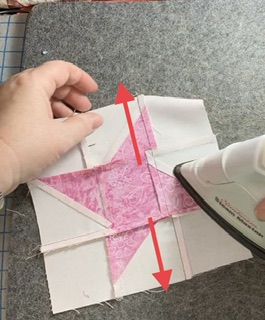
The little friendship star is assembled and ready to press.
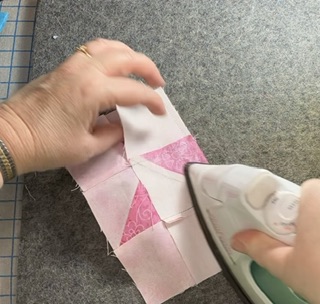
I heat the block first to make it more willing to press the way I want it to go.
I pressed the rows towards the outside, but you could press the seams open or towards the inside. This was just my personal preference today and at the moment.
I also gave the block an extra little press from the back.
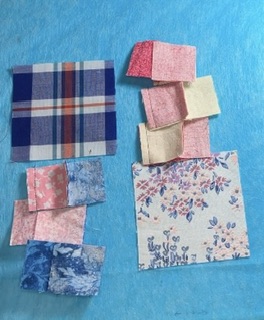
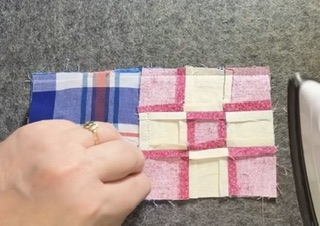
It is time to use up some more of those scraps! Let’s make another basic block…9 patches added to larger squares to create a 4 patch. These blocks are versatile. When set together, they make an adorable scrap quilt. See my YouTube short showing this same block. It is part of my series on using up bonus half-square triangle blocks.
Here is a block waiting to be sewn. You will need the following pieces to make this 6 1/2″ block:
2- 3 1/2 inch squares
18- 1 1/2 inch squares to make both nine patch blocks
This block could easily be made in a variety of sizes: 12 1/2″, 18 1/2″, etc.
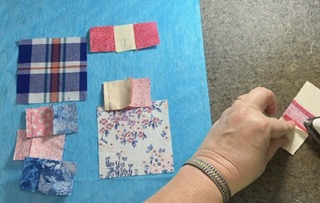
Start by speed piecing the rows of the nine patches.
Press the seams open…if you wish.
Sometimes I use my fingers to gently pull on the block so I can get the seam open to press it. Without burning my fingers, of course.
Look at those nice, little rows. Sew the rows together.
I press these seams open, too. It cuts down on the bulk and the blocks lay flatter.
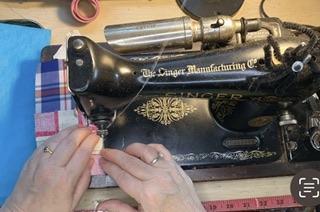
Occasionally, I have difficulty getting those seams open. I have a stylus…actually it is a dental tool from the hardware department of a flea market…that helps me grab the seam.
You can see my stylus a little better here in this picture.
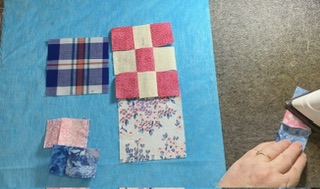
After the 9 patches are ready, sew the bigger blocks to them. Press towards the larger block.
When you turn the block pieces around, the seams will nestle.
Press the seam whichever direction you so desire…or open if you want.
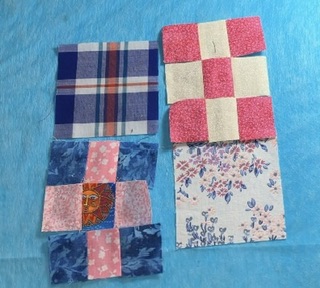
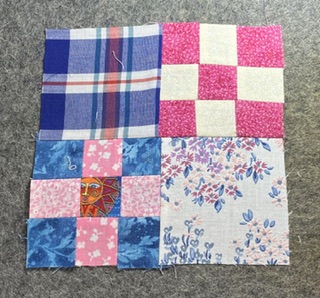
Tah-done! What a cute little scrappy block!
What blocks have you been making to use up your scraps? Please comment below. I can’t wait to hear from you!