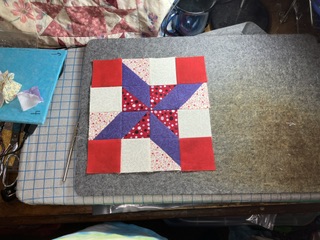
This post goes along with my YouTube short of the same title. It is part of my series on using up bonus half-square triangle blocks. I love the graphic movement of this block when high contrast fabrics are used!
The version of this block shown below finishes at 8 inches. It could easily be a 4, 12, or 16 inch block, too.
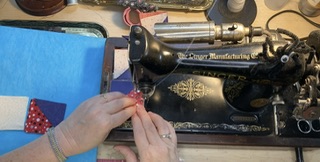
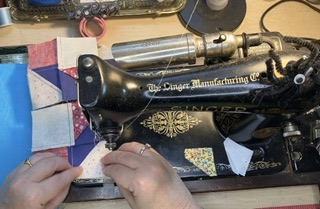
As always, and because it is so easy to get a triangle moving in an unintended direction, I lay out the block before I sew.
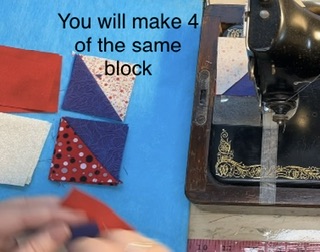
This block is actually the same 4 sections turned in different directions. That makes it great for speed piecing! Zoom, zoom!
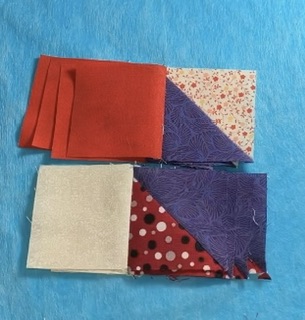
Here I have rearranged the block into a piles that are 4 sections to speed sew all at the same time.
I love the purple trapezoid made from the 2 half square triangles. These squares are much easier to deal with than a cut out trapezoid and 2 small triangle pieces. Trapezoids have some serious bias edges that stretch and distort the unit. Starching the fabric before cutting pieces like that is helpful, but using half square triangle units is even better!
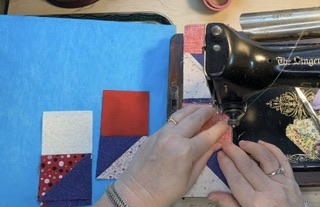
Sew the units together in rows.
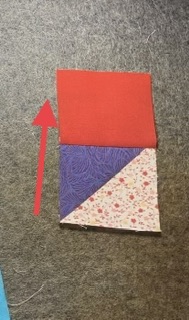
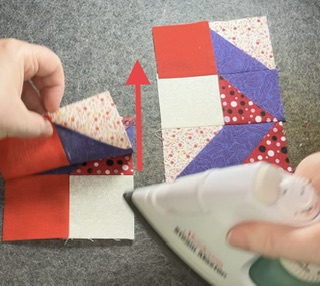
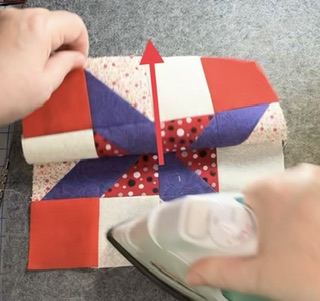
Press the top row towards the solid square on the left. It looks like up in this picture.
Press the bottom row towards the triangle square. I know that this seems counterintuitive, but will work out better when it comes to sewing the rows together and piecing the rest of the block. You could press the seam open if you wish for a flatter unit.
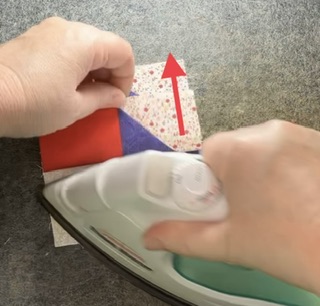
Again it looks like I am pressing upward, but I just turn the block so that I am pressing in that direction. I get flatter more accuate pieces when I press in that direction. It is a personal preference and the most comfortable way for me to hold the iron.

Here the blocks are laying in units by row…4 deep. Better safe than sorry!
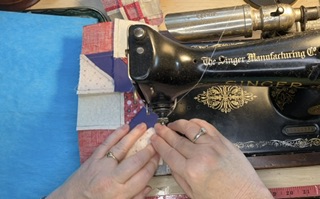
Sew the rows together. Seams should nest together nicely to make block construction easy without pinning…unless you want to, of course.
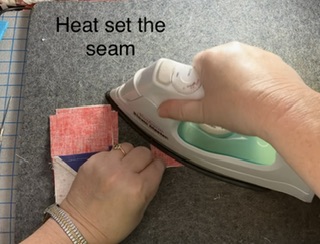
I always thought heat setting the seam was silly, until I tried it. It does make the seam press flatter in the end.
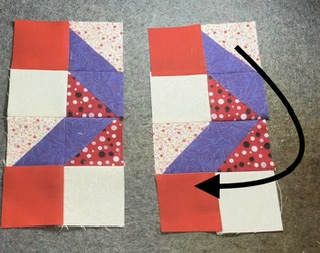
I press this unit towards the top row. Pressing the seam open is always a good option, too.
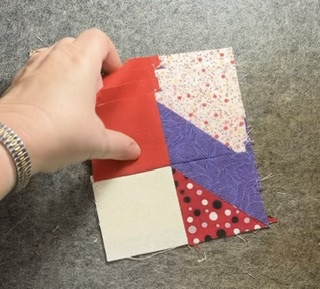
These units are nice and flat…ready to put together. Notice that the trapezoid shape has a little hitch on the right for the seam allowance.
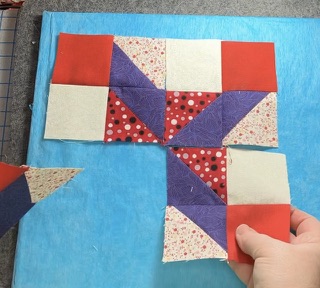
Spin the units around to lay them out.
Sew the top 2 block units together. Then sew the bottom 2 block units together.
Press one unit to one side.
Press the other unit…which is identical…to the other side.
Turn the units to the correct layout. Sew the last 2 units together.
Press to one side…or in my case the top.
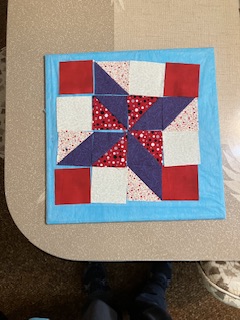
You now have a beautiful Clay’s Choice block.

As a note of warning, you will notice that my wool mat is a little discolored on the right bottom corner. That is what happens when you use starch and get it on the wool mat. To prevent this, use a pressing cloth underneath to prevent starch overspray.
I am enjoying the process of assembling blocks with the bonus triangle squares. Every time I look at quilt books I am noticing them. They are jumping off the pages at me!
What blocks are you making using these bonus pieces? There seem to be millions out there!
I look forward to hearing from you!
Later,
Lorrie