This post goes along with my YouTube short of the same title. It is part of my series on using up bonus half-square triangle blocks. I like friendship star blocks because they are simple. The asymmetrical aspect of the block makes me a little crazy. I always lay the pieces out ahead of time so I don’t have to pick them and fix them later.
I will practice a little more with this fish-eye zoomed in view. It is an interesting perspective.
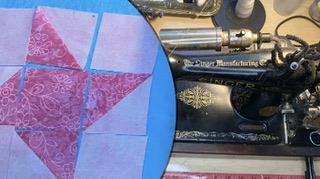
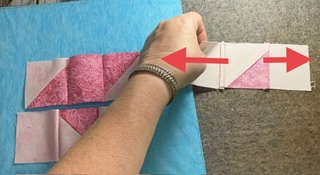
After laying out the pieces, sew the pieces together like you would any old nine patch.
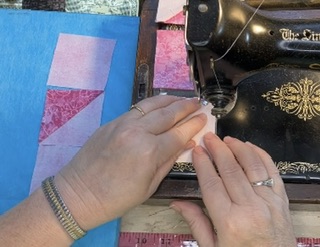
After sewing the first two pieces together in each row, I lay the pieces back on the design board. Better safe than sorry!

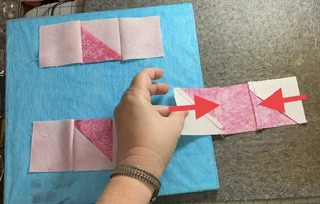
Add the rest of the blocks of the blocks to each row. Lay them out again….safety, safety, safety.
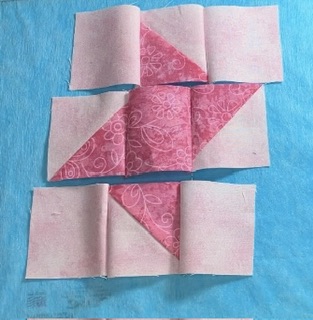
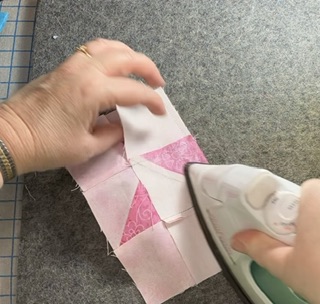
Press the top and bottom rows outward.
Press the middle row toward the center.
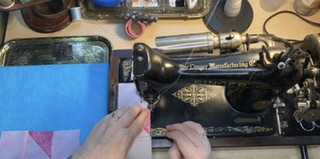
Sew the top and middle row together. Seams should nestle together.
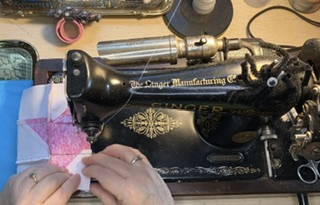
Sew the bottom row to the unit you just created.
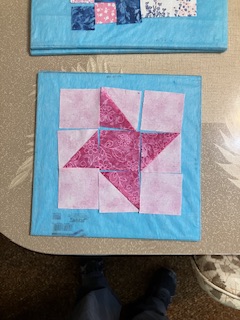
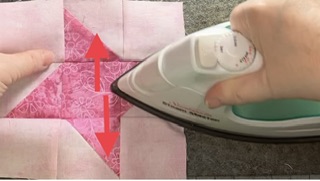
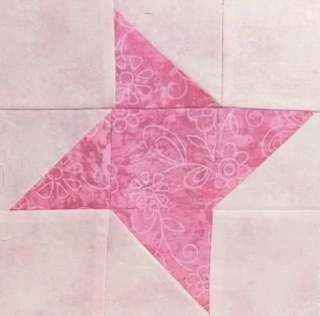
The little friendship star is assembled and ready to press.
I heat the block first to make it more willing to press the way I want it to go.
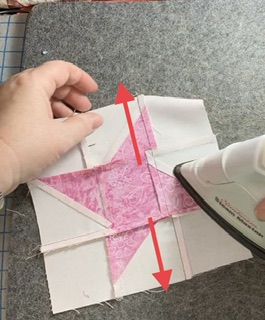
I pressed the rows towards the outside, but you could press the seams open or towards the inside. This was just my personal preference today and at the moment.
I also gave the block an extra little press from the back.
Ta-done!
What easy block do you enjoy making?
I look forward to hearing from you!
Later,
Lorrie