It is time to use up some more of those scraps! Let’s make another basic block…9 patches added to larger squares to create a 4 patch. These blocks are versatile. When set together, they make an adorable scrap quilt. See my YouTube short showing this same block. It is part of my series on using up bonus half-square triangle blocks.
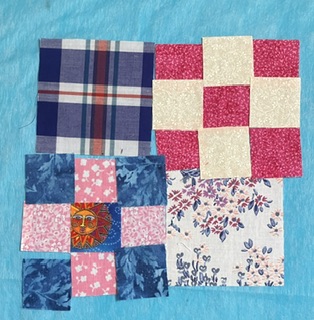
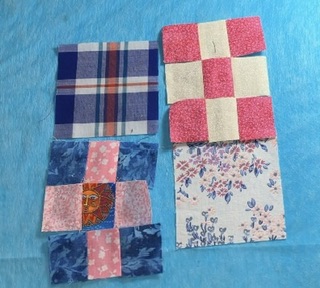
Here is a block waiting to be sewn. You will need the following pieces to make this 6 1/2″ block:
- 2- 3 1/2 inch squares
- 18- 1 1/2 inch squares to make both nine patch blocks
This block could easily be made in a variety of sizes: 12 1/2″, 18 1/2″, etc.
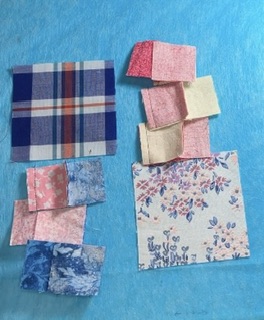
Start by speed piecing the rows of the nine patches.
Press the seams open…if you wish.
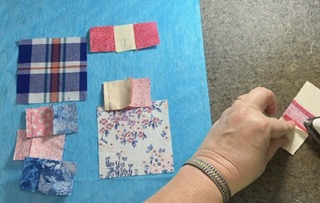
Sometimes I use my fingers to gently pull on the block so I can get the seam open to press it. Without burning my fingers, of course.
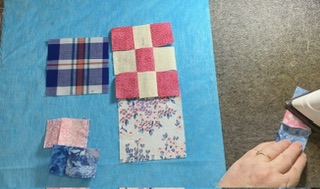
Look at those nice, little rows. Sew the rows together.
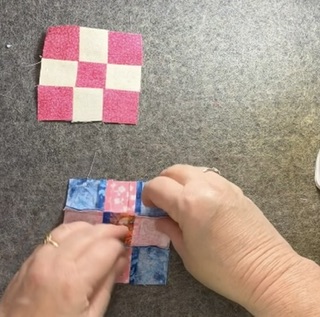
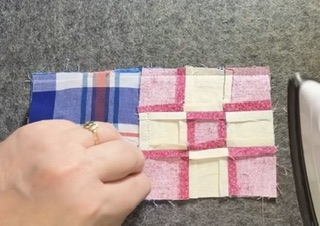
I press these seams open, too. It cuts down on the bulk and the blocks lay flatter.
Occasionally, I have difficulty getting those seams open. I have a stylus…actually it is a dental tool from the hardware department of a flea market…that helps me grab the seam.
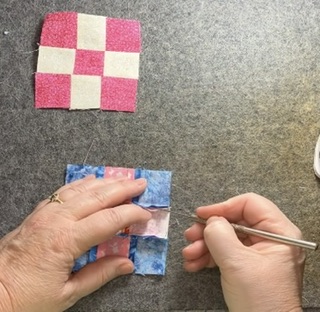
You can see my stylus a little better here in this picture.
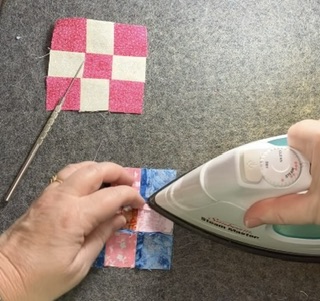
After the 9 patches are ready, sew the bigger blocks to them. Press towards the larger block.
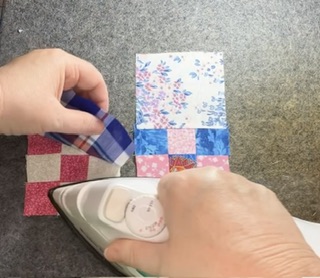
When you turn the block pieces around, the seams will nestle.
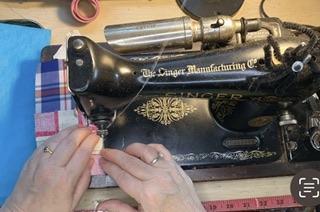
Press the seam whichever direction you so desire…or open if you want.
Tah-done! What a cute little scrappy block!
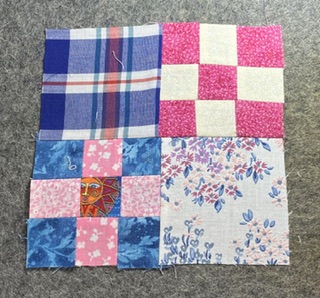
What blocks have you been making to use up your scraps? Please comment below. I can’t wait to hear from you!
Later,
Lorrie


