Have you seen the embellishment series that I have been putting out there on YouTube? It is all in a playlist titled: Pop, Zing, Bling Embellishments. It has LOTS of videos for your enjoyment. You can find the playlist here: https://www.youtube.com/playlist?list=PL_nXpopvmBwYNMWaQV6KyL8ntx1OehNGd
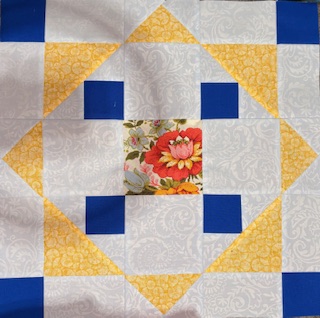
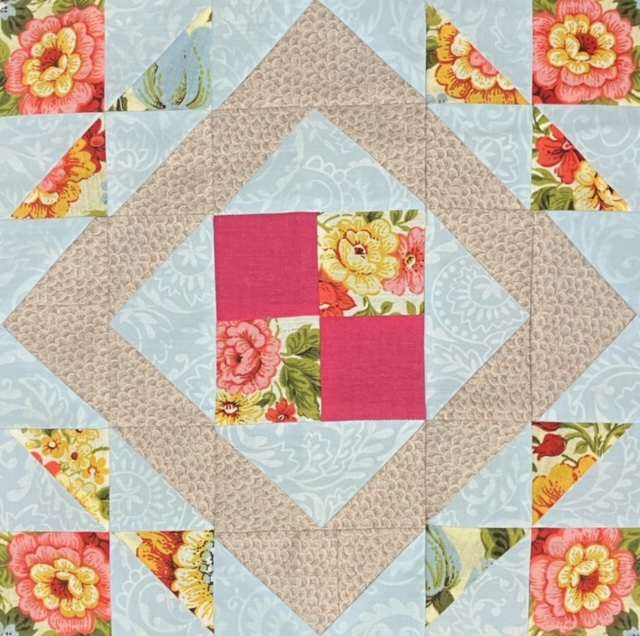
This is the block for part one, chapter 6…or should I say blocks. The directions below have the cutting chart for the 14 blocks that we will need for the quilt.
Here is the pattern page:
I hope you are enjoying these blocks and this sew along!
What a busy week! Sometimes this blog is an after thought! Whew! This same information is available on YouTube at my channel. Here are the show links...part 1 and part 2.
Below is the printable pattern:
I hope that these directions are clear enough…clearer than mud. If you have any questions, please e-mail me or watch my YouTube channel.
Have a wonderful week! Thanks for stopping by to visit!
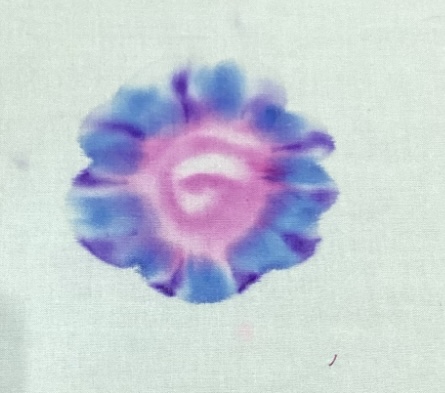
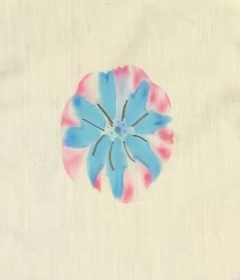
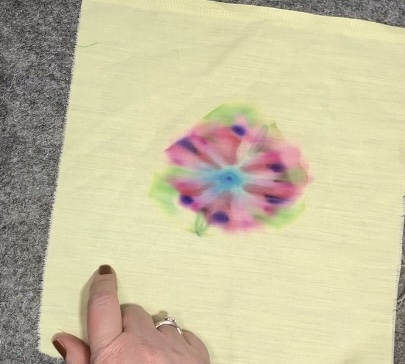
This was my favorite sample of this technique for today. To make faux tie-dye, you only need a few materials.
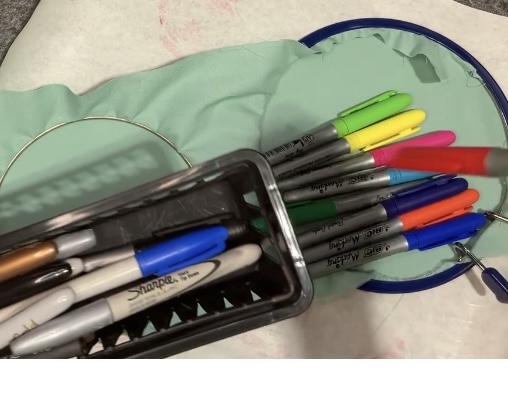
Permanent markers, some colors and brands work differently than others. Some permanent markers do not spread with alcohol and should be not be used in this project. My example from this block would be a metallic sharpie that did not work for a tie-dye effect, but made excellent accent marks.
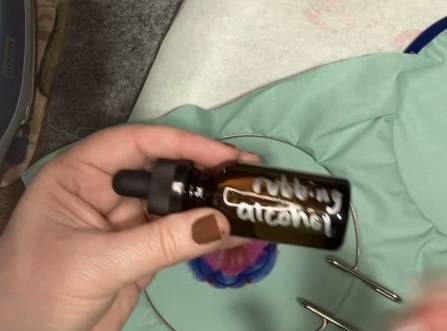
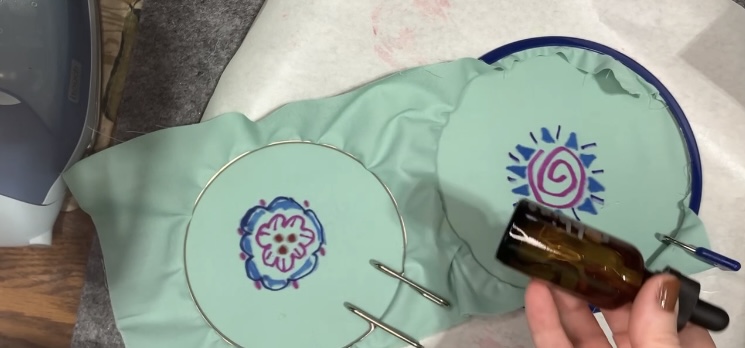
Rubbing alcohol, 70% or higher. I happen to have a dropper bottle handy so I poured my alcohol into it and label it for this project. You could also use a spritzer bottle. Be careful not to inhale the mist if you use a spritzer bottle.
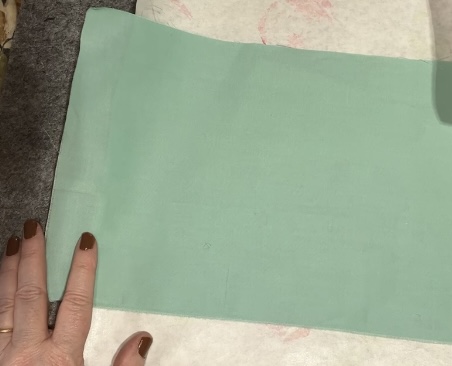
I used freezer paper behind my fabric to protect my surfaces. It has a nice plastic layer that will keep things like marker or alcohol from bleeding through.
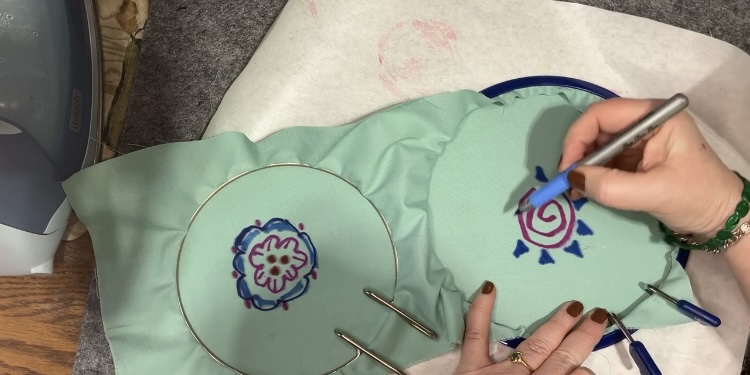
To hold the fabric a little tighter, I did use an embroidery hoop, but it is not an entirely necessary for this technique.
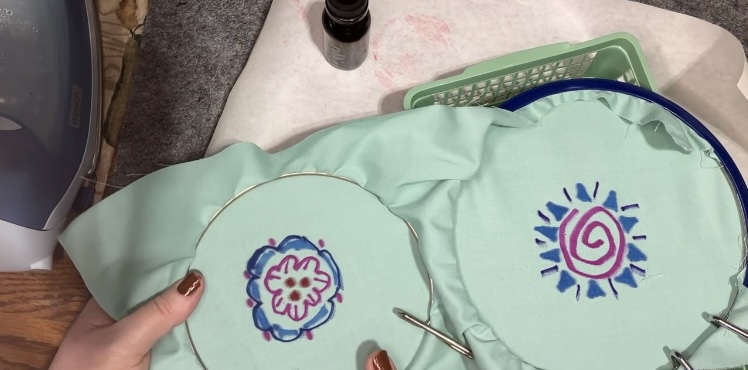
The key to drawing on the fabric is to let space between your shapes and colorful designs. My permanent markers were fairly juicy, so the designs needed to have space. I also chose only a few colors for each tie-dye design. I used simple shapes, like triangles and swirls.
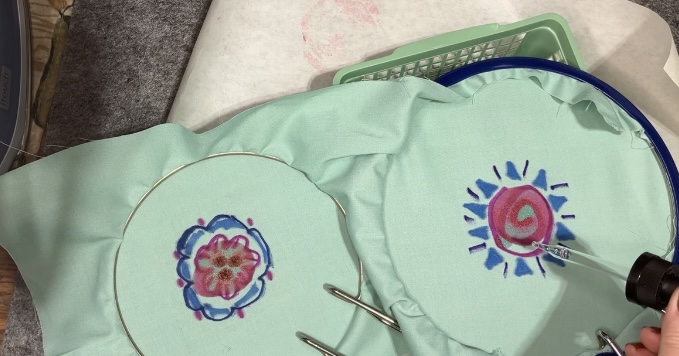
After your design is complete or as complete as you want it to be, it is time to drip on some alcohol.
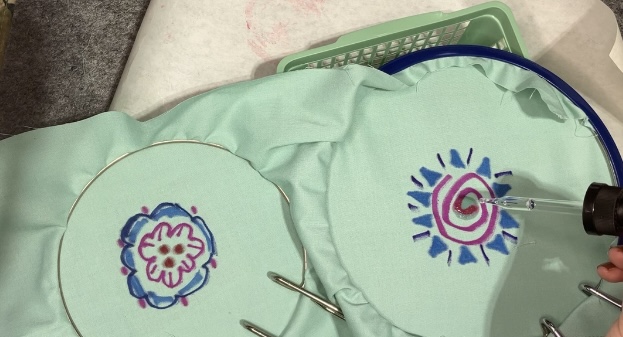
Note that I put plastic baskets under the designs so that there would be someplace for the alcohol to go instead of just pooling on the plastic coating of the freezer paper. I started with four or five drops in the center.
The colors will start to bleed out of your drawing immediately.
If the wicking of the color slows down, add more drops of alcohol… A few at a time.
once the alcohol seems to have done the trick, allow the fabric to dry. Some other videos that I watched sped this process up by ironing it dry. I hesitate to do this with rubbing alcohol because it is flammable.
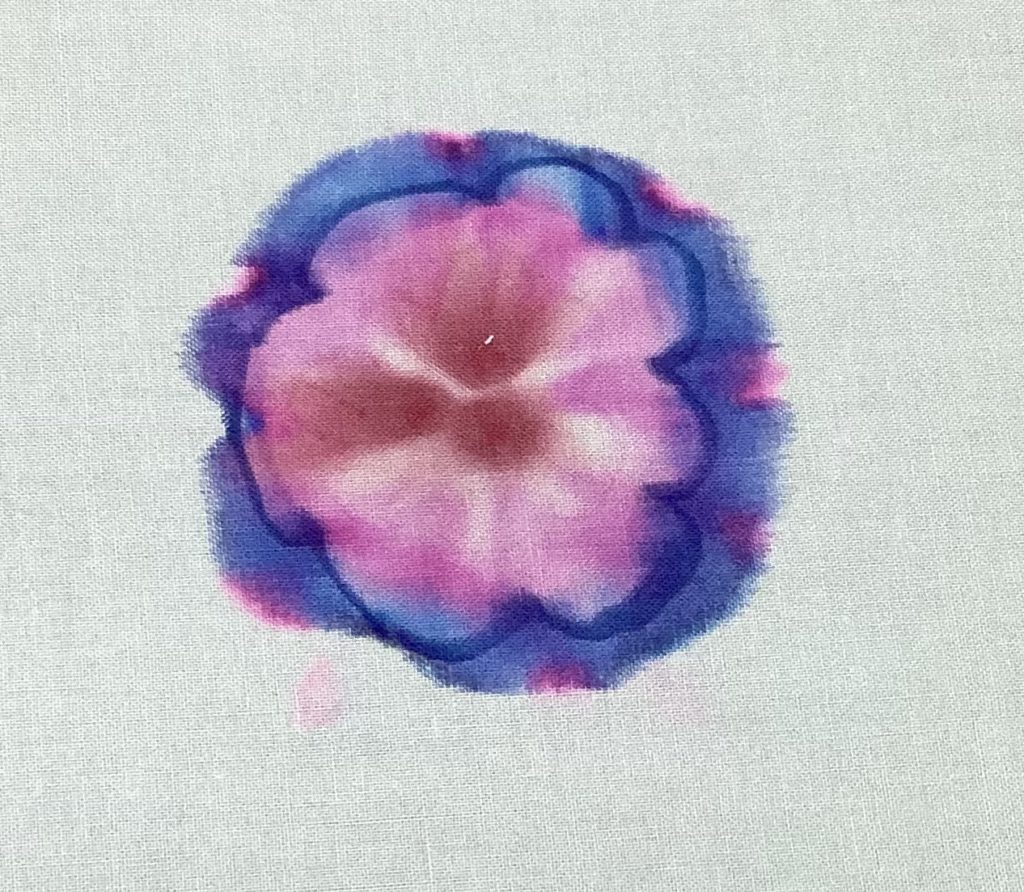
This is a finished sample that has been heat set and set with vinegar and salt.
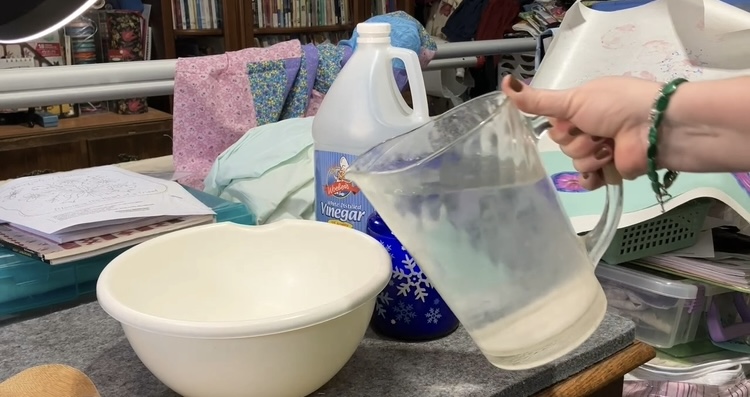
There are several ways to help set the dye to make it more permanent. You can use a bowl of cold water with one cup of vinegar and 1 tablespoon of salt. Let your work soak for one hour.
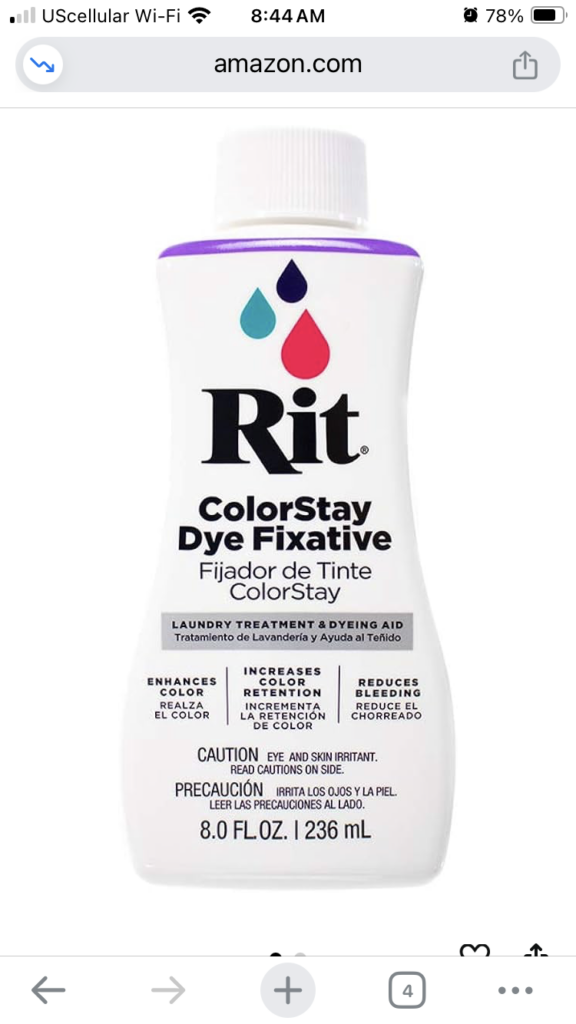
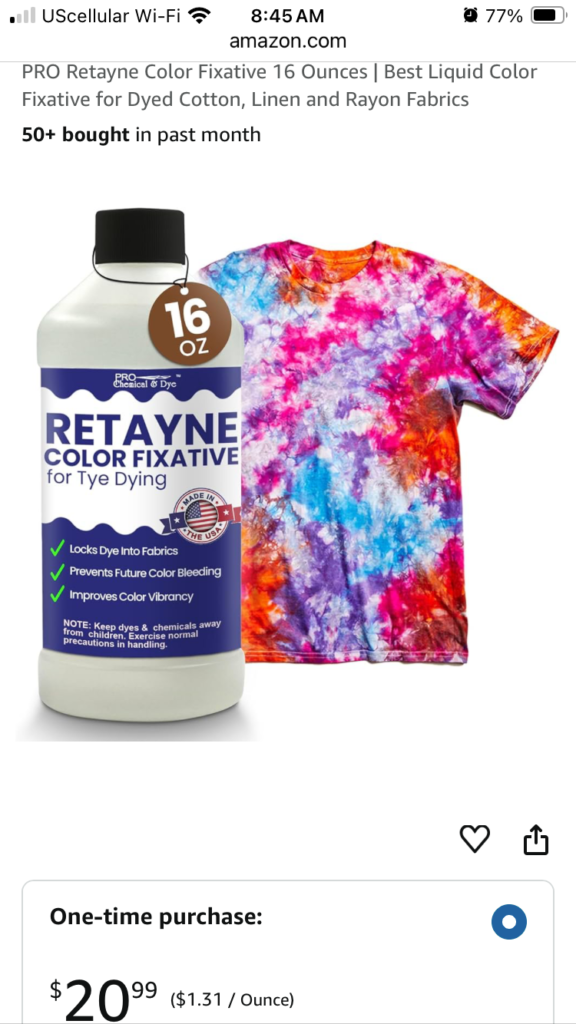
there are also commercial products available to set your dies. The following two are examples from Amazon.
After setting with vinegar, salt and water, rinse your fabric thoroughly. Wring thoroughly. No need to be gentle. Dry on high in the dryer or iron dry to add another layer of heat set.
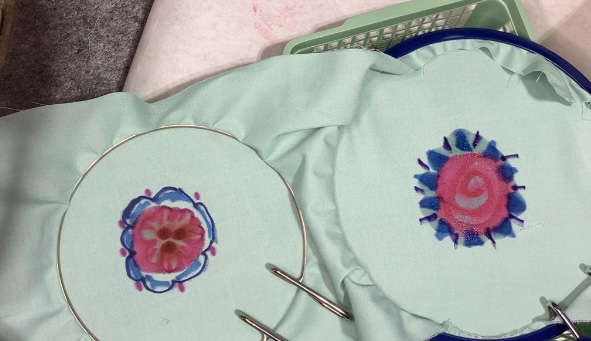
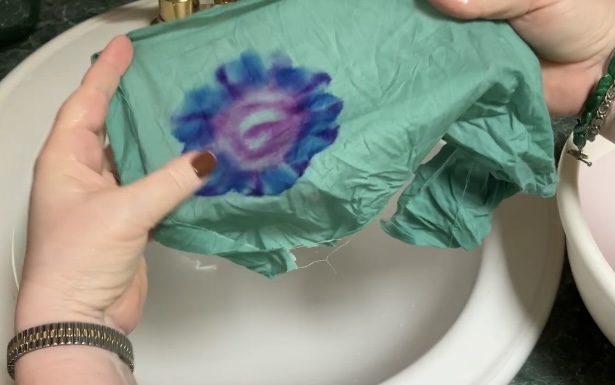
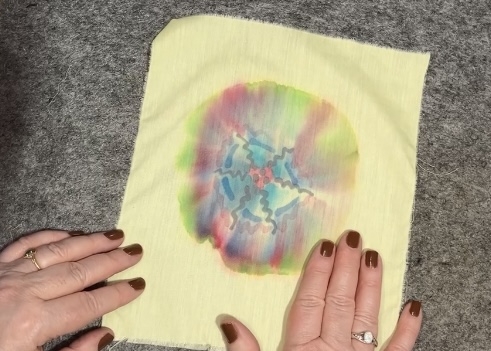
Here is the rinsed wet example.
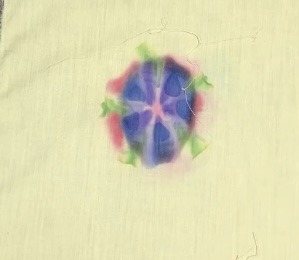
Here is the other example. You will notice that the dark blue marker did not wick very well. Red and pinks had a bigger tendency to bleed onto other portions of the fabric.
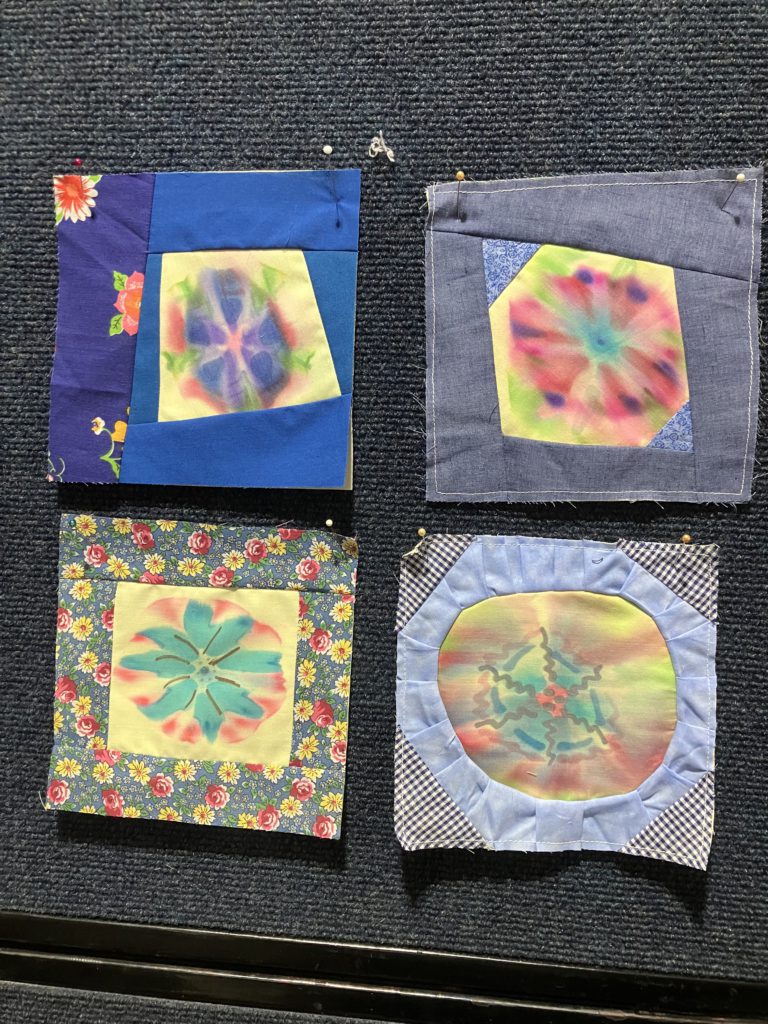
Here are some other examples:
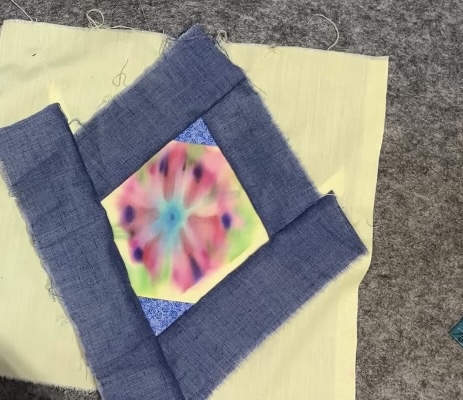
Here I’m using some scraps to make these examples into 6 1/2 inch blocks
This technique is kid friendly. My friend Barb who is a retired art teacher used to do this with fourth and fifth graders. It is a great technique to use on shirts and silk.
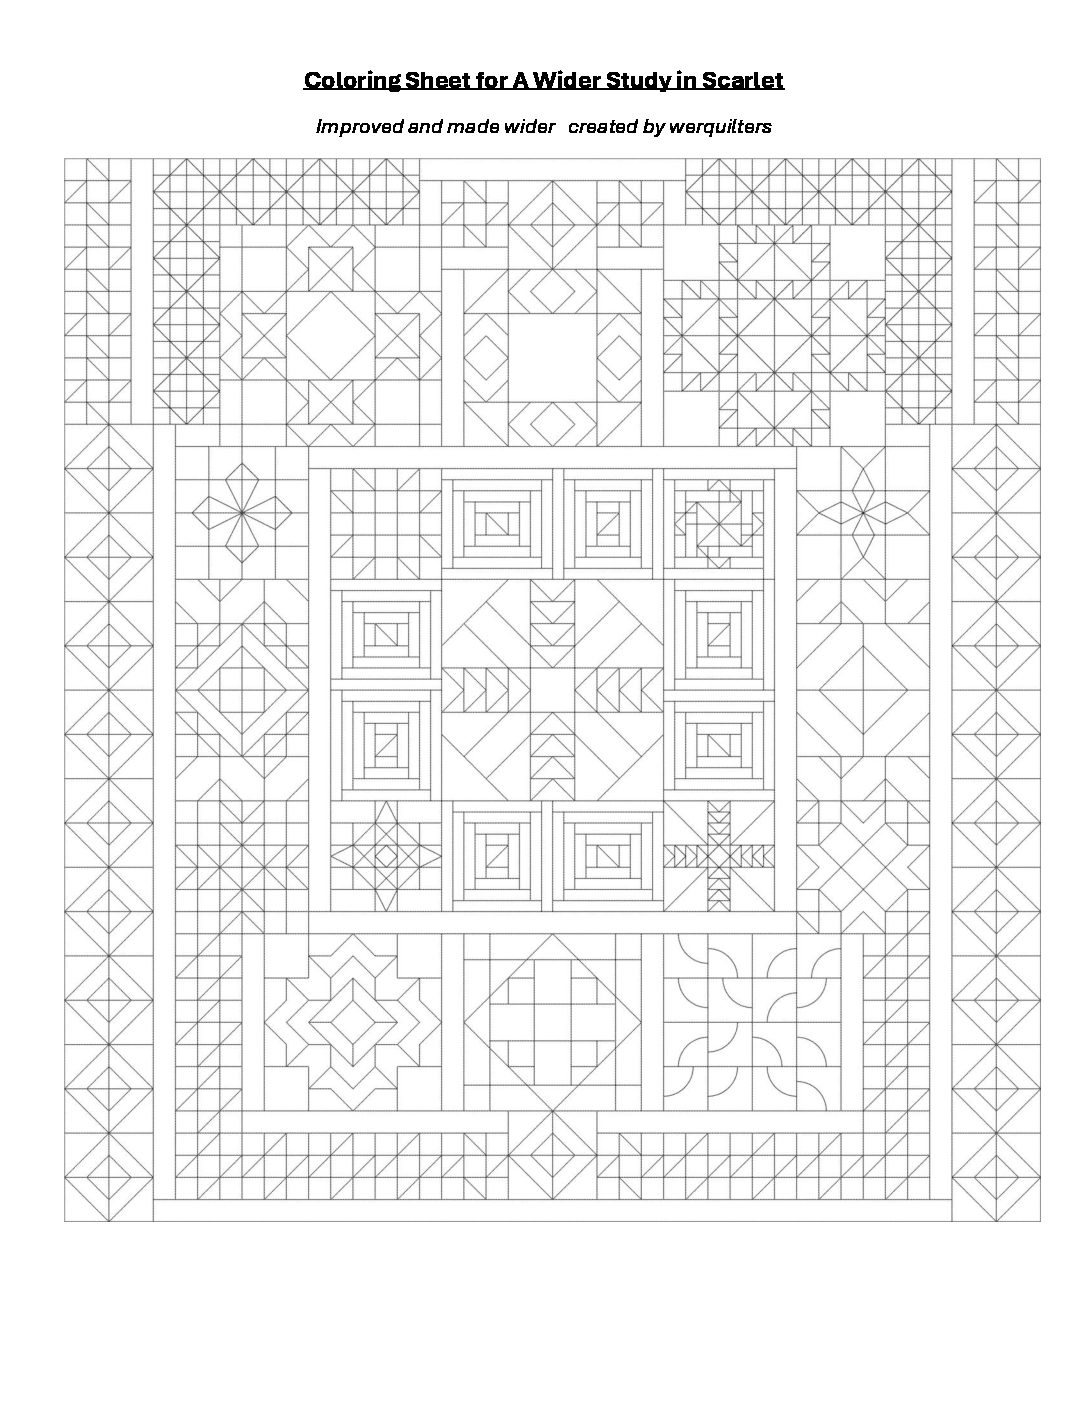
After some thinking about quilt sizes, I realized that 72″ x 96″ was disproportionate. I like a quilt that is rectangular, but this one is not wide enough for two adults to share it comfortably. I decided that it needs to be a little wider. Here are the printable documents that explain the math and a new, wider coloring sheet. The new finished size in 88″ x 96″.
In chapter 3 of A Study in Scarlet, Sherlock Holmes and Dr. Watson collaborate on their first case. When they arrive at the scene of the crime, Sherlock finds his first clues in the garden in front of the house.
I know that very few of my YouTube friends… or in-person friends, for that matter… make it to this blog. I may be the only one reading it as I proofread. This is my old school technology habit. This is a nice place to post patterns, etc. as a back up to the comment box on YouTube.
Looking back at my play list…I started the embellishment series in July of 2024 with this video…check out the playlist. I have been publishing a new video every week since then. I have decided to take a “break” from introducing new embellishments for the month of February. In other words, we are going to review and/or combine some of the skills I have already shared. This should be fun and relaxing. By March, I will be refreshed and ready to go forward with new skills in this series.
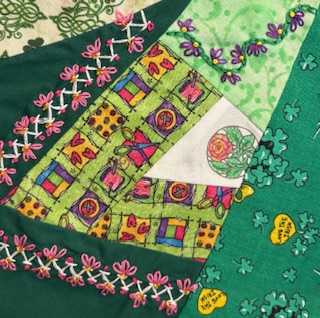
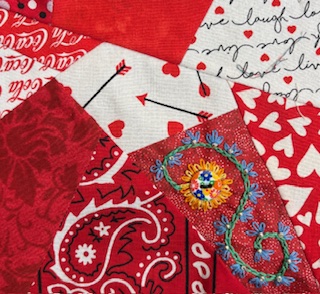
I also have a set of 12 inch blocks that are blinged out and ready to share. Years ago, I ran a Yahoo group…called werquilters. In the group, we had many fun round robin quilt blocks. One of the round robins was a Victorian quilt block swap.
The rules were simple. You constructed a block with a muslin base. I provided an address list to each participant. You sent your block and tracking sheet out into the world via US postal service. Each month you sent the blocks that you had in your possession on to the next person on the list after you added a little bit of bling. Postage was $1.95 for one of those little 2-day boxes…life was good! If you did want to send it in a box, large envelopes could be stuffed, too. There was no limit to thickness…and no extra postage for thickness! Oh, life was sweet for us quilters. Not so much for postal carriers…sorry!
The A Study in Scarlet quilt project is moving forward. I set a slow pace for this project. It seems that everyone has a sew along going, starting in January. I have even joined a few of them myself. You will have to watch episodes of Blabfest Fridays to get more information about which ones I couldn’t resist…ha ha!
As I am typing this, I am waiting for the arrival of a new camera tripod. This one is up to 70″ tall, easily movable, and tracks motion. It is not as expensive as it sounds. It should make various angle shots much easier…and you won’t have to tolerate the machine vibration as I am filming sewing on my little white singer or on the midarm quilt machine! Life just keeps getting better and better!
I hope that you are enjoying your life, too! Do something everyday that makes your heart sing…pet the cat, hug your loved ones, sew & quilt…something to make you happy!
Later,
Lorrie
P.S. Please remember that comments are turned off here because of spam attacks. Ten screens of something in Russian is not a comments. I am not interested in anyone’s manifesto as a comment! Sorry!
I bet that you do not have as many UFO’s as I do! My husband says I am the best “topper” he has ever met…but actually assembling the final quilt! That is like work!
To help you, and myself, I am issuing a challenge. Choose eight UFO’s (unfinished objects). Try to finish one a month for the next 8 months. Not a big committment…should be easy enough, right? (I know I will do a better job this year…last year I hit a 25% completion rate. So sad!)
If you would like to play along, print the form below. Fill it in…and occasionally refer back to it. If you would like to share your list to make you feel more accountable, please e-mail it to me at my gmail address.
A group I belong to will pick a number on the first Thursday of every month of the project to work on…or you can just choose one from your list.
As we work through our lists, we will have projects to share. Everyone is inspired by completed work, no matter how big or small…or even still in progress!
Please join in!
I look forward to seeing and hearing about your progress!