Nothing like a snowy, and very icy day, with no where to go and no one to teach. Our first true snow day from school! Unfortunately, it is not mostly snow. Yuck!
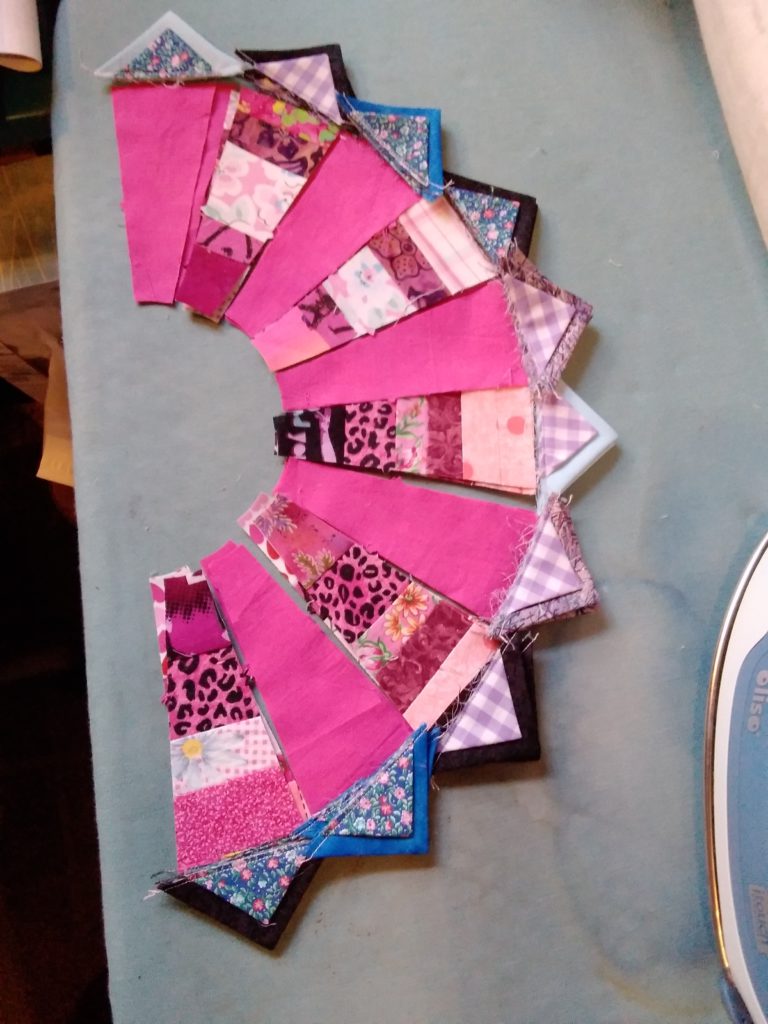
Here is my first and most ambitious project for the day:
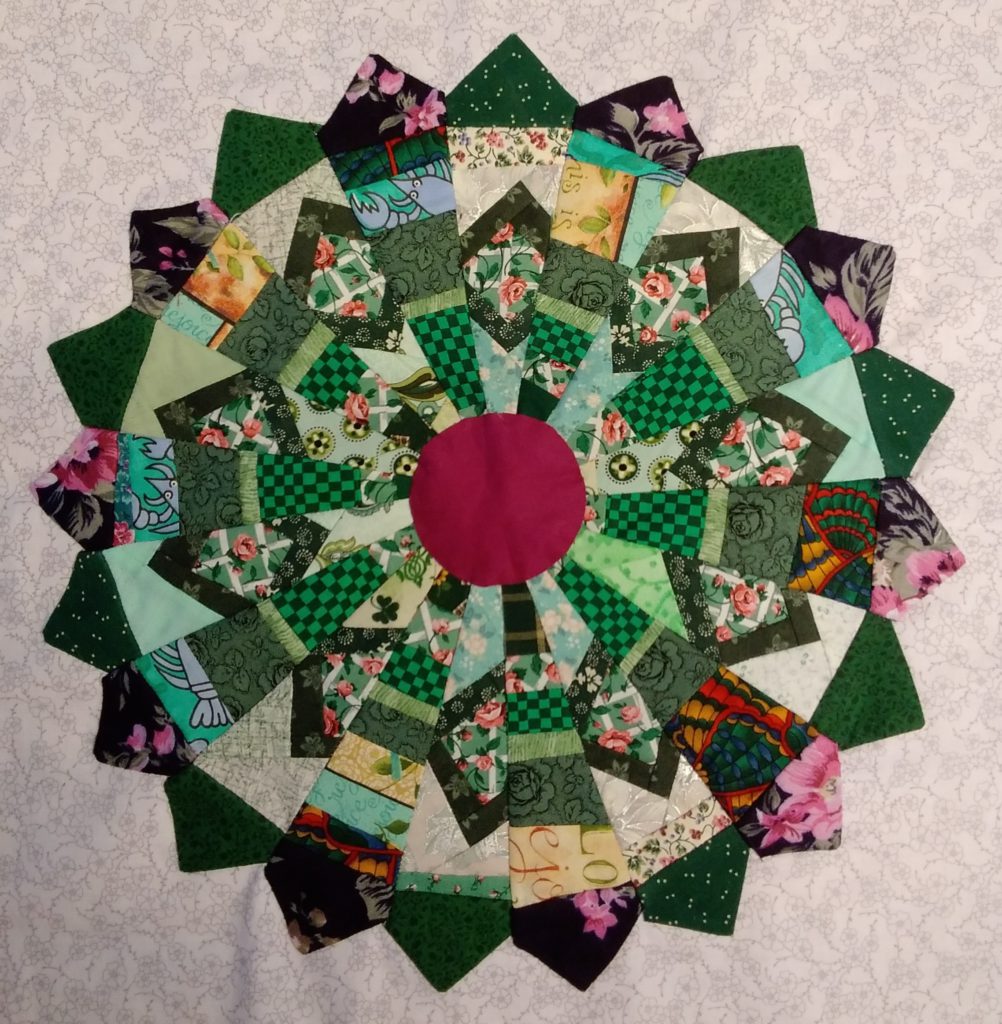
This is the 5th dresden scrap plate…only 7 more to go! I do have the next one ready to be basted onto to the background fabric. That might get done today…or maybe not.
I also have a nice pile of ironed scraps to cut with the accuquilt cutter. I found a scrap that is older than my 31 year old son. That is a topic for another day, too.
That just looks like a scrappy mess! Maybe I will just close the sewing room door and do what I do best on a snow day…procrastinate and hibernate!
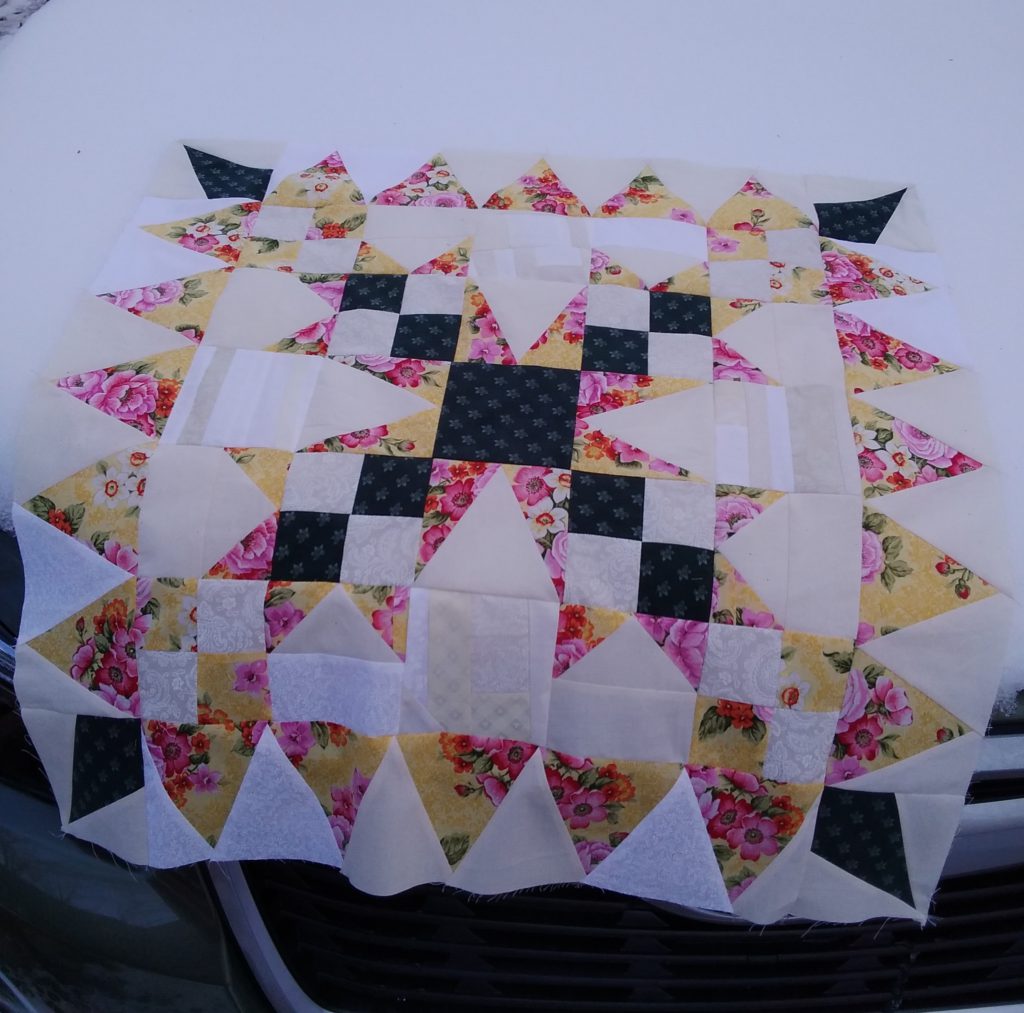
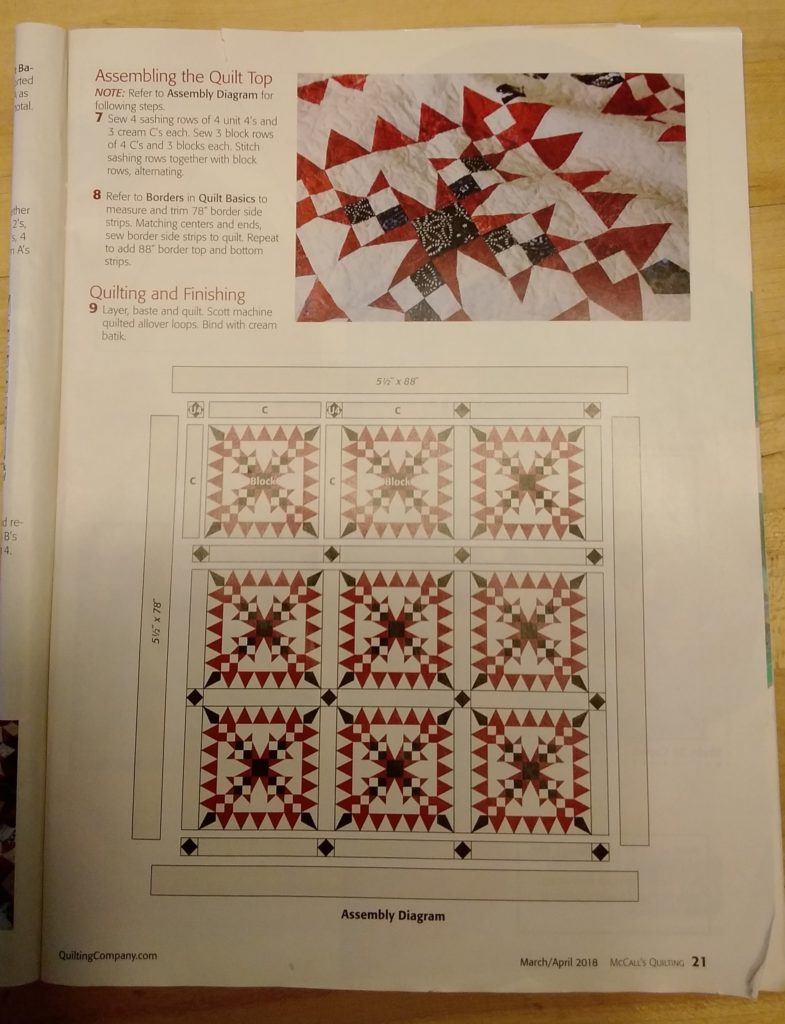
Here is the original quilt layout in McCall’s quilting magazine from March/April of 2018. This version is a little smaller than my version. It contains odd size blocks. I prefer to use pieces that I can cut with my accuquilt cutter. My finished quilt will also contain 9 blocks, but it won’t need sashing because the blocks are much bigger than these in the picture. I’m spending Martin Luther King Jr’s birthday relaxing as our nation prepares for the inauguration of a new president. This project is to take my mind off of all that is in the news that I don’t even want to contemplate.
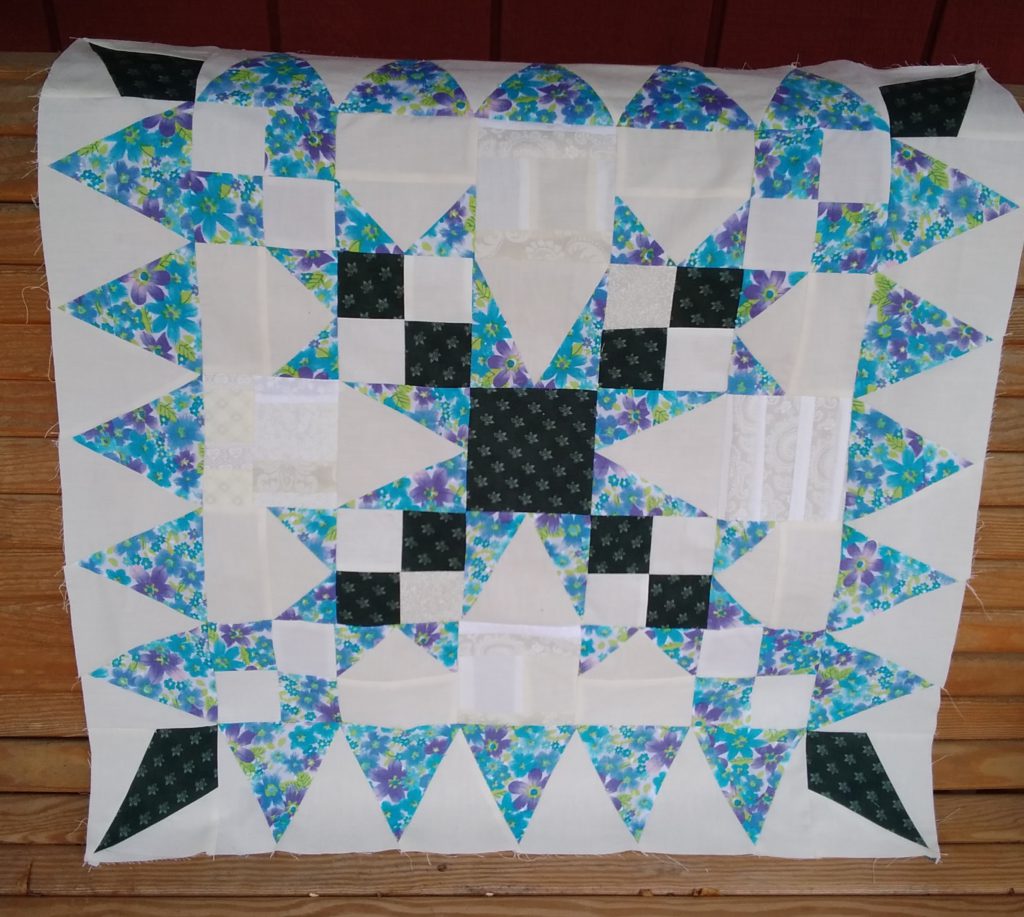
Here is a picture of my third out of nine blocks. The first two were peach with the same dark green. This one is a lovely teal and purple. The entire quilt is cut from stash and scrap fabric. It took about 2 hours to assemble this large block.
Hopefully as the long, cold winter continues, I will be able to finish the other six blocks to make the quilt top complete. Here’s to keeping busy and out of trouble.
Welcome to 2021! This has got to be better than last year. I am glad that hindsight is 2020. It would be better if 2020 could be a type of amnesia.
I am writing a quick post…just to get back to blogging.
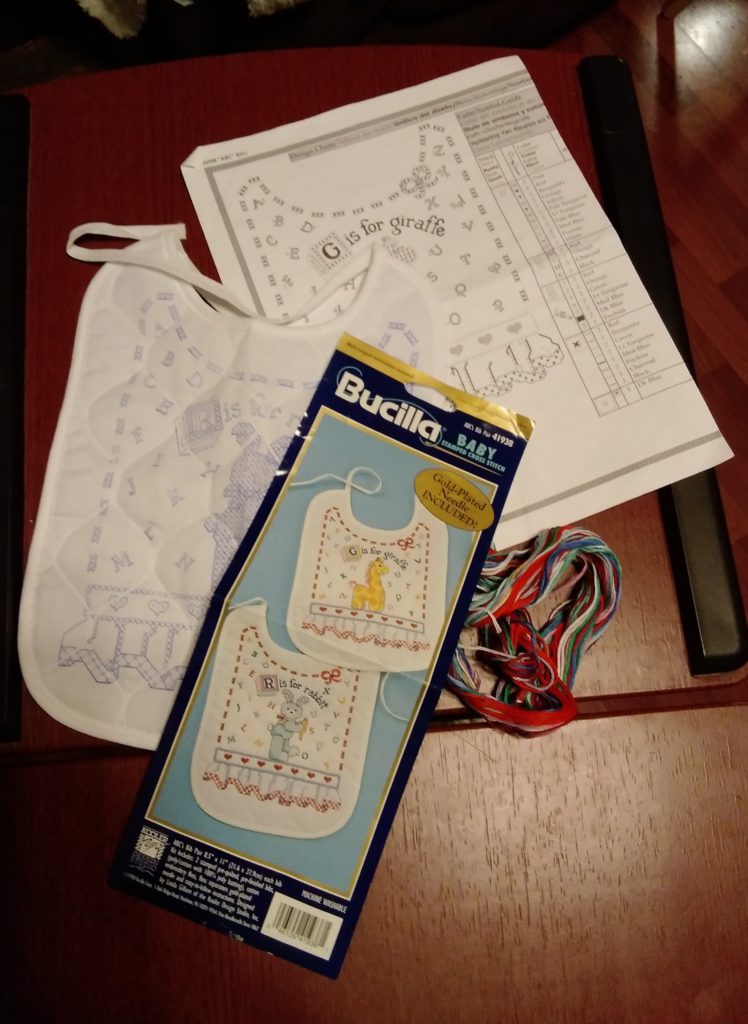
Last summer, I found this cute little embroidery kit at a Michigan yard sale. What a great bargain for 50 cents! I am sure the original price was lots more.
There are two bibs in this kit. It also included embroidery floss and a gold plated needle. Ooooooh! Awwwww!
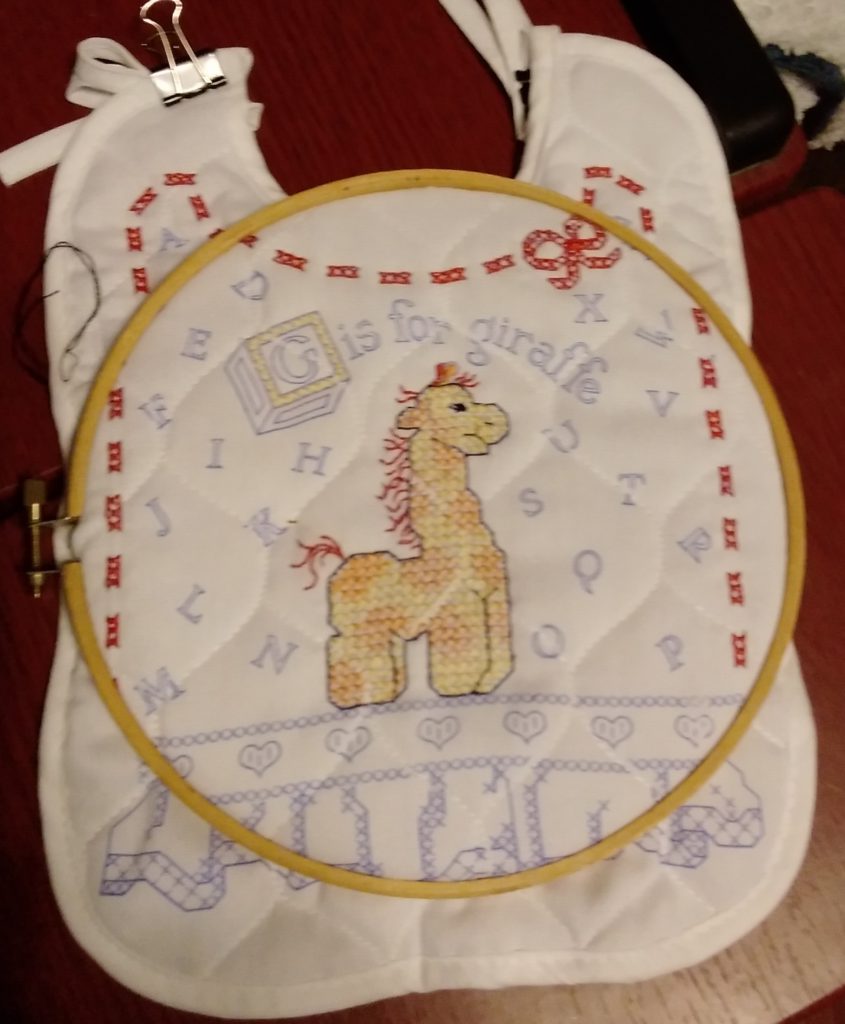
Sometimes inspiration comes from the most unlikely places, I mean yard sales. I have been avoiding applique for many years. Now that I have lots of time on my hands and a need to keep myself occupied, I have decided that this technique can be soothing. It is actually meditative. I decided to dive right in…
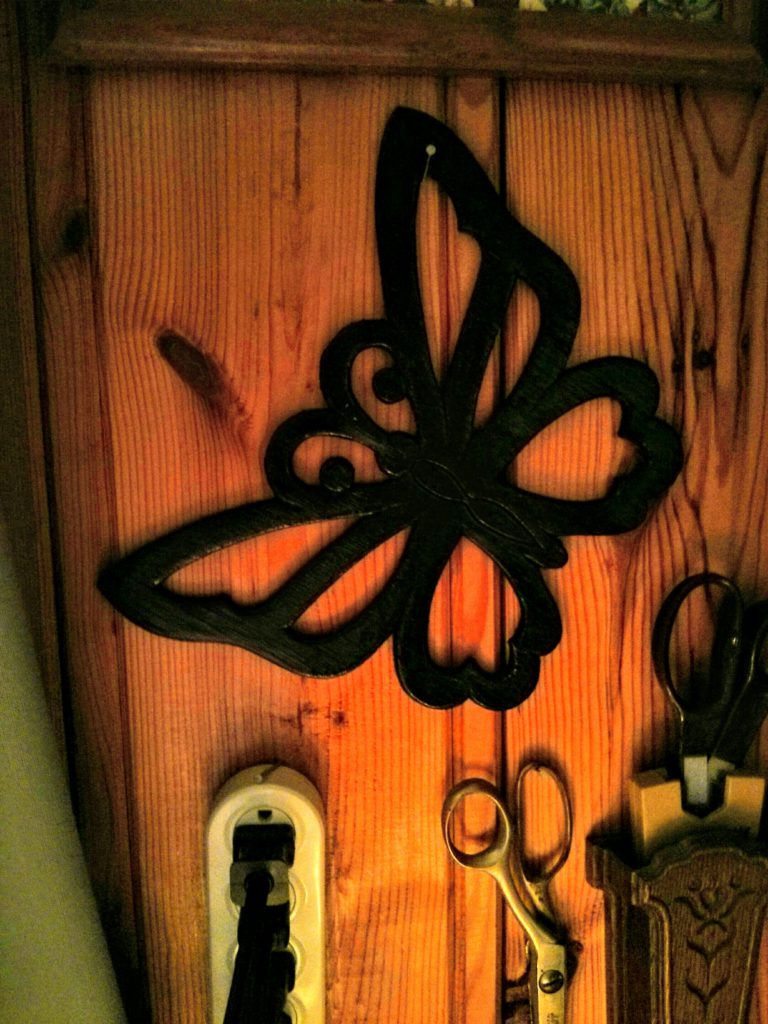
The butterfly is made of wood. It was in rough shape, so I sanded and spray painted it.
Inspiration…now wall art
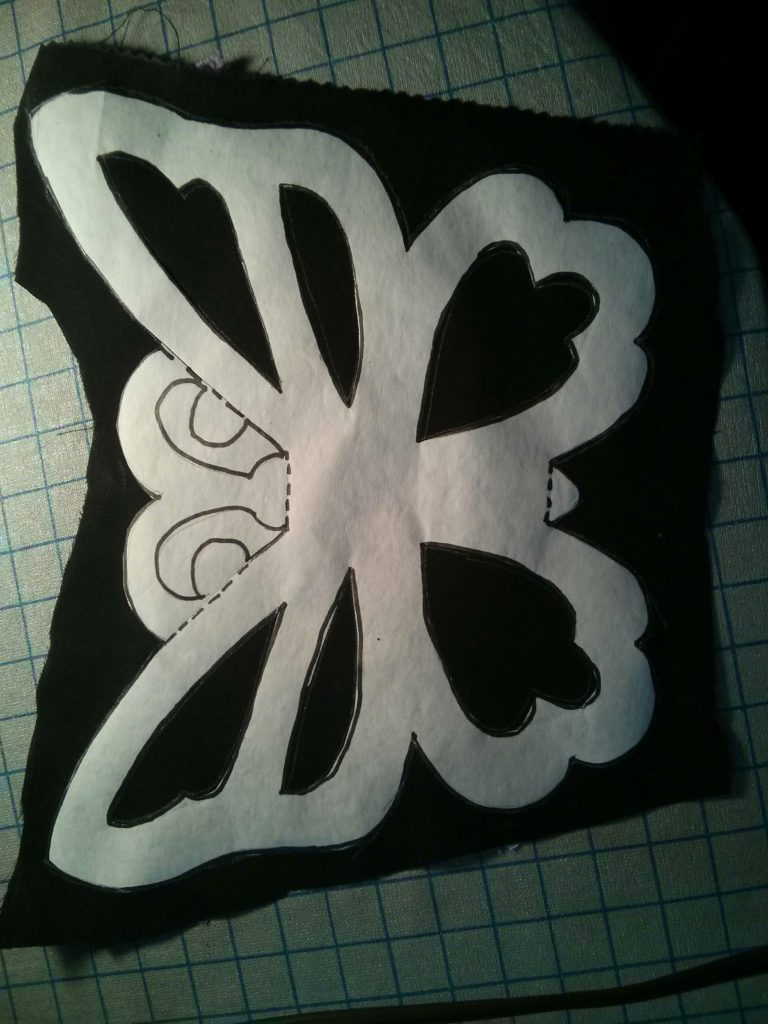
To make a pattern, I had to go buy some freezer paper. Unfortunately, it only comes in a huge roll. Last time I bought this, it was available in smaller rolls, too. I now have enough to last me the rest of my lifetime. I traced around my wooden butterfly with a sharpie marker. Some of the parts (where there are dashed lines) are cut from other fabric and added on top later.
freezer paper pattern ironed onto black background fabric
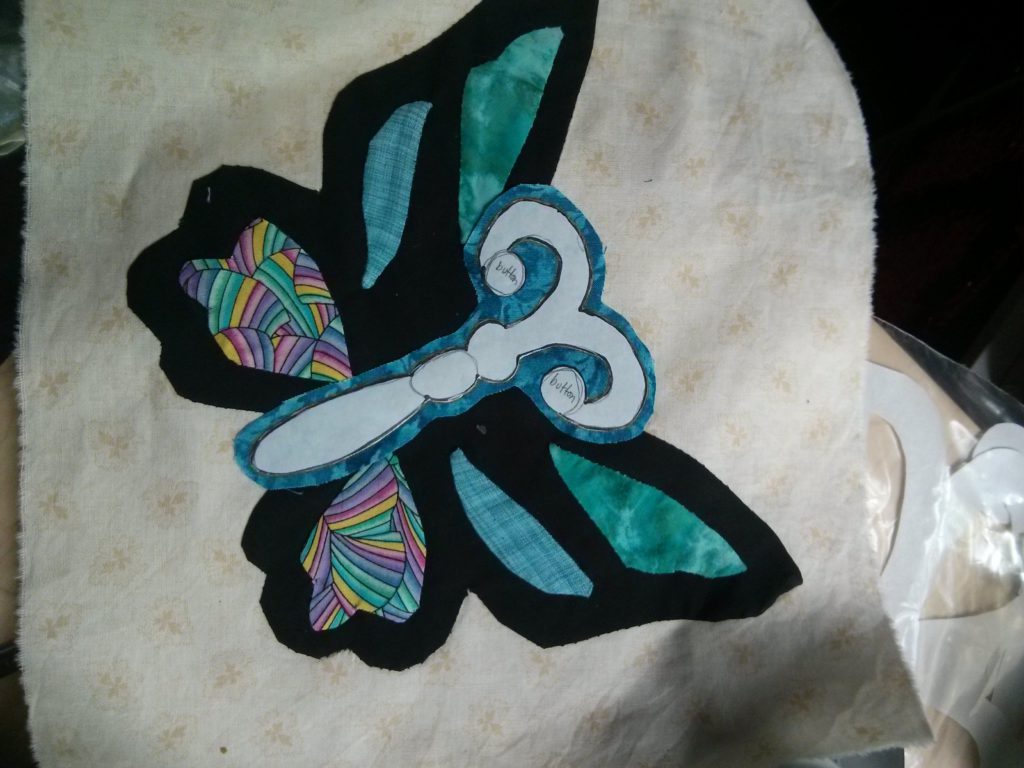
I have been using this pattern to try out different ways to do applique. At first I tried appliqueing the colorful shapes onto the top of the butterfly wings. I used a template and starch to make them the right size and shape. Here is a tutorial of this applique technique.
This method has some positives. All the pieces are prepped before you actually start sewing. You can use hand or machine applique.
This method also has some drawbacks. You have to have matching thread for each applique piece (unless you are using invisible thread…that has its own set of worries). Small pieces are sometimes difficult to iron, even when you use a skewer or other instrument to save your fingers. Placement of pieces onto the background can also be a challenge.
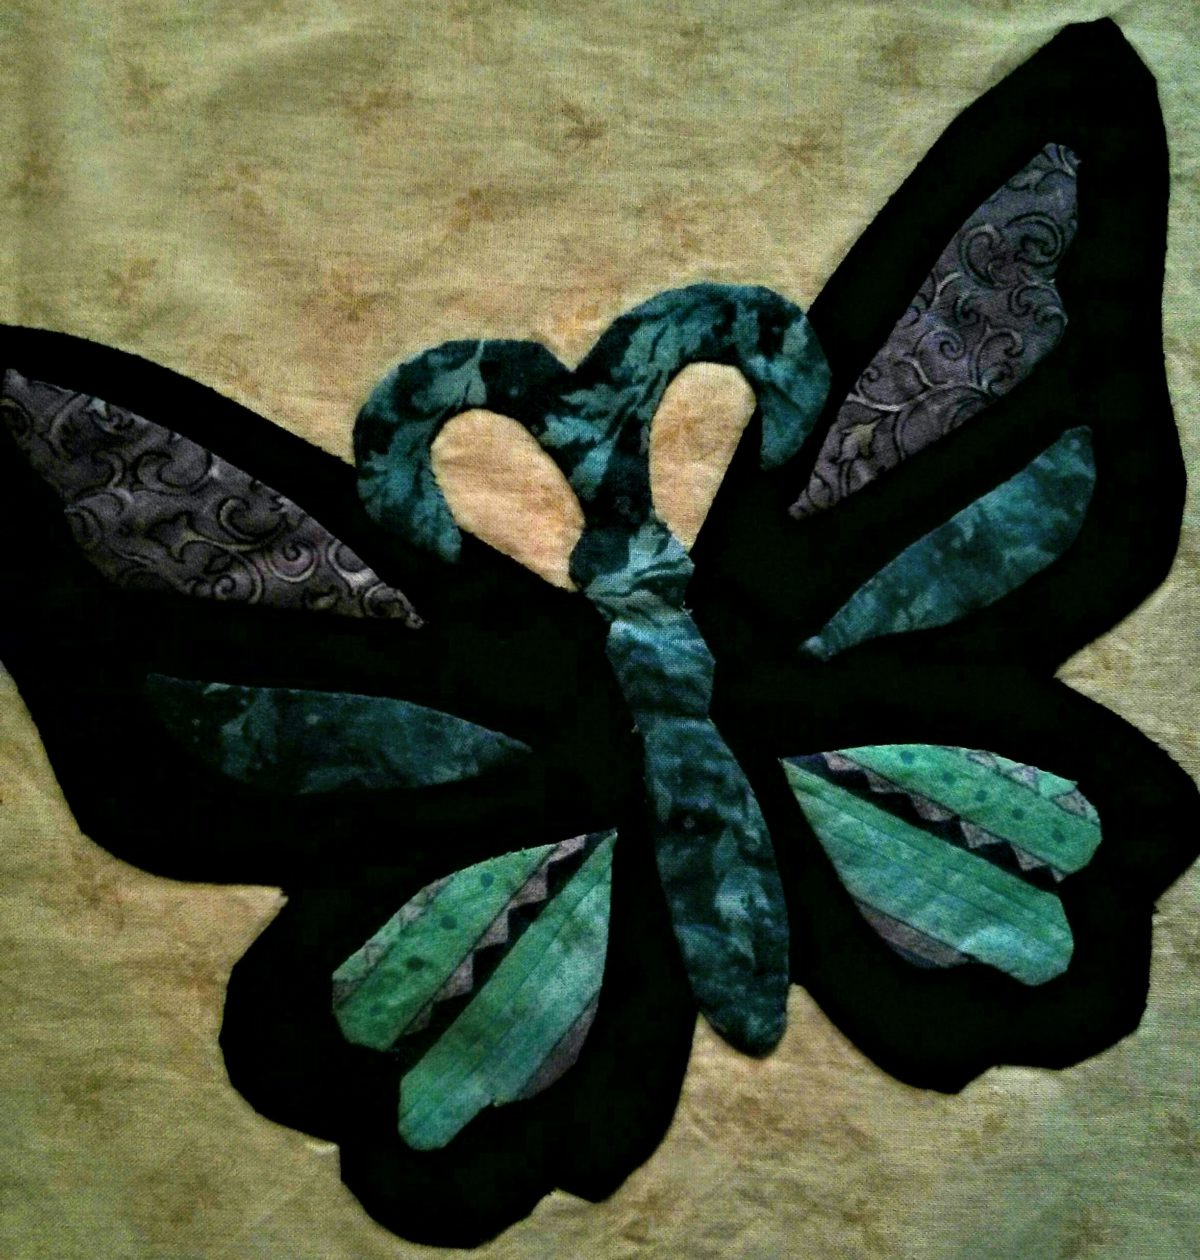
This butterfly is close to completion with the body placed on top. I used a basting glue (just a couple of dots), then I remove the pattern. The outline has been traced onto the fabric with a silver gel pen.
Here is a finished block:
This is an excellent scrap buster. My blocks finished at 11 1/2 inches. This would be easy to adapt and make it your own.
I have decided to make 20 of these! Three done and one more on the way! I have an idea about embroidering inspiring words on each block like “hope”, “peace”, etc.
I hope that you have a chance to check out the applique links above. I wish these tutorials had been available to me when I was 20 and could see without bifocals or reading glasses. Give it a try! If it doesn’t turn out well, tell everyone you were going for the rustic look!
In my last post, I had a picture of the lake view from our cabin in Hale, Michigan. There were many usable items left behind by the previous owners, but some things just needed to be refreshed.
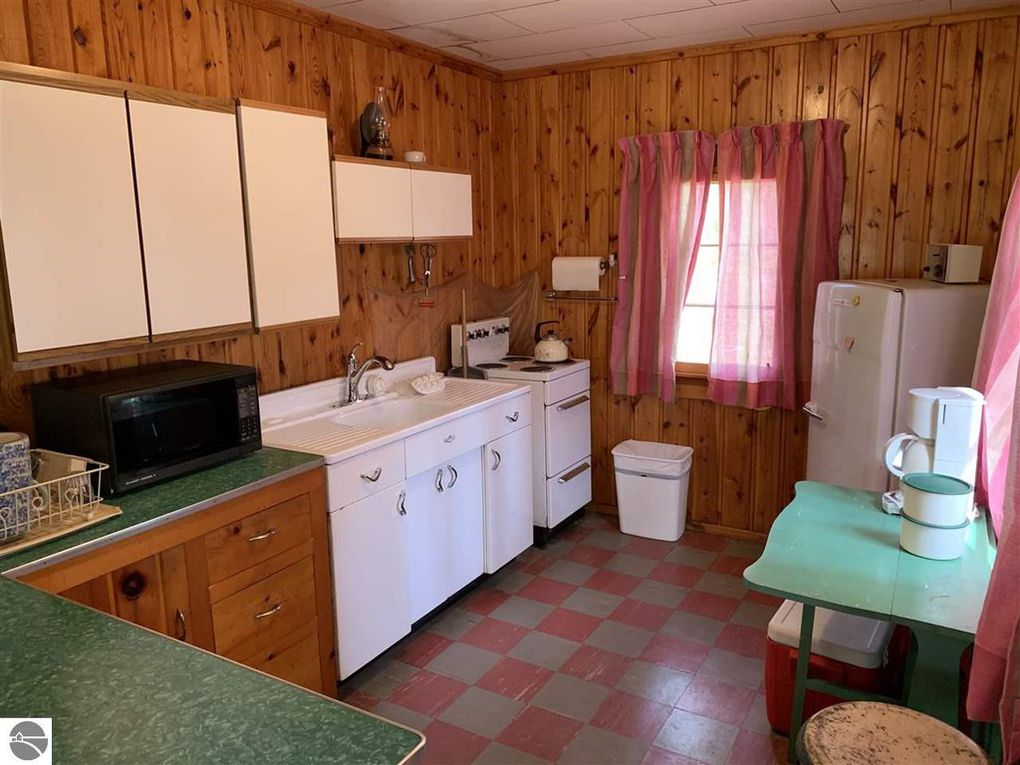
I love this kitchen! The fiberglass curtains were, well, let’s go with hideous.
Let’s talk about curtains. The ones in the kitchen were serviceable…in the 1960’s! They were fiberglass, so there was no real issue with them catching of fire when they got caught in the oven door…OMG! (Yes, you could actually catch the corner in the oven door. Yikes!) I love this quaint kitchen. It screams 1955. It was perfect for the time it was built.
Kitchen with valances that hide blinds. Updated appliances and “island” for storage and additional counter space.
This is my modernization. Behind the valances are “wood look” blinds to be closed only when the cabin is shut down for long stretches of time. In the new picture, you will also notice that we stimulated the local economy by replacing the appliances. The good folks at the Do It Best Hardware in Hale were helpful and wonderful.
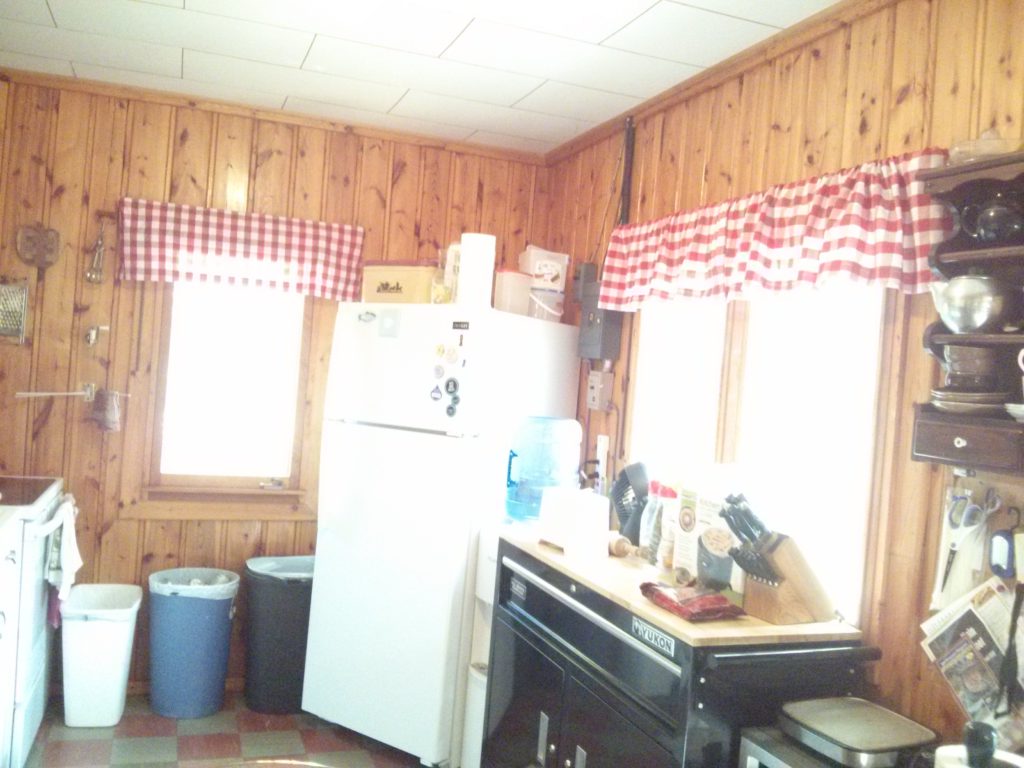
Nice sea green curtains…status quo for now.
The curtains in the main living area are fine for now. I will deal with them next year. At the moment, they can be closed or opened as needed. They adequately block the view from outside, keep out heat/ drafts, or open to let in light. They are a pleasant color. I can’t decide if I want to keep some of them or change all of them…decisions…decisions.
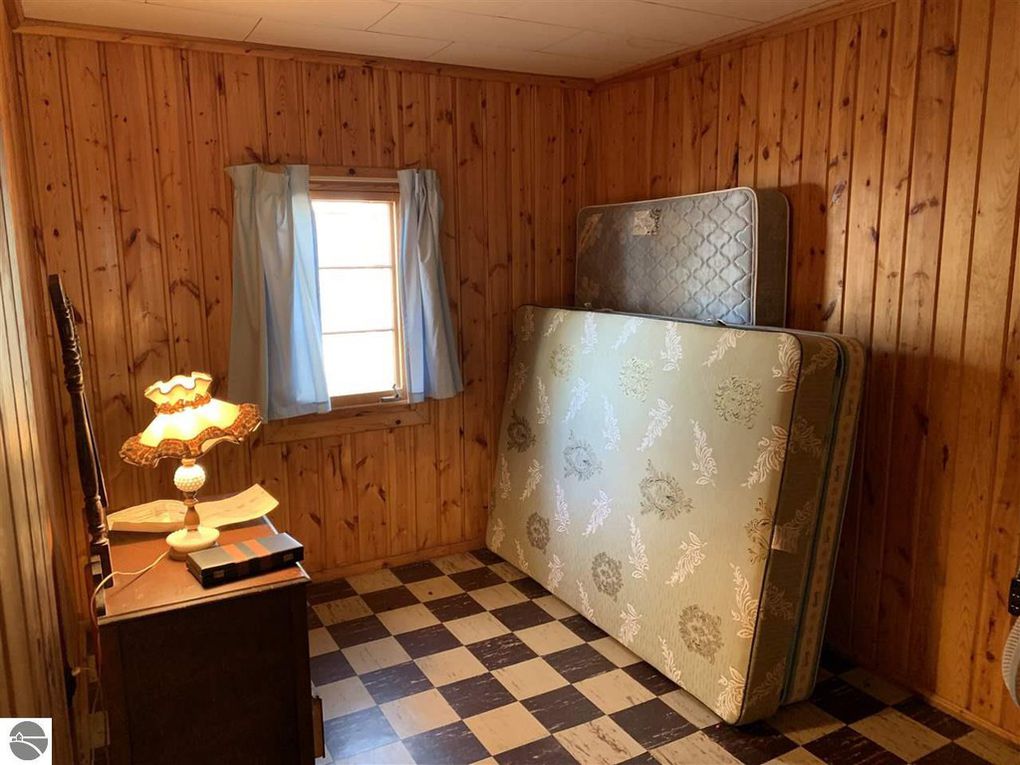
Small bedroom…before set up.
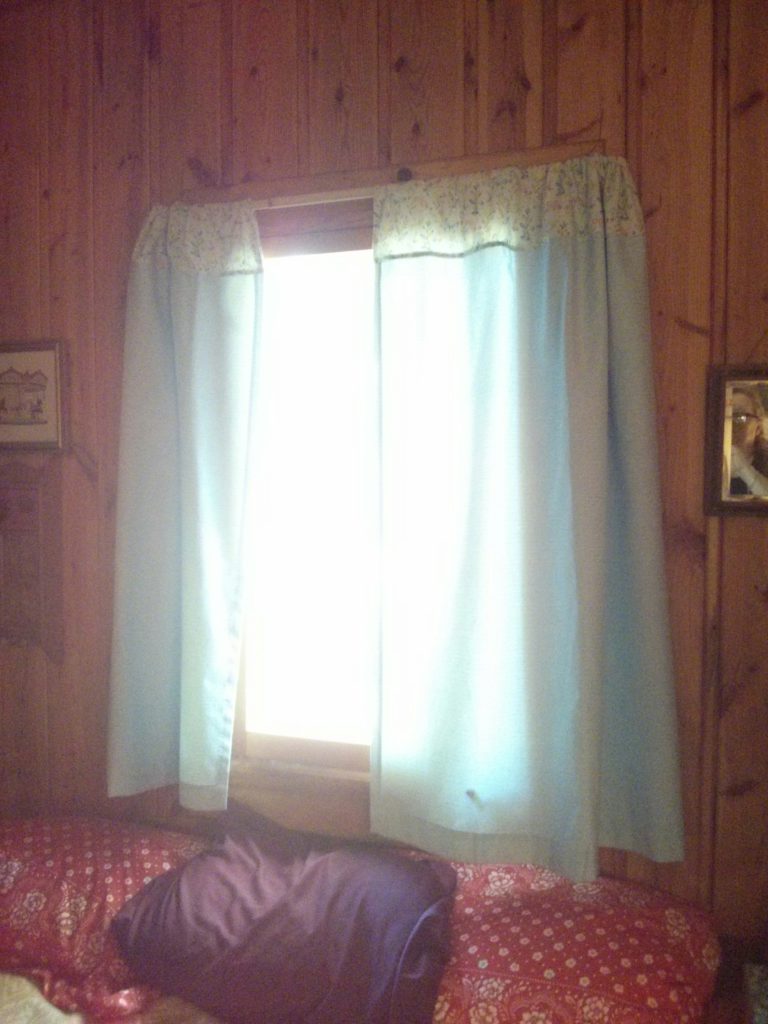
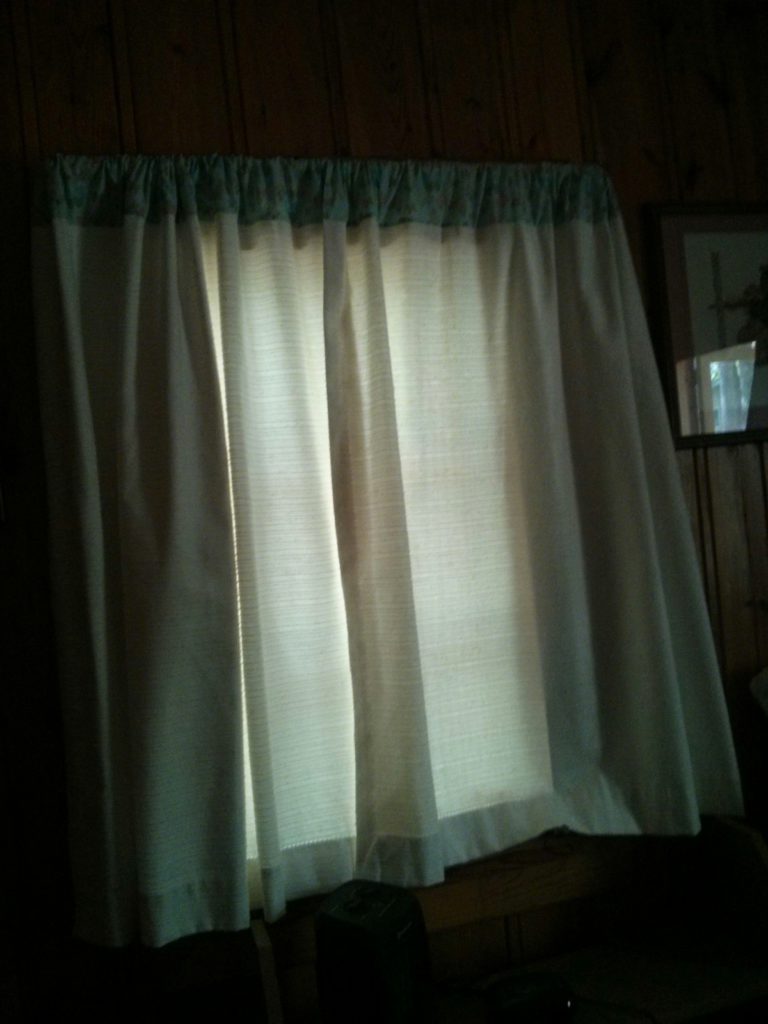
The bedrooms all have black out curtains. Well, they would be black out curtains if they weren’t about 3 inches too short when they are closed. They also gap and hang awkwardly because of the curtain hooks at the top. In two of the bedrooms, the sun streams in right on the eyes of the sleeping guests. Wakey, wakey is not a good plan for vacation. I slightly modified the curtains to match the theme in each bedroom. I also eliminated the curtain hook.
To improve the bedroom curtains, I first cut off the pleats at the top. I know…I know…someone paid a lot of money for those pleats. I don’t care. I am short and could not reach them to close them without knocking them off the curtain rod. I added a fabric sleeve at the top. I used a self-seaming method that I learned while making homemade pillowcases.
Update: I read somewhere that this is called the burrito technique. All unfinished seams are inside after sewing just ONE seam. Miracle! This is a great seam technique to learn here.
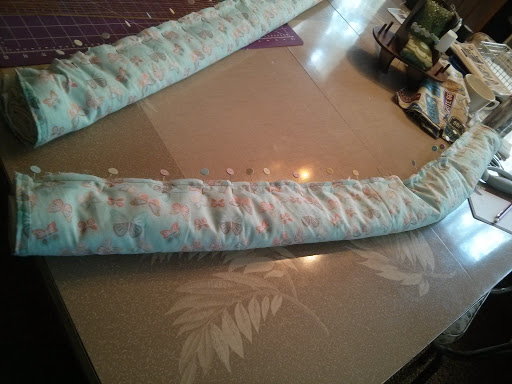
Curtain ready to sew.
To prepare the curtain to add the fabric at the top, the ends of the fabric are seamed so that the new topper is the correct width. The fabric is basically wrapped around the rolled up curtain. After the seam is sewn, the curtain is pulled out from the inside…turning the new topper out right.
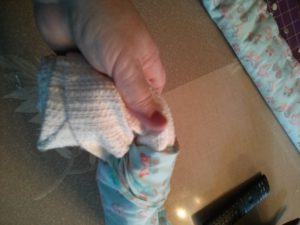
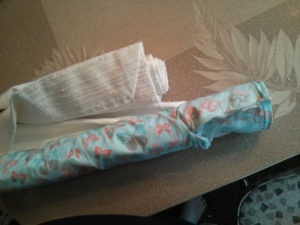
Curtain being pulled out of sewn fabric roll…Curtain slightly less than half way through the turning process.New curtains in second guest room…correct length and easy to close.
Curtains are not the most exciting sewing topic because they are simple rectangles. This little project would have appealed to my great Aunts, those wonderful ladies that survived the Great Depression.
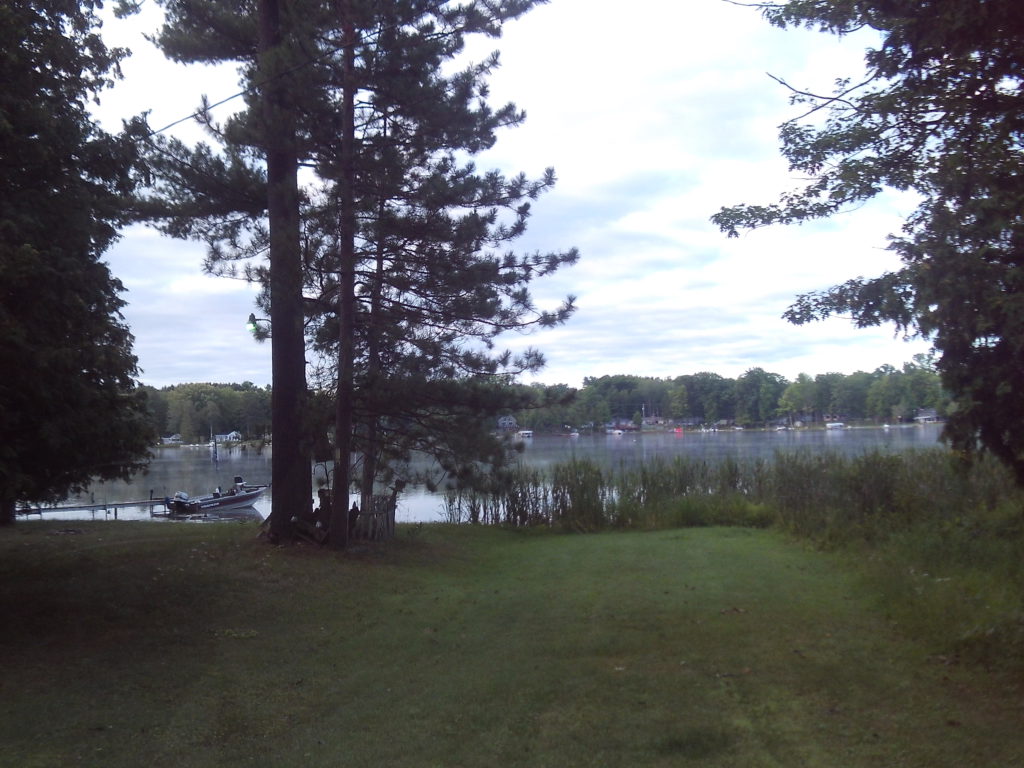
The view of Long Lake, near our cabin, in Hale, Michigan. (fall 2019)
It has been a while since I published any good news or patterns. I have been busy creating, sewing, and living life. At the moment, I have time to start writing again and sharing. Be on the look out!