Welcome! Today I am constructing a simple block using a center square and strips…and for a second block, a center block with strips and cornerstones. I chose very simply constructed blocks for the next few weeks to get us through the “Silly Season” and all of the holidays. My head is spinning with all of the tasks that I need to complete before the new year. How about you?
You can also watch a 1 minute video that shows a very speedy version of the block construction…very speedy!
Let’s get started! The layout is simple. I chose a center block with good contrast from my scrap bin. I love to work small, so my center is 2 1/2″. You can make this any size you want. It is easily adjustable.
The outside strips are 1 1/2″ here. Again, with a larger center, you could easily use wider strips. I cut two of the pieces the same width as the center block to get started.
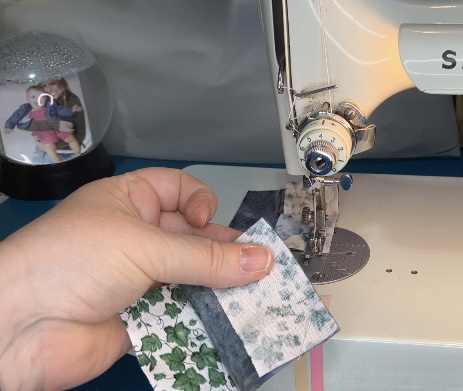
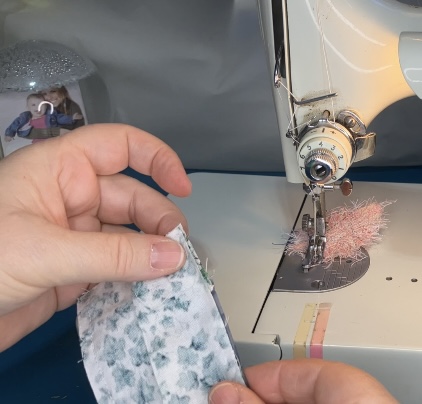
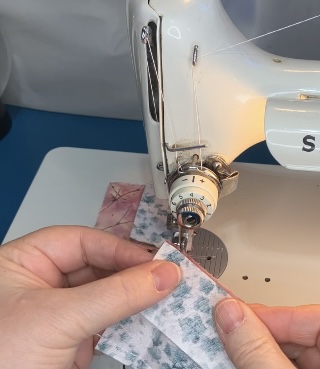
Join the cut strips to the center block on both sides.
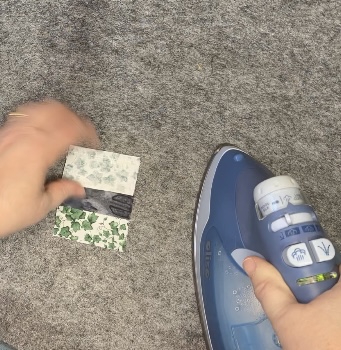
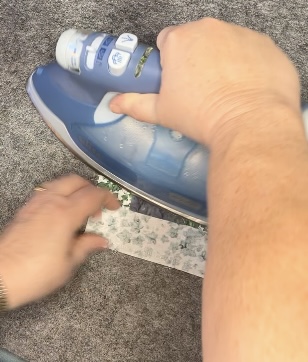
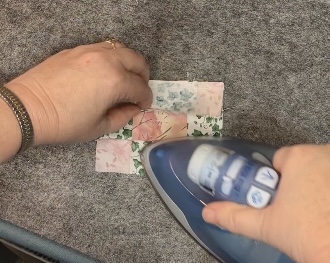
Press however your little heart desires…I pressed the seams out on this block. There is not a lot of bulk in the seams like previous blocks made from a zillion little squares, so I did not press open.
Add the other side strips. You can cut these to the final length before or after you sew them on.
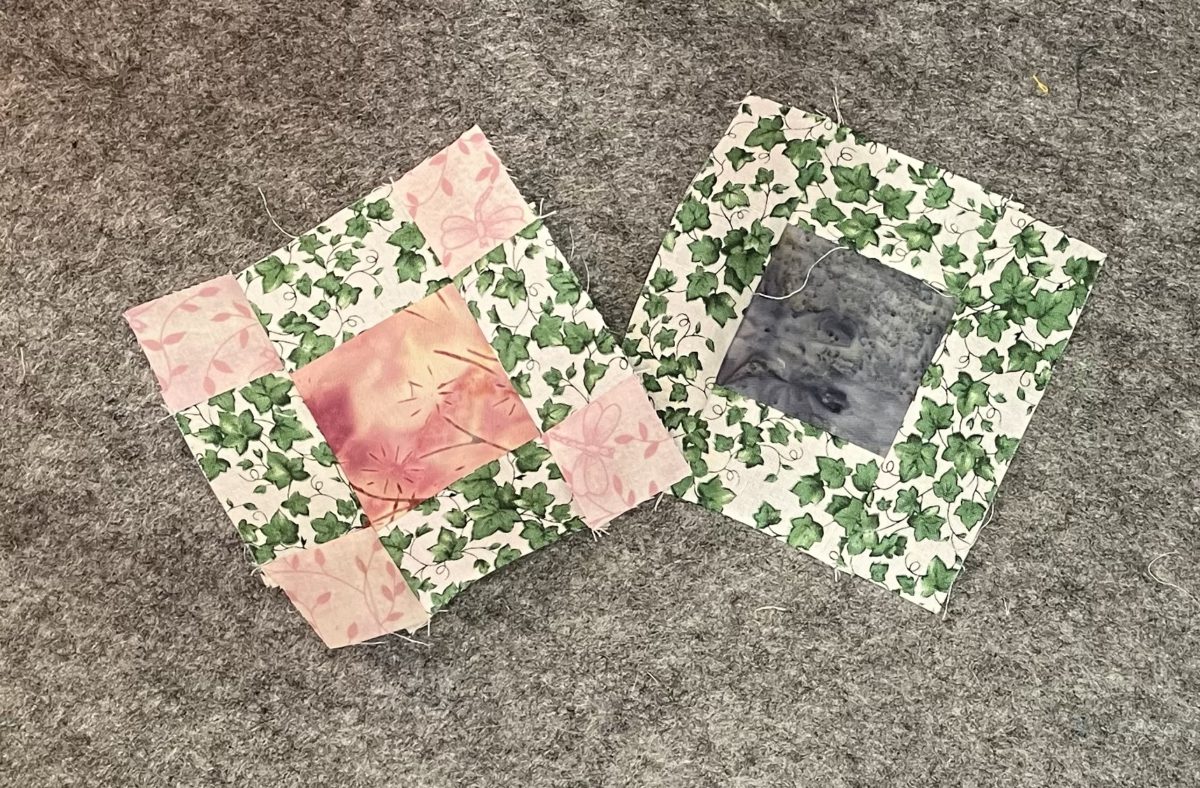
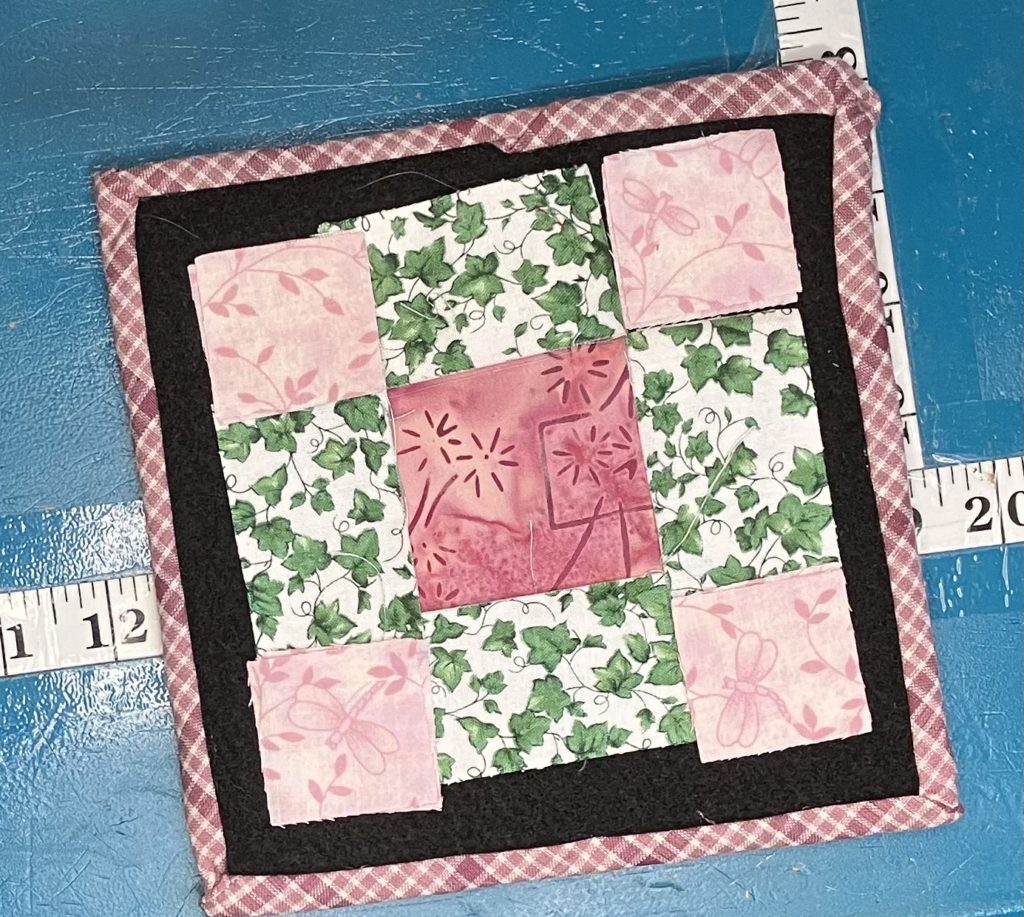
Again, I pressed the seams to the outside. The completed block is shown at the end of the post.
Ahhh! The second block…cha-ching! Bonus, Baby!
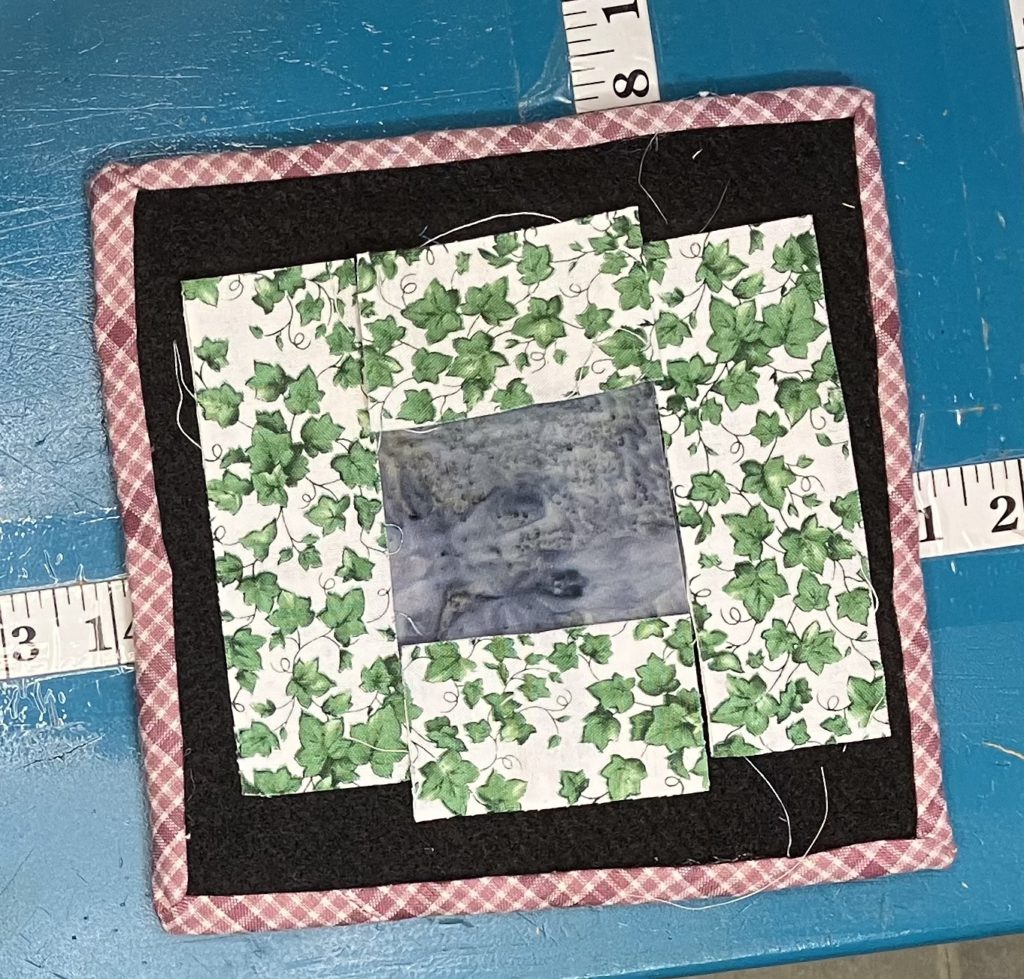
The center of the block shown here is 2 1/2″, but could be easily adapted to your favorite size. Strips and cornerstones are 1 1/2″ wide. I would change this if I were using a large center block to keep the proportions about the same. This could also be made in a scrappier version.
I assembled this block in rows. First, I assembled the top and bottom rows by adding the cornerstones to the center strips.
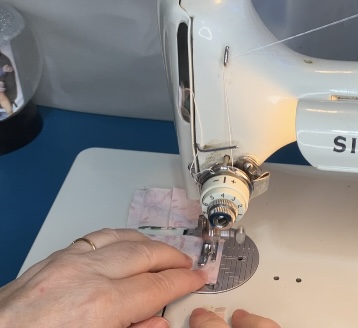
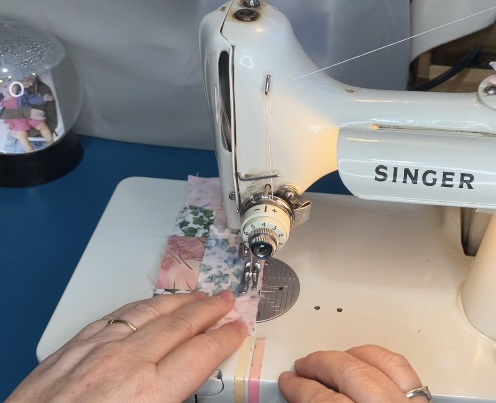
Next I speed pieced the side strips to the center. Doing all of the piecing at the same time makes the pressing easier.
I know that not everyone is a pressing fanatic like I am. I don’t like to wrestle with seams as I am trying to sew the units together, so I press between each step. You do you…press as you wish. No judgements here.
I pressed the top and bottom rows to the outside and the center row toward the larger center block.

When I added the top and bottom to the center, the seams locked together nicely…no pinning required.
I pressed to the outside on both sides.
Two little blocks…tah done!

I hope you are enjoying my build a block series. When my head stops spinning after the holiday season, I hope to evolve this into a printable pattern page with different sizes to make it easier to use with scraps of all sizes. What are you planning to make with your scraps? I love to hear from you…especially if you aren’t leaving comments about selling Russian viagra, etc!
Later,
Lorrie