
Here are the pieces you need for the block:
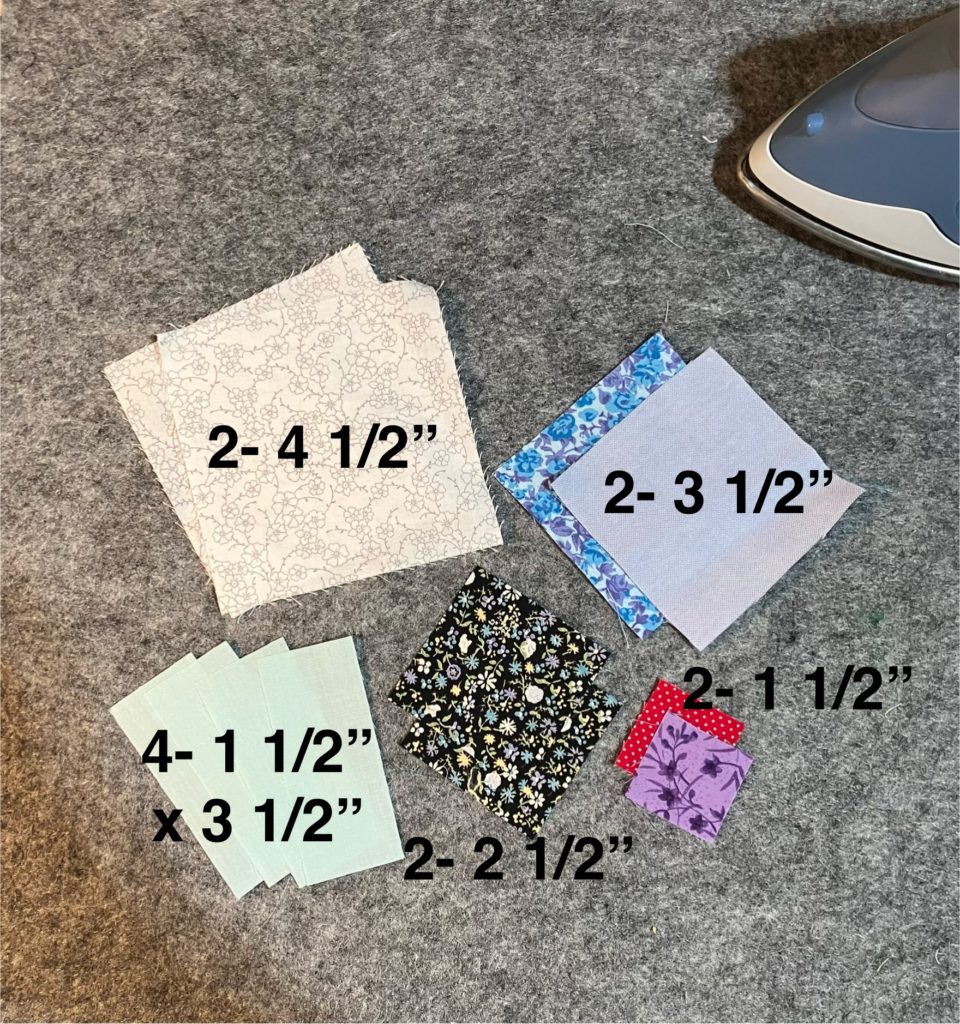
This block is assembled in two easy parts. First the butterfly pieces of the block. You will need the 2 1/2″ squares and the 4 1/2″ squares to create the two sections that make the butterfly at the end reveal.
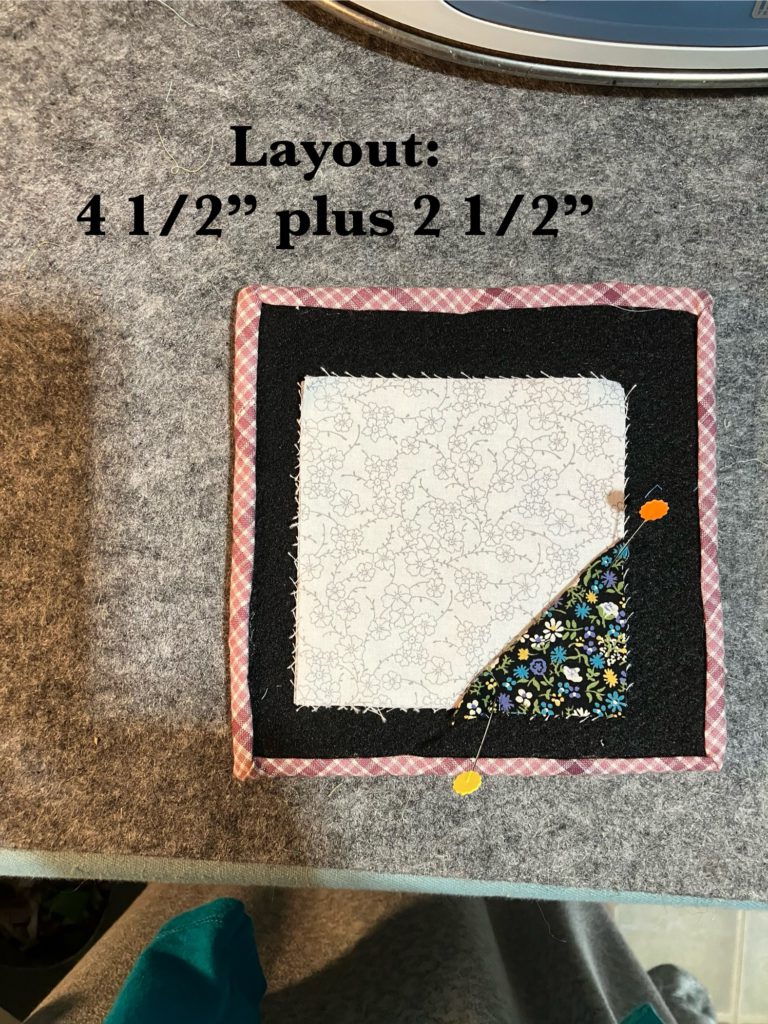
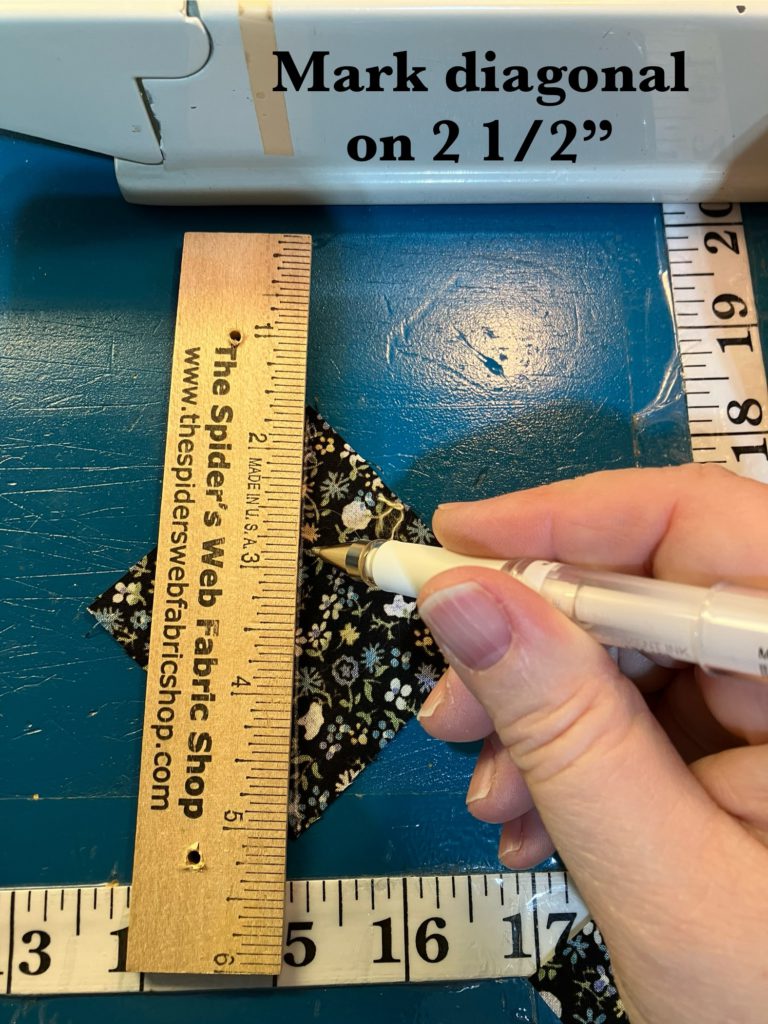
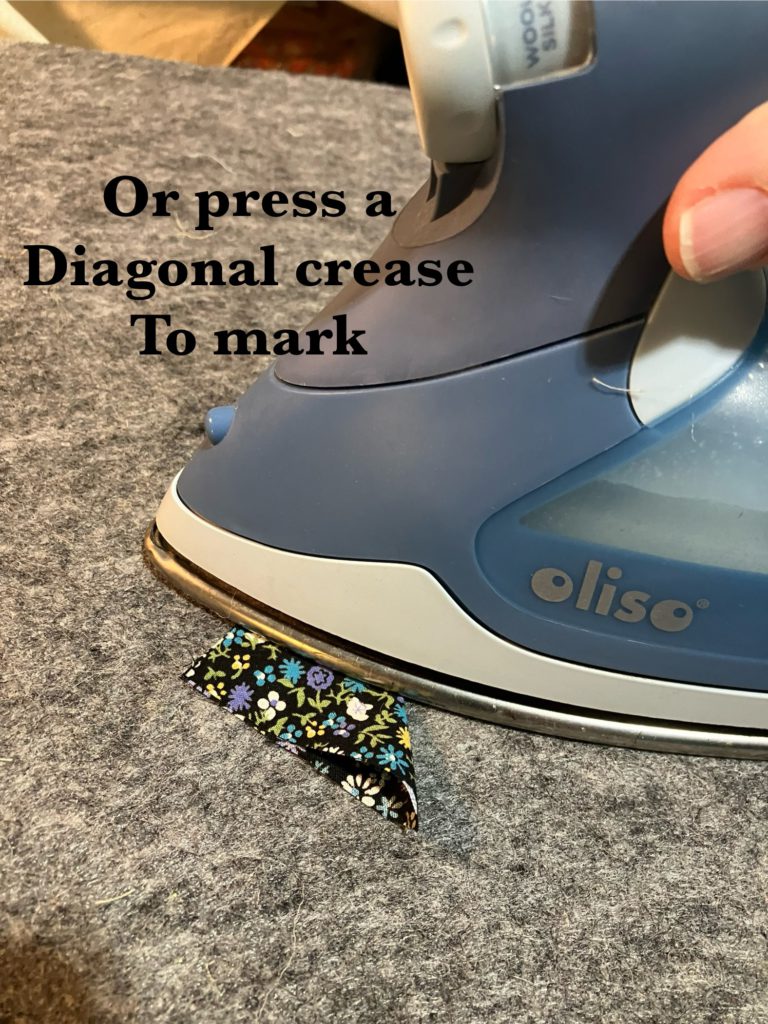
There are many ways to make that diagonal so that it is sewn straight.
- Mark the line with a pen or pencil and a straight edge, like a ruler,
- press a crease into the 2 1/2″ block as a sew line or
- my prefered and very lazy method…the piece of tape to follow along with the corner of the square as I sew. You can see the tape in the picture below.
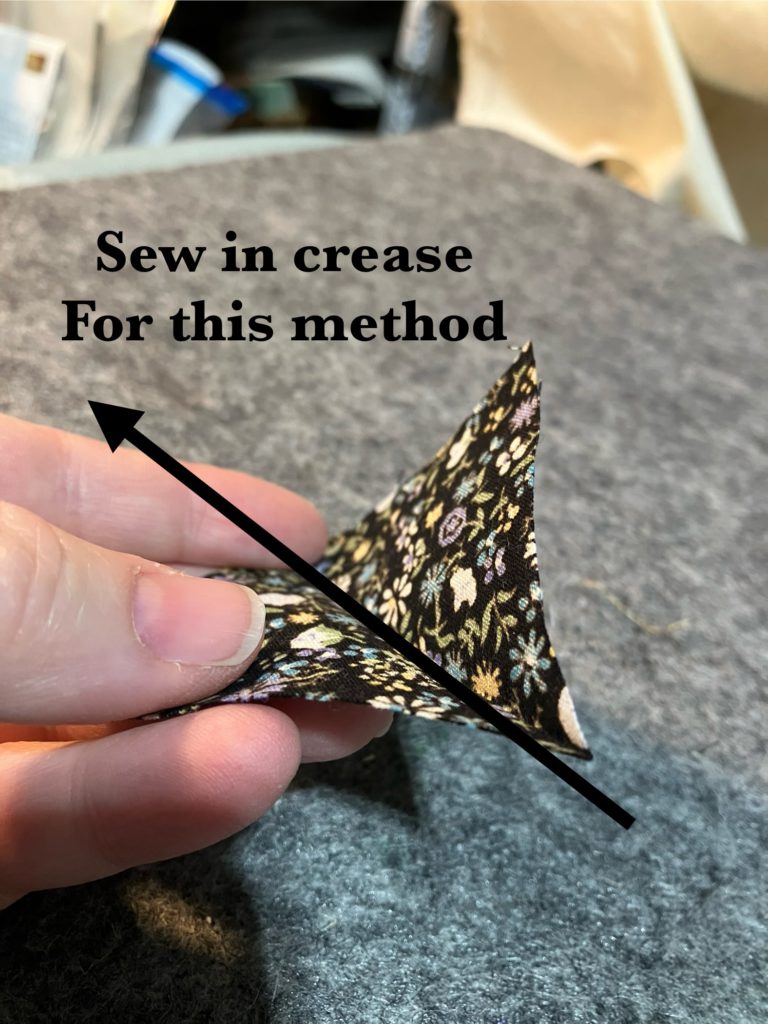
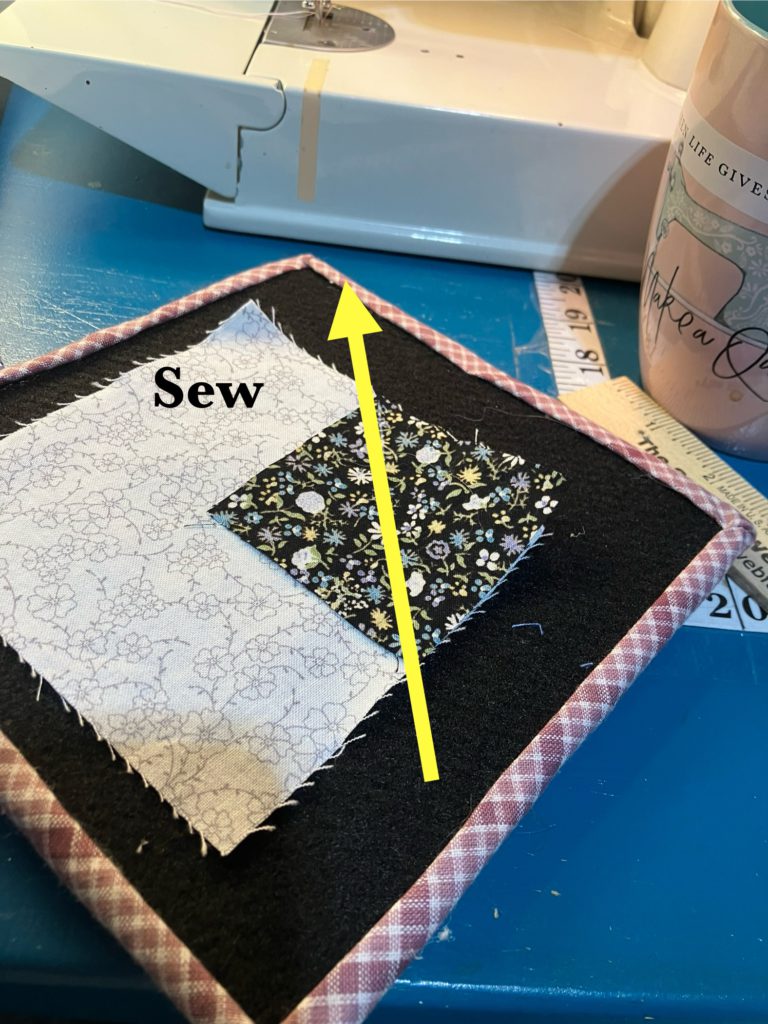
I always opt for the bonus block if the original square size is 2 1/2″ or bigger. That would be the reason I am being over run by half square triangles. I am working on fixing this little problem. There will eventually be a series of blocks on this blog that use up many of those bonus triangles! I promise!
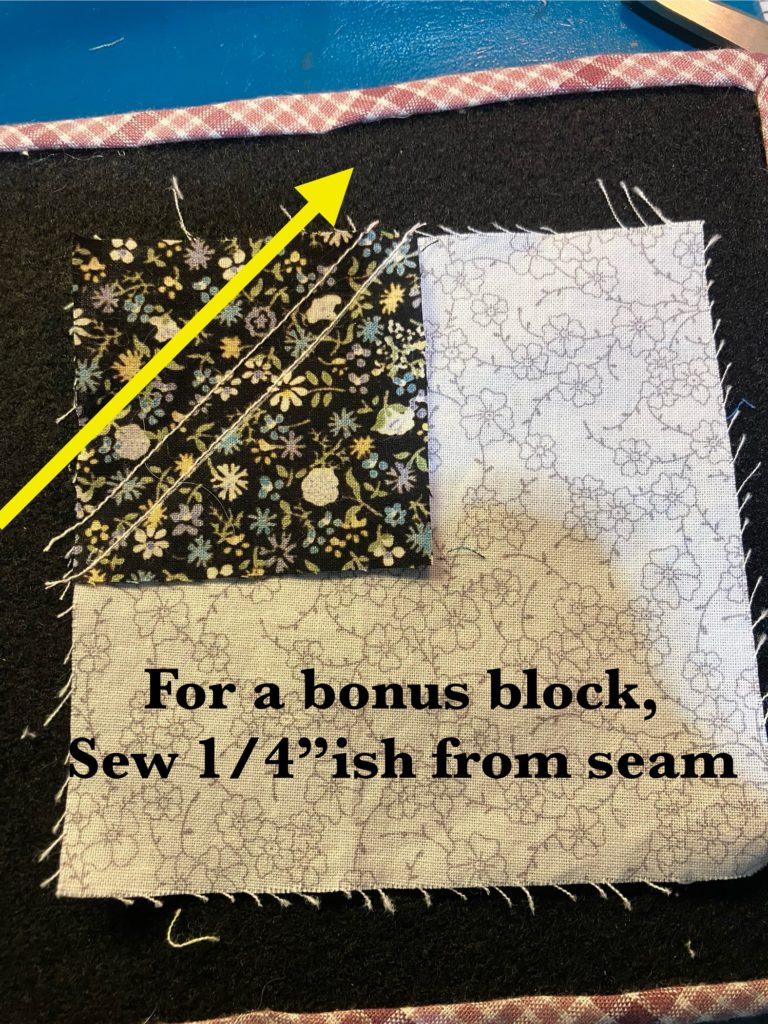
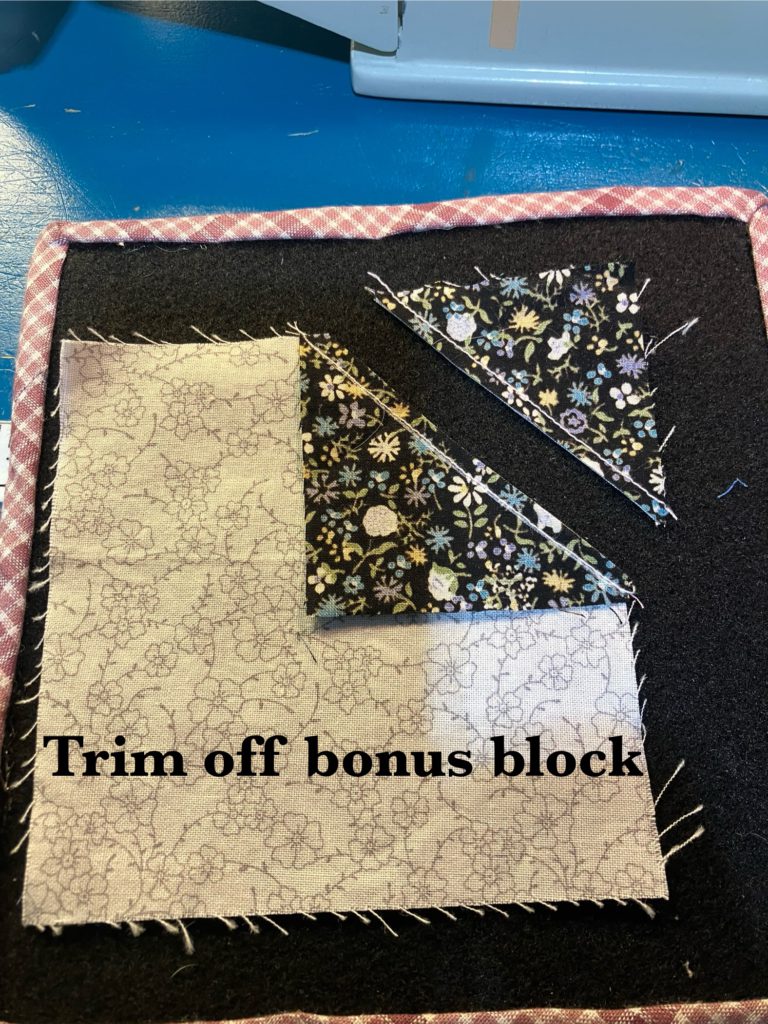
I am a big fan of pressing pieces as you go, as you all know. Butterfly wing sections are now complete.
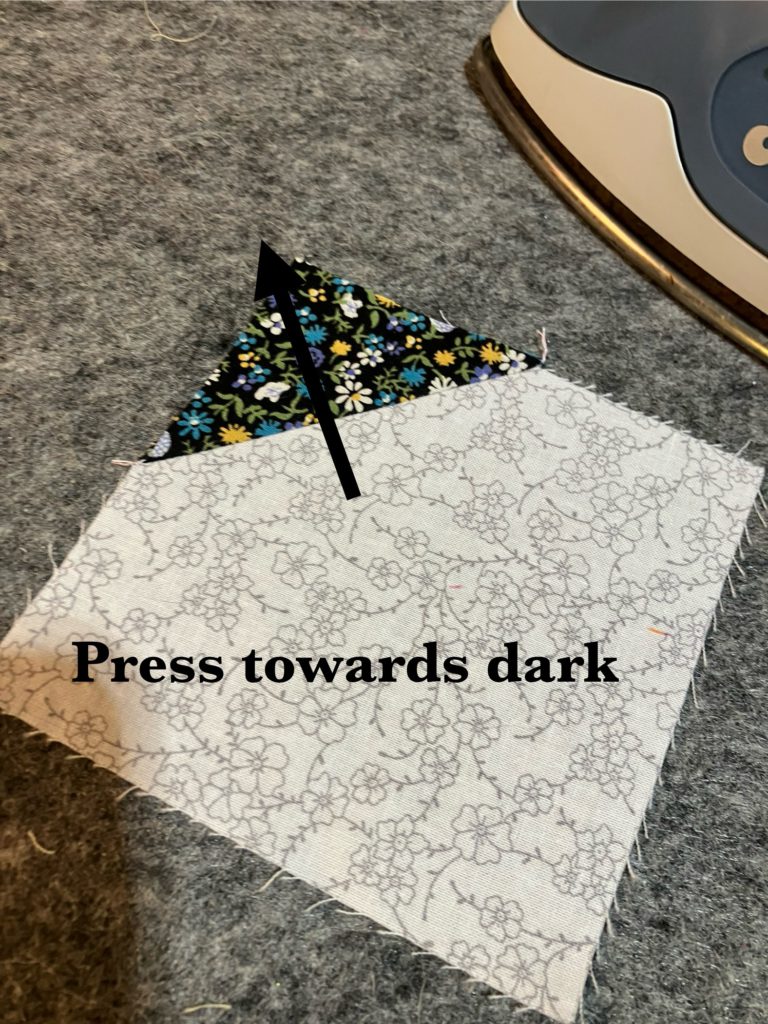
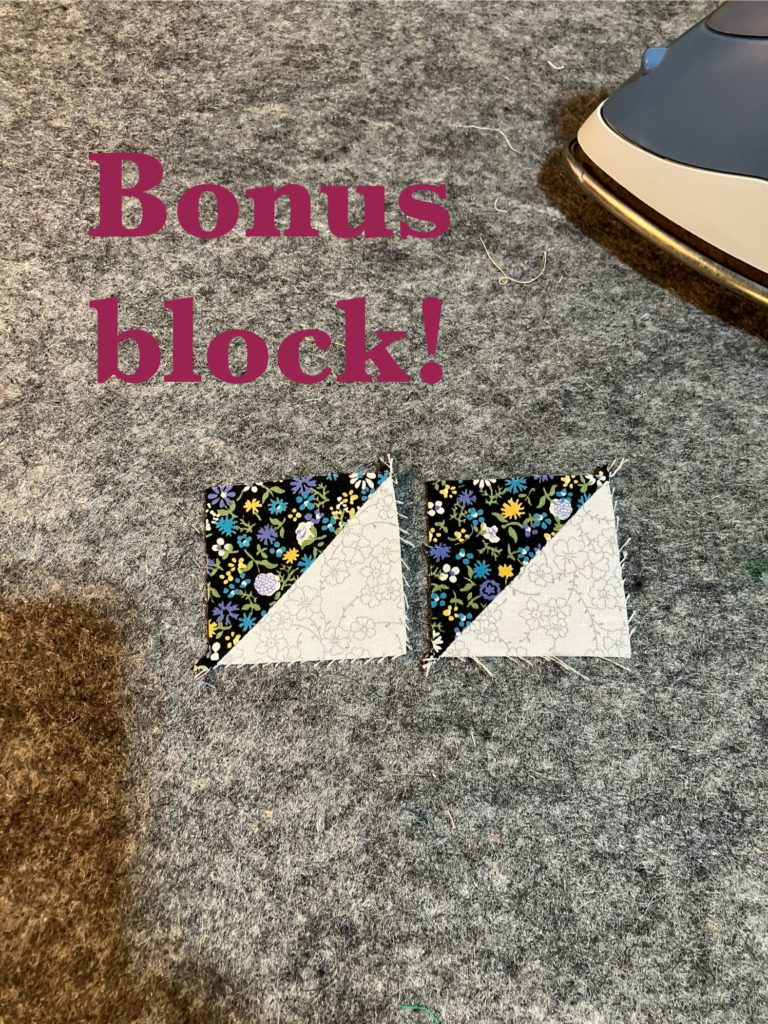
Now for the second section of the block. It is all straight line sewing for the rest. See the layout below.
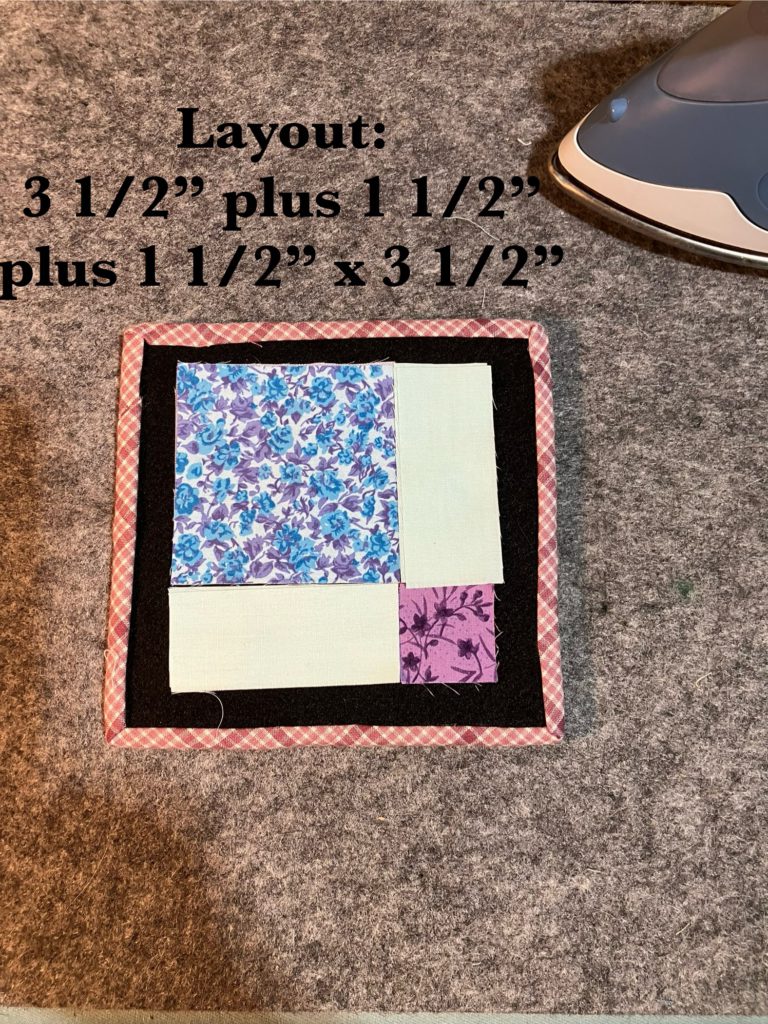
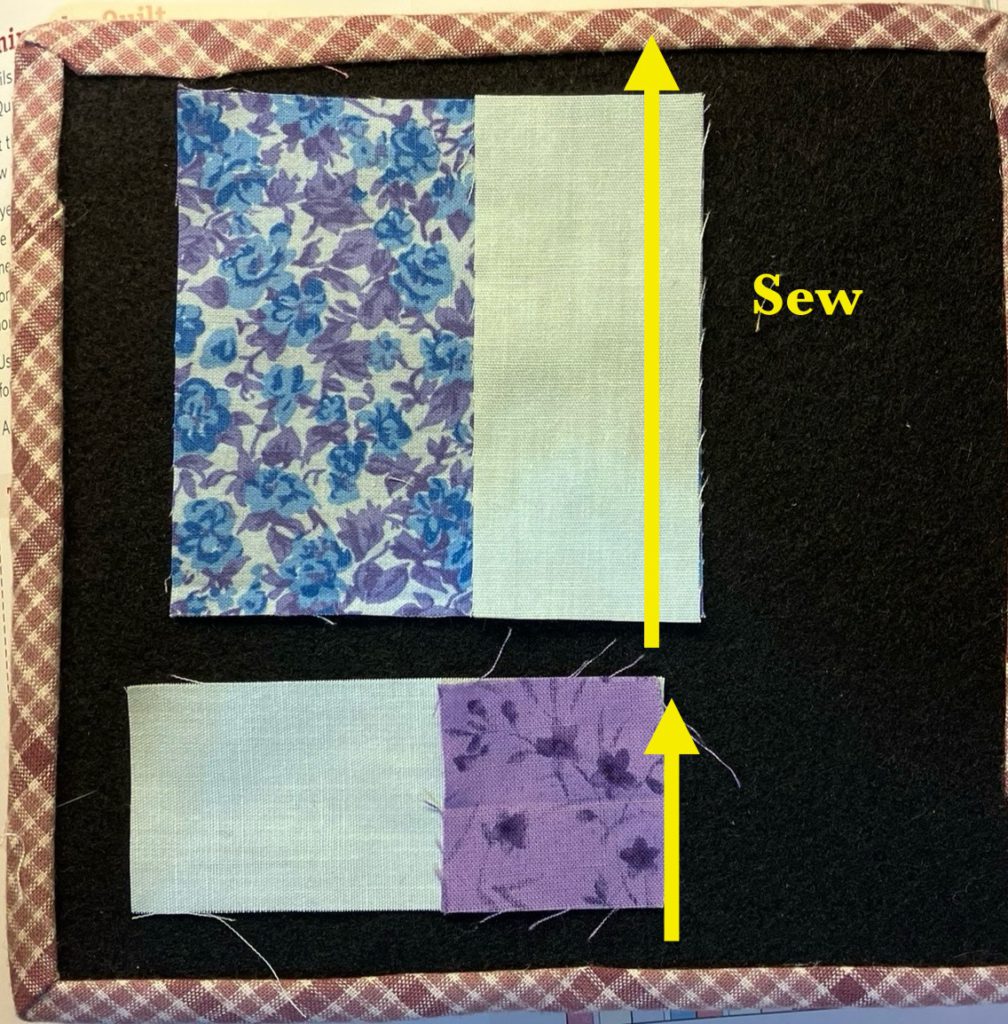
Divide the layout into 2 sections…a big section and a little section. I show it in rows in the picture below.
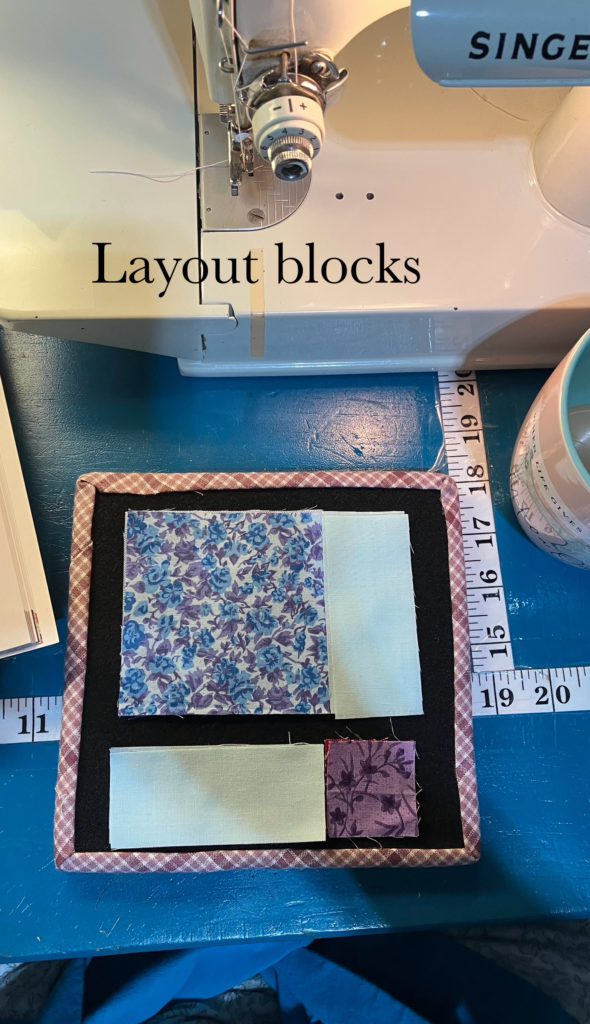
Sew the 3 1/2″ square to the side of a lattice piece. Sew the 1 1/2″ square to the end of the other lattice piece.
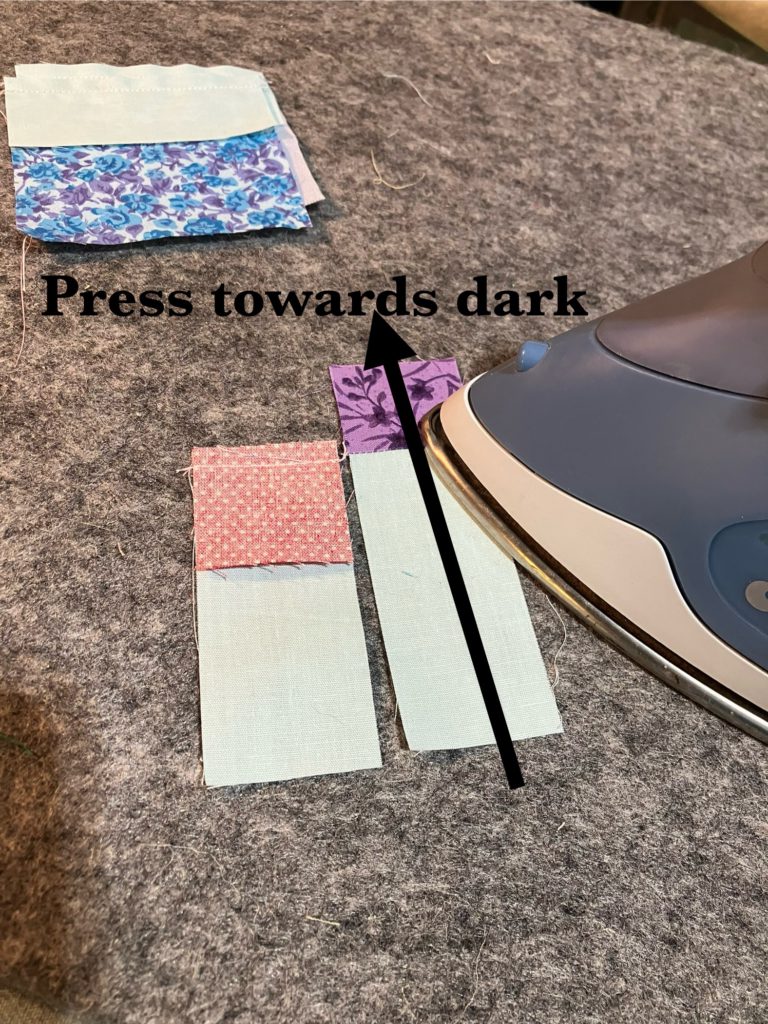
Press towards the dark fabric on both of these units…unless you prefer to press open.
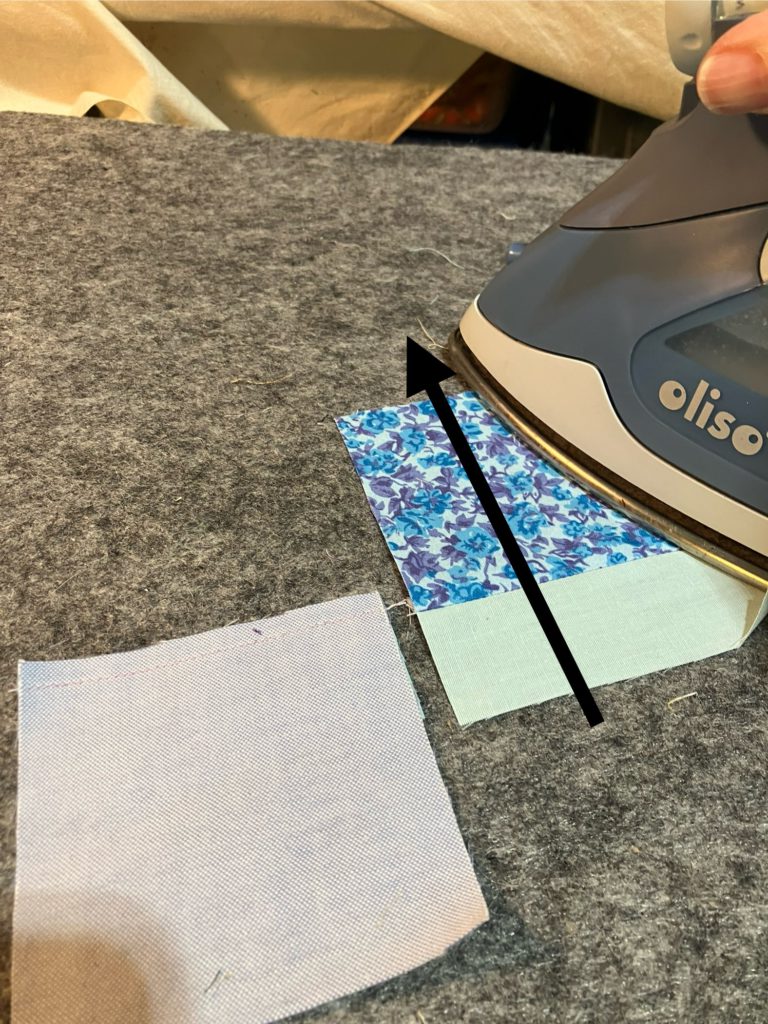
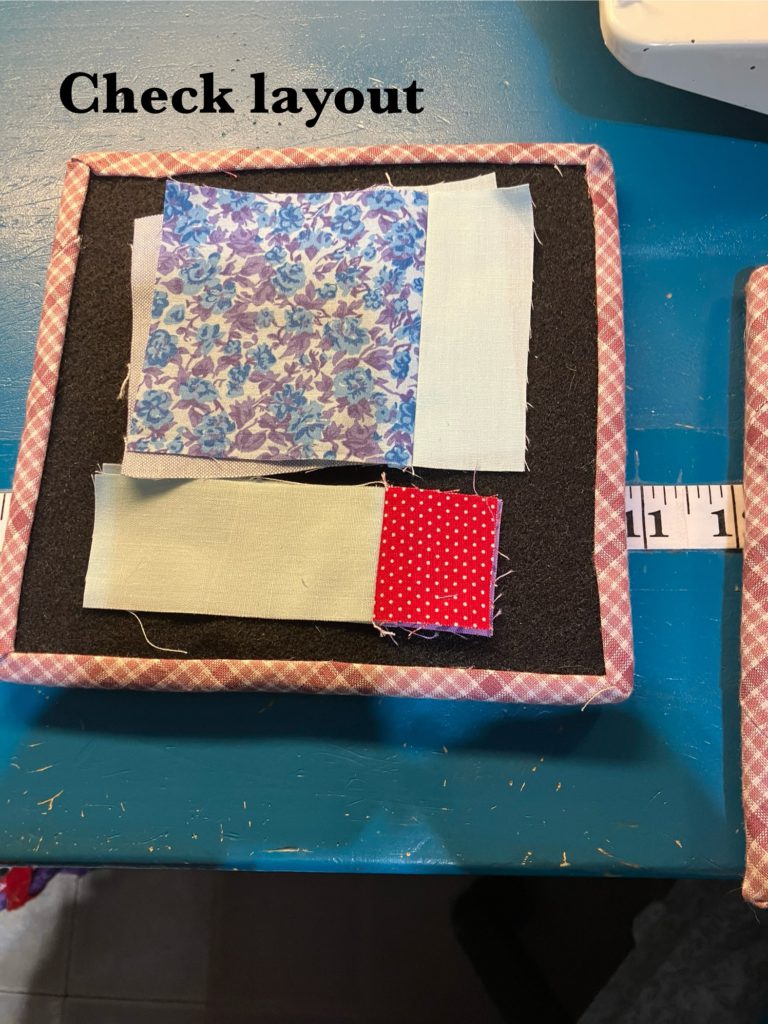
Join the two units you created into one bigger unit. The other part of the block is now sewn together.
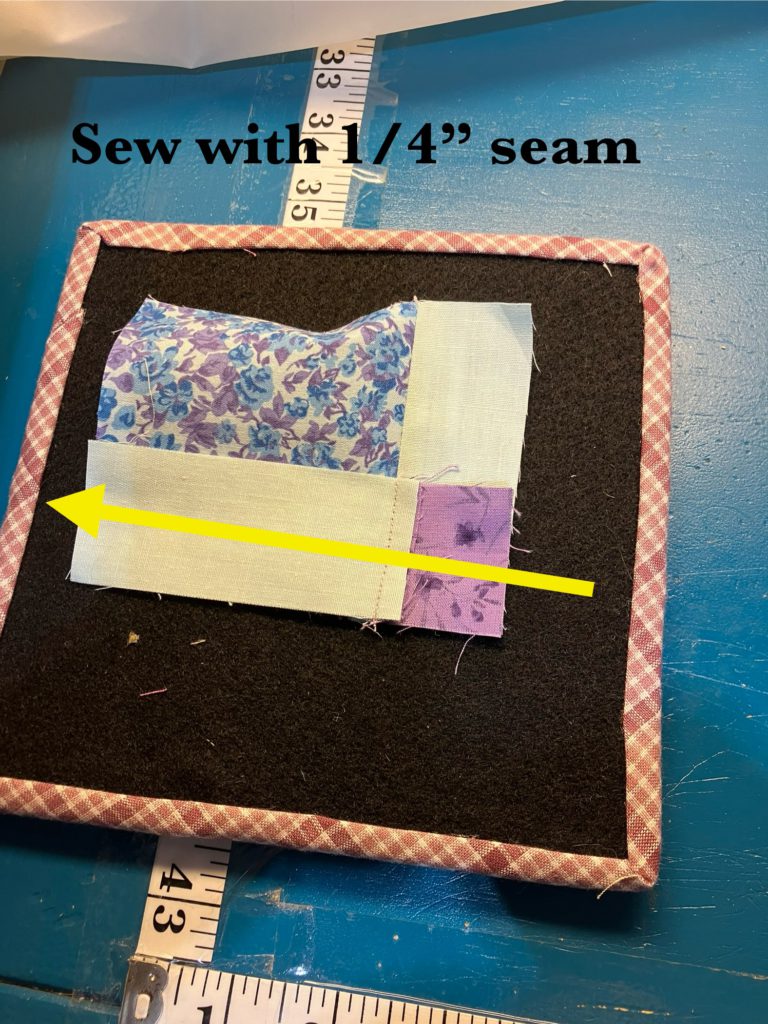
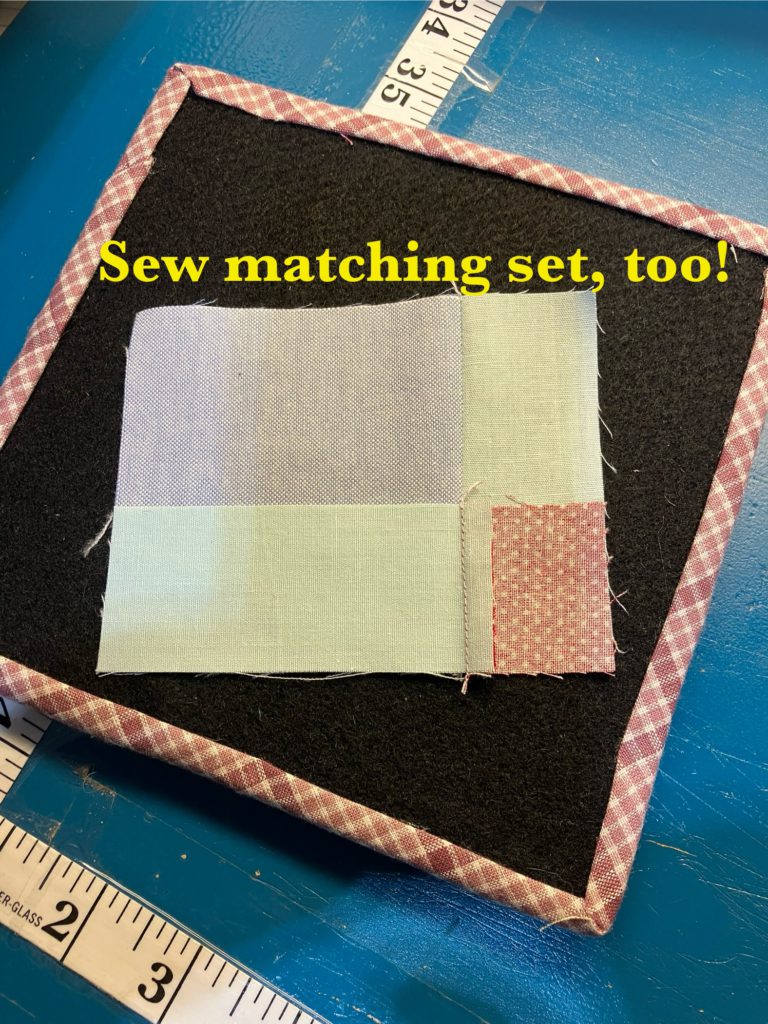
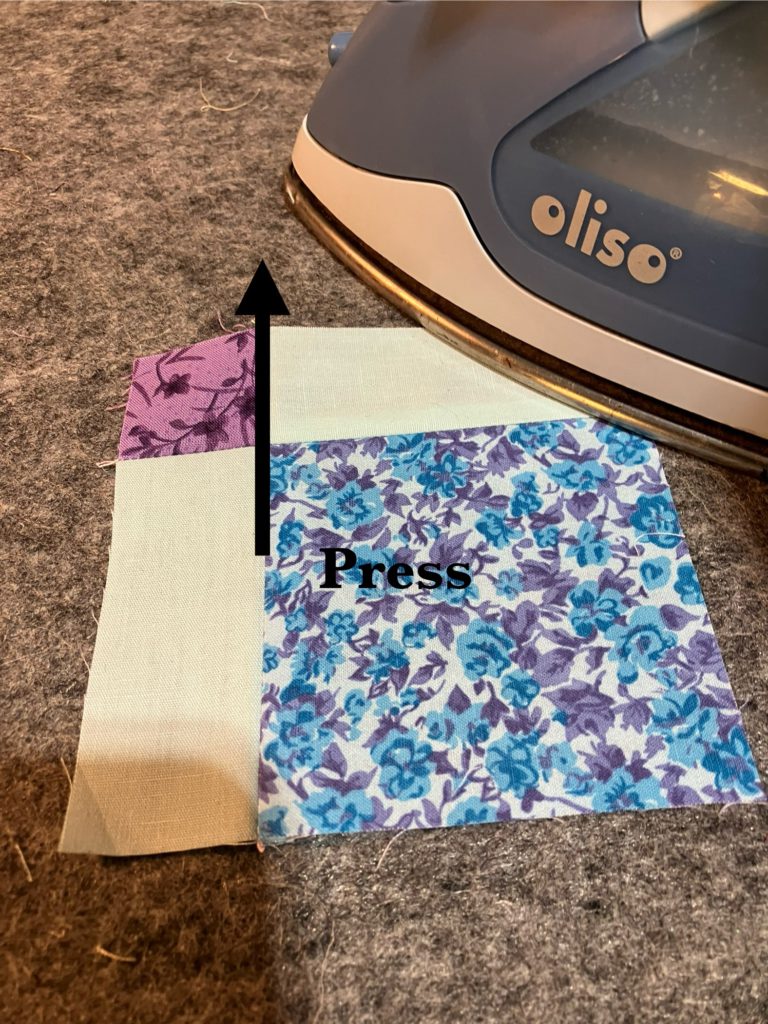
It really was just that easy.
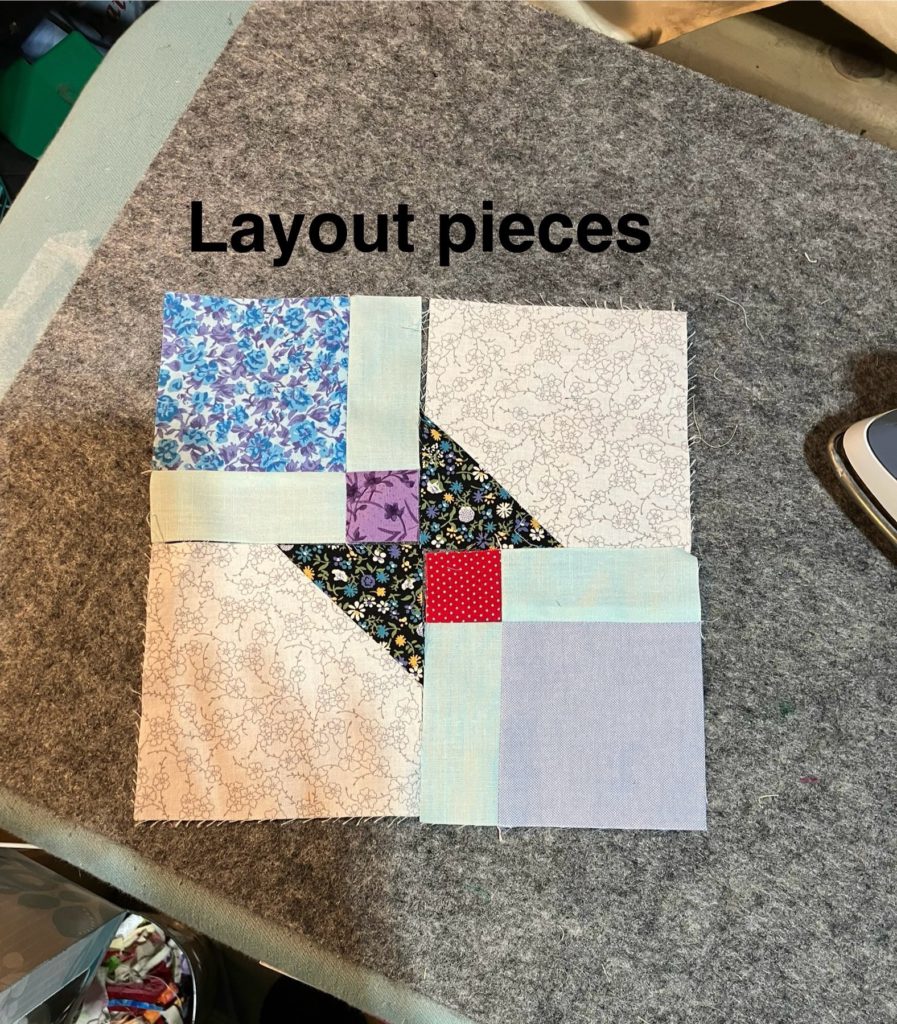
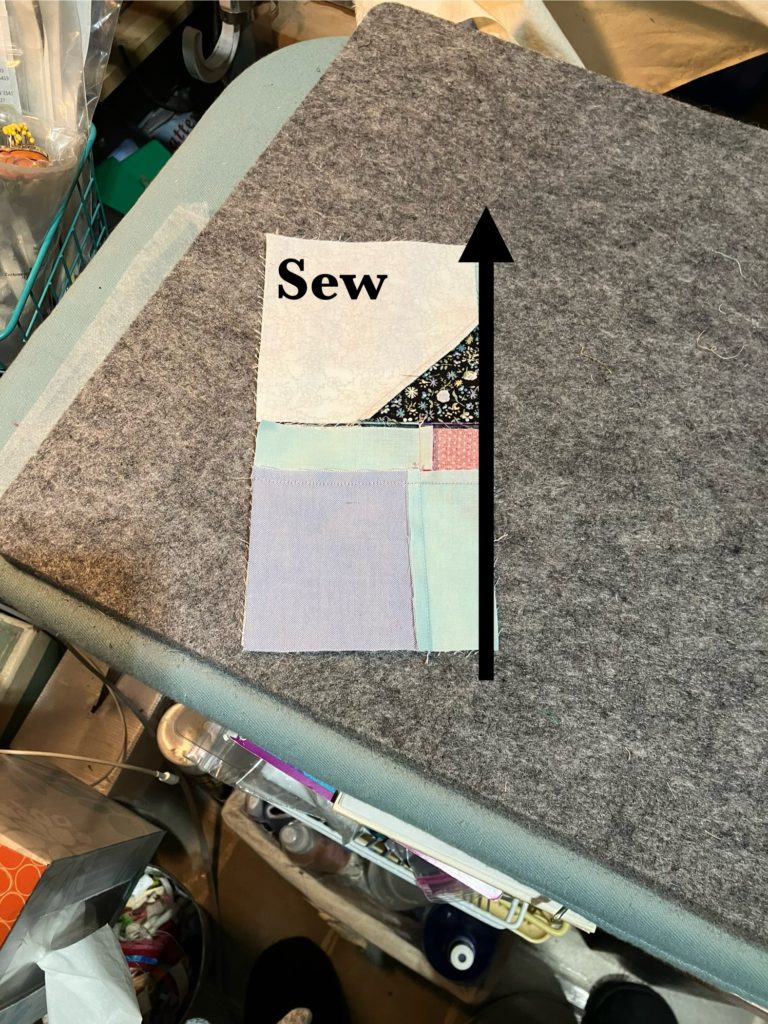
Press towards the straight lattice pieces…or open.
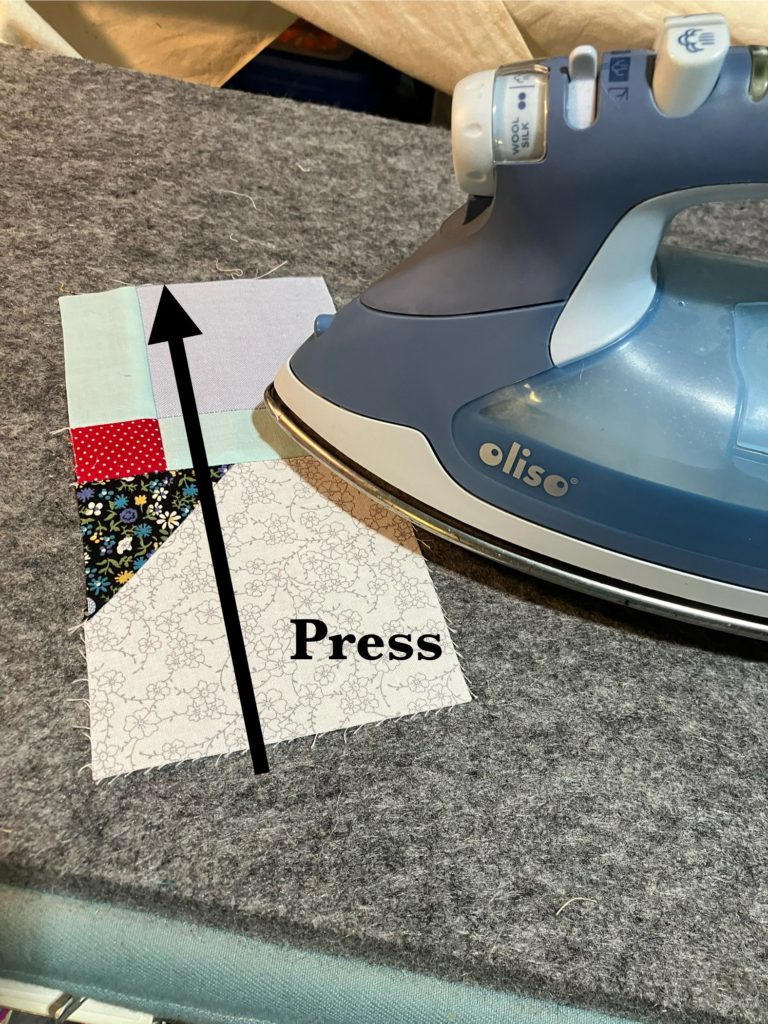
If you press towards the lattice, sewing the final seam will be easy!
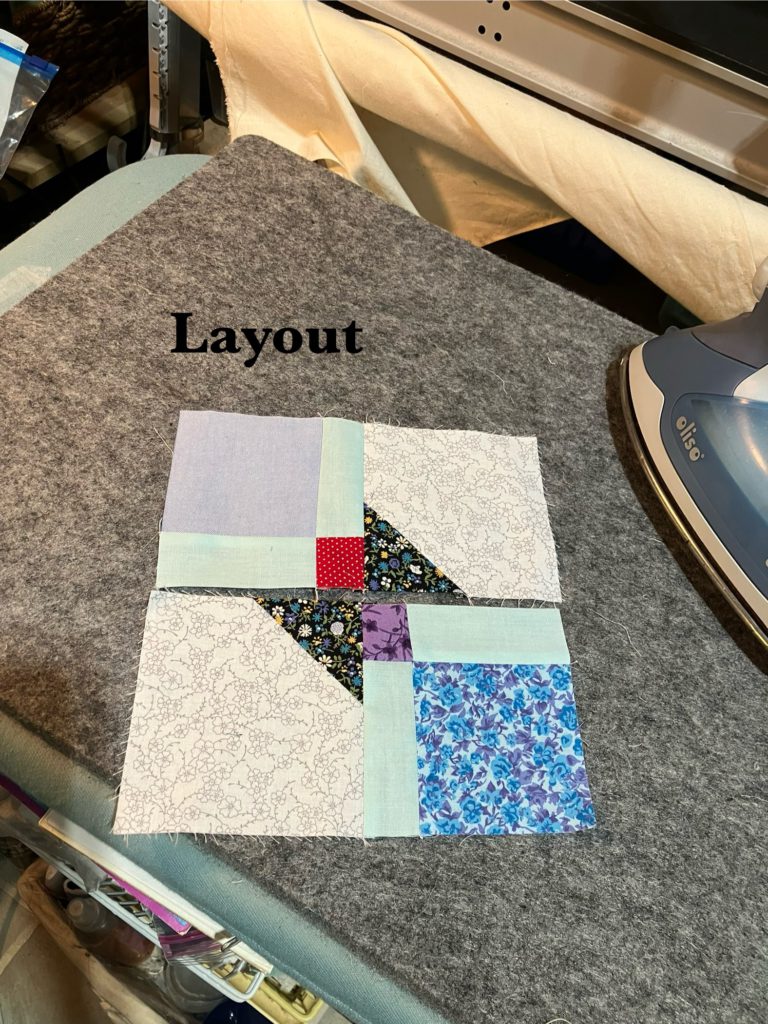
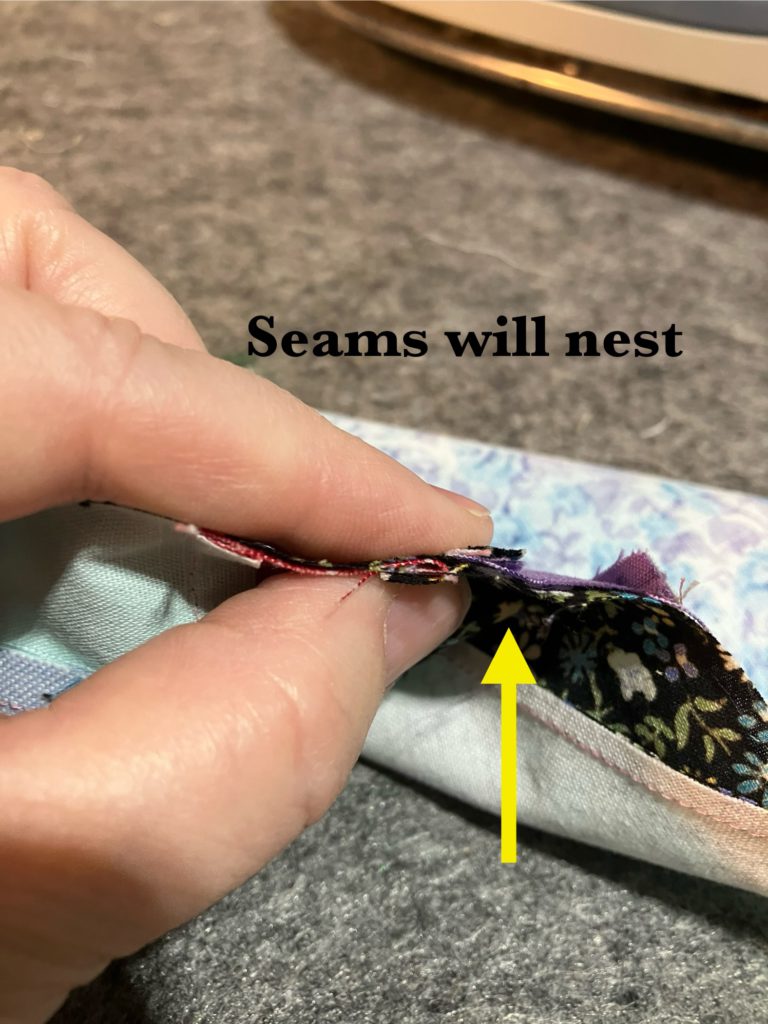
Sew that last final seam. Sorry, no picture of that seam!
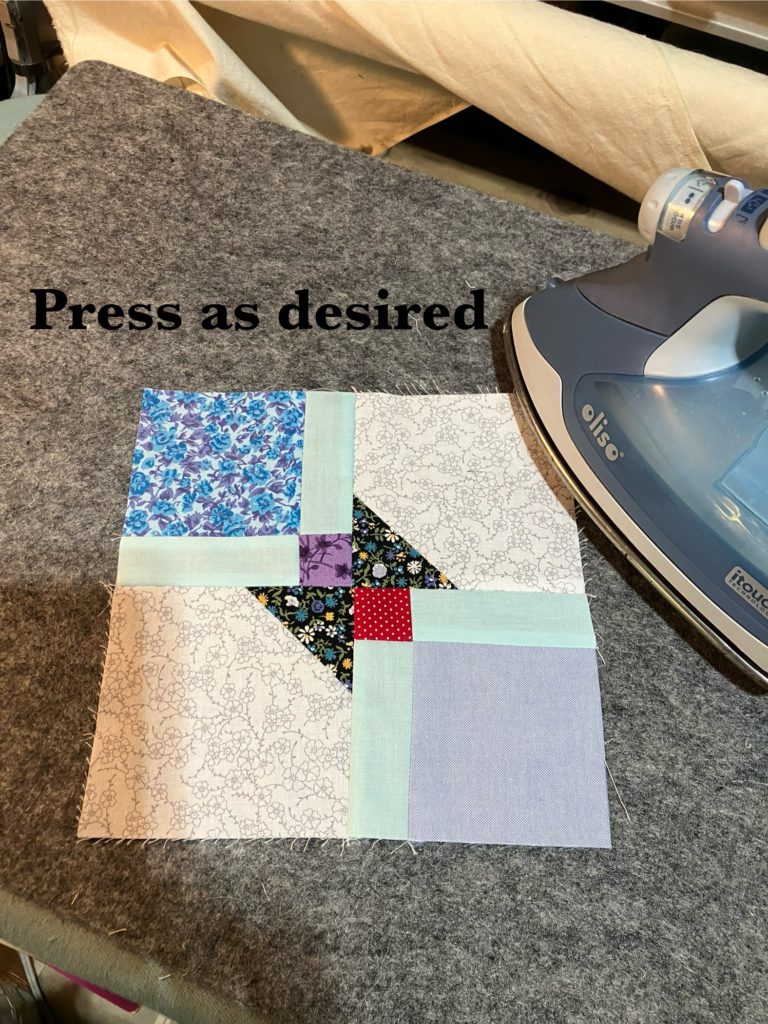
Ta-dah…Ta-done!
Here are a couple sample layouts. This block could be much scrappier than I made it. I tried to control the scrapiness for an aesthetic pleasing effect.
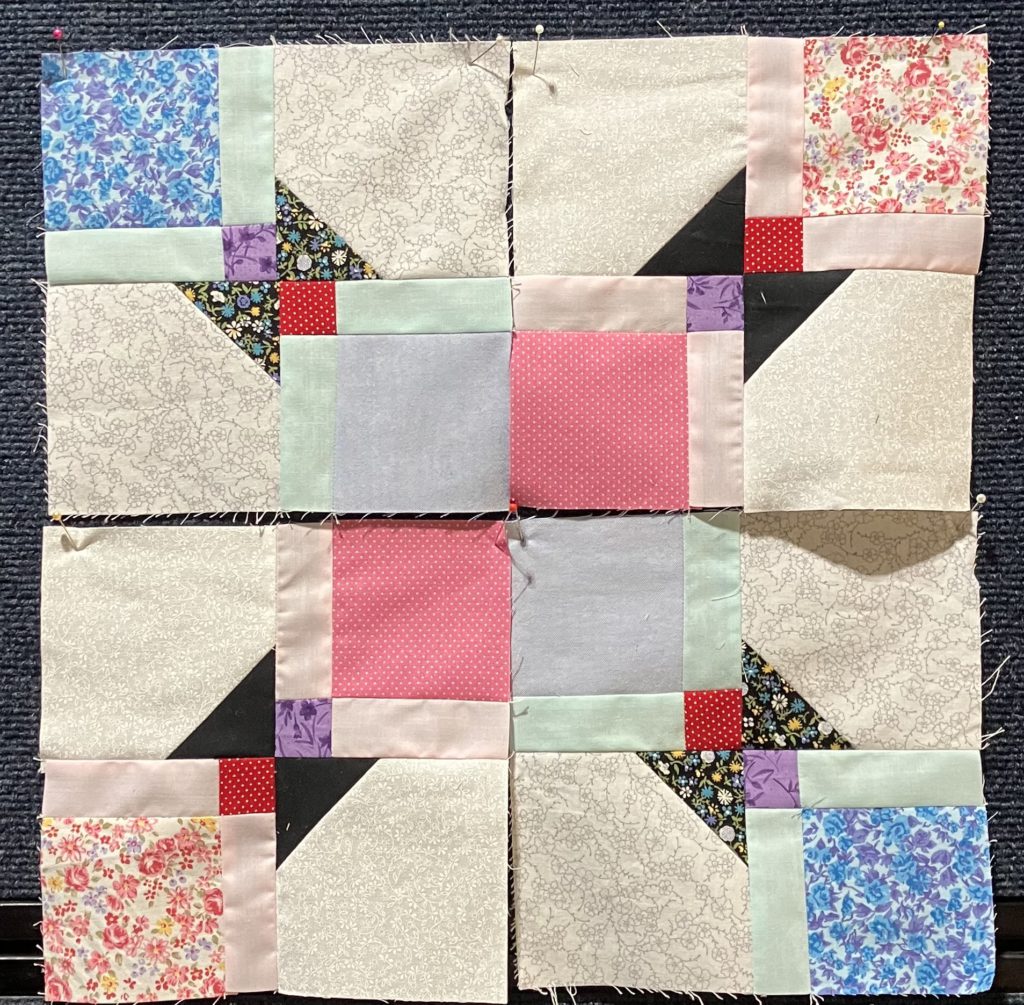
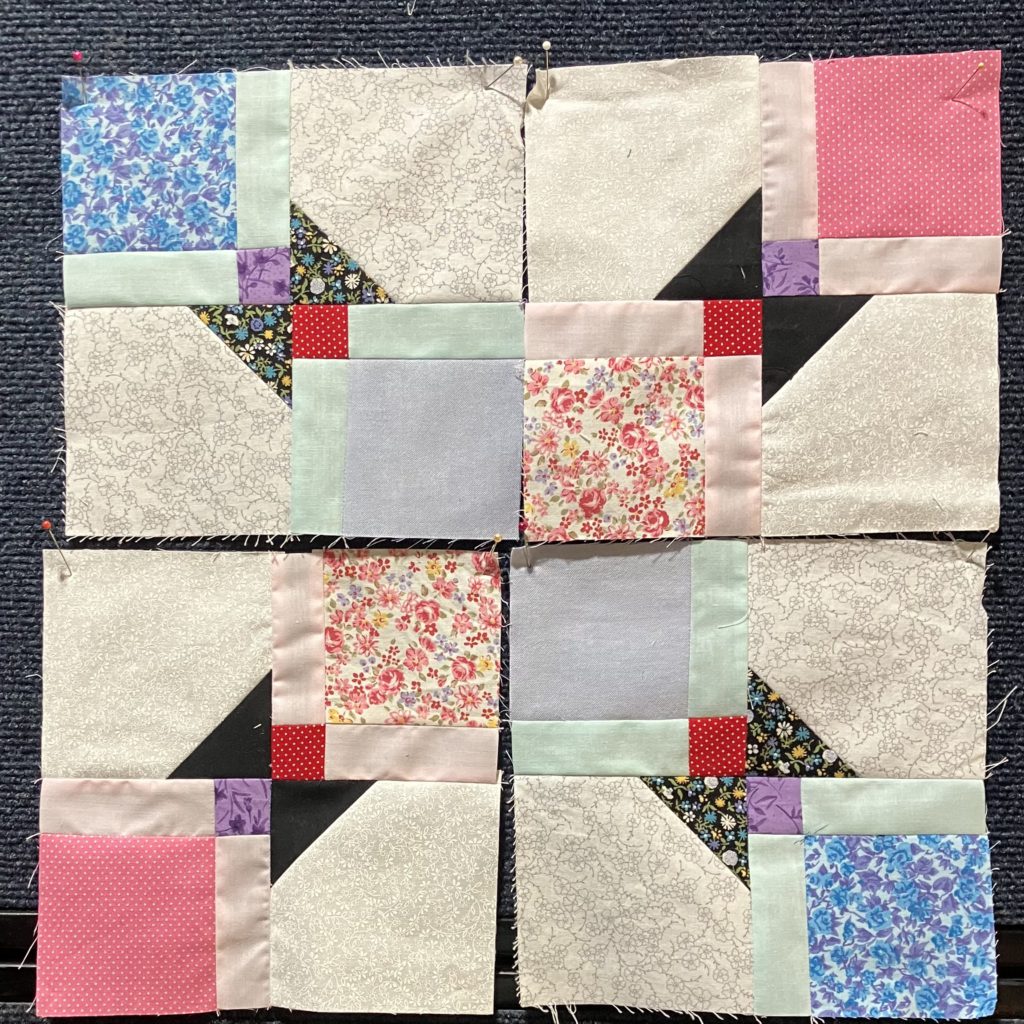
I decided to make an additional four blocks and use up some other orphan blocks, too. This is the beginning of a car quilt for my son’s family. Everyone needs a quilt, a flashlight, battery cables, and a small tool kit in their vehicle. Just a thought!
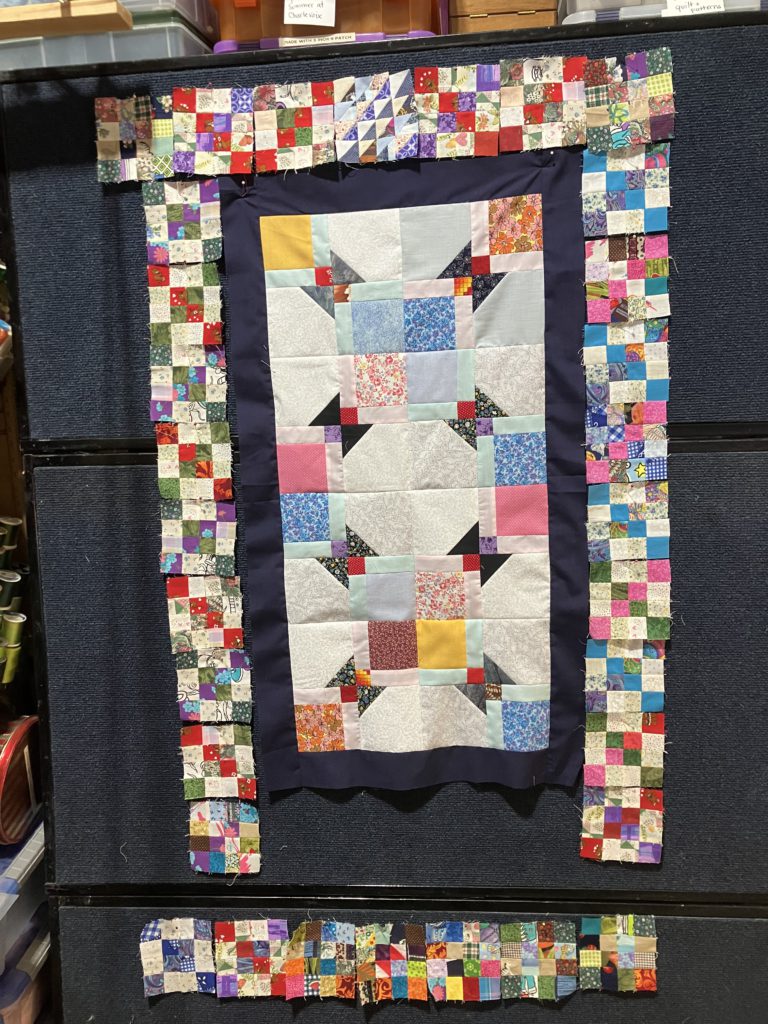
Those borders will fit when they are all sewn together. I, too, am always amazed at how much is eaten up in a 1/4″ seam allowance!
If you construct any of these scrappy wonderful blocks, please share with me through gmail. I look forward to see your work!
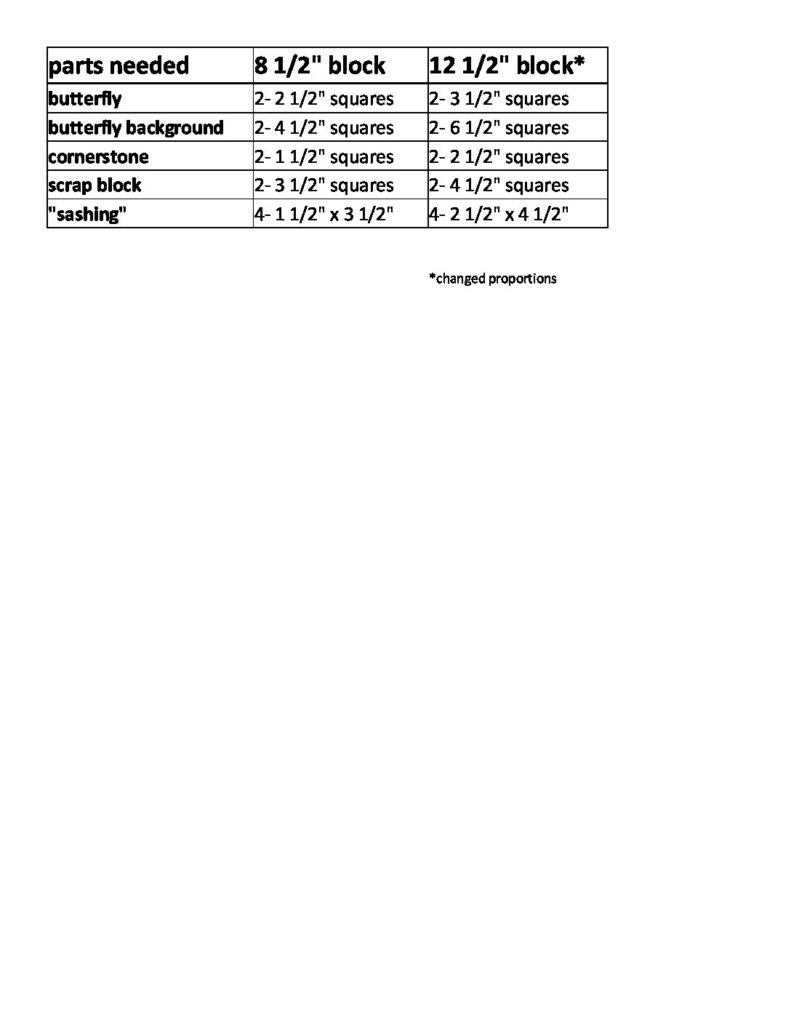
If you are interested in making this a larger block, please use the chart below to help you resize the block.
Later,
Lorrie


