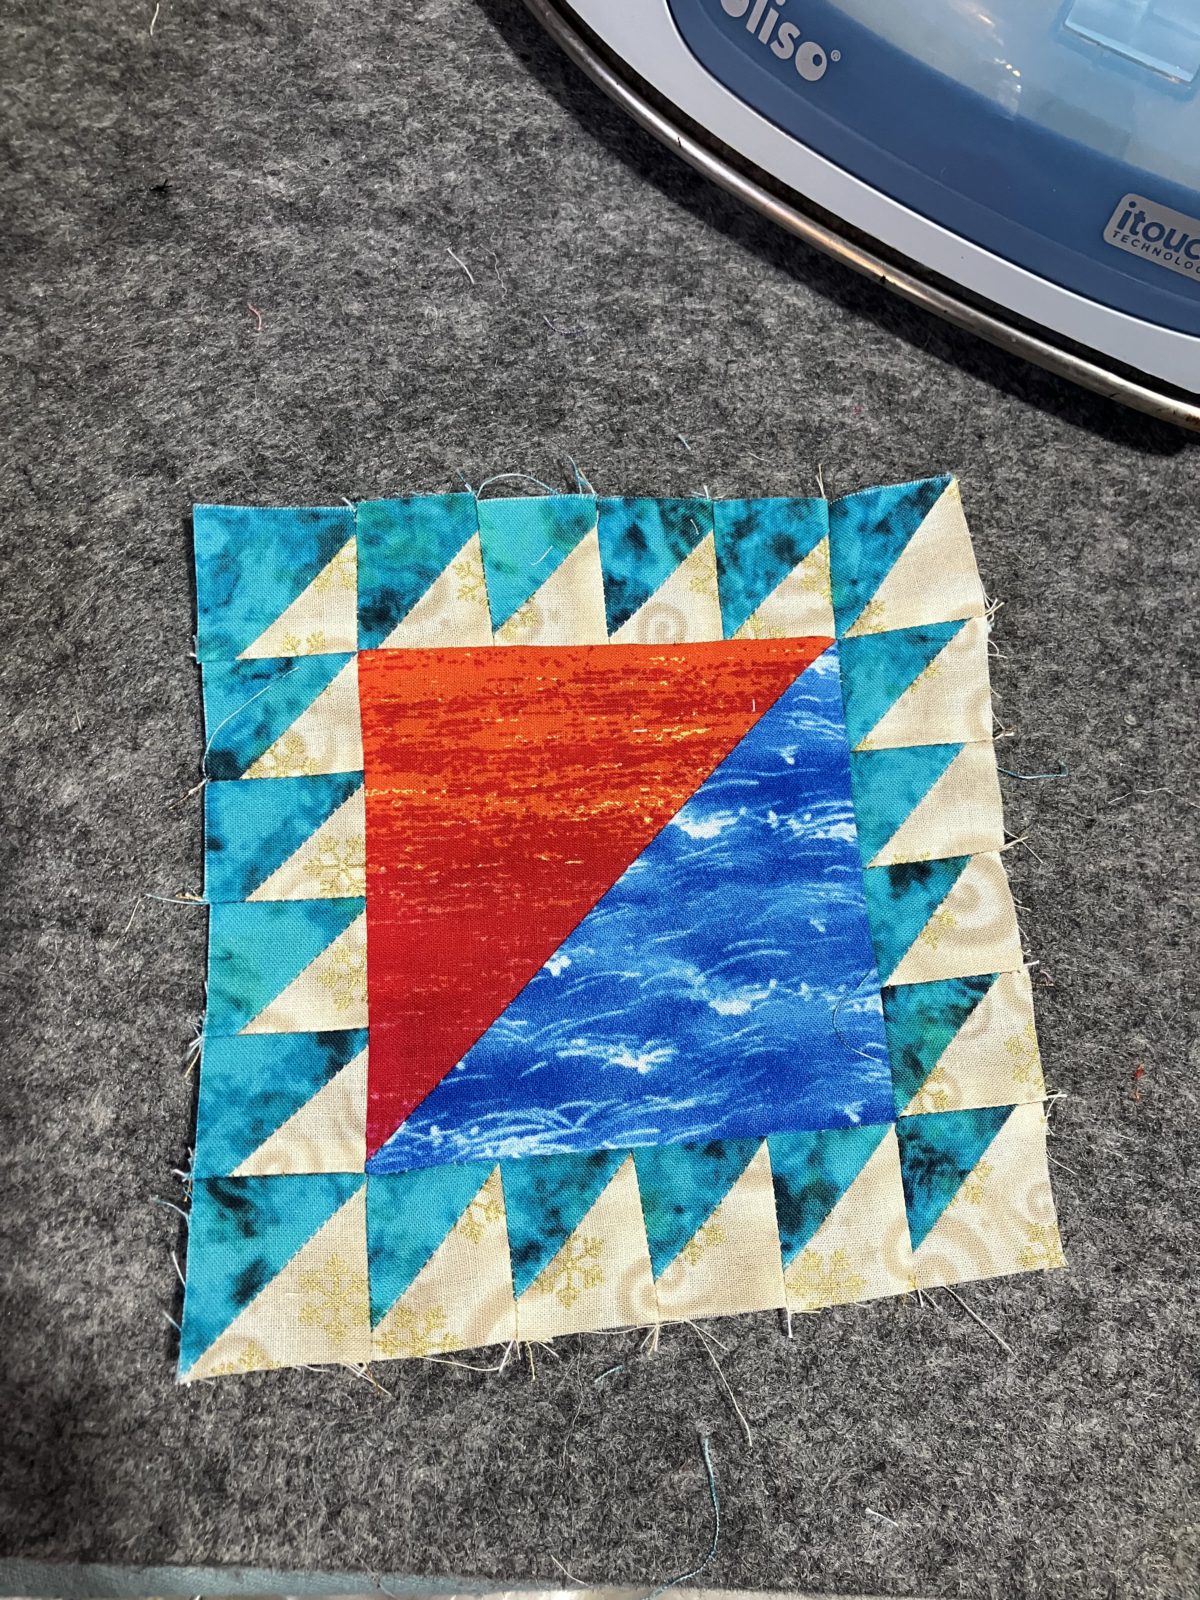
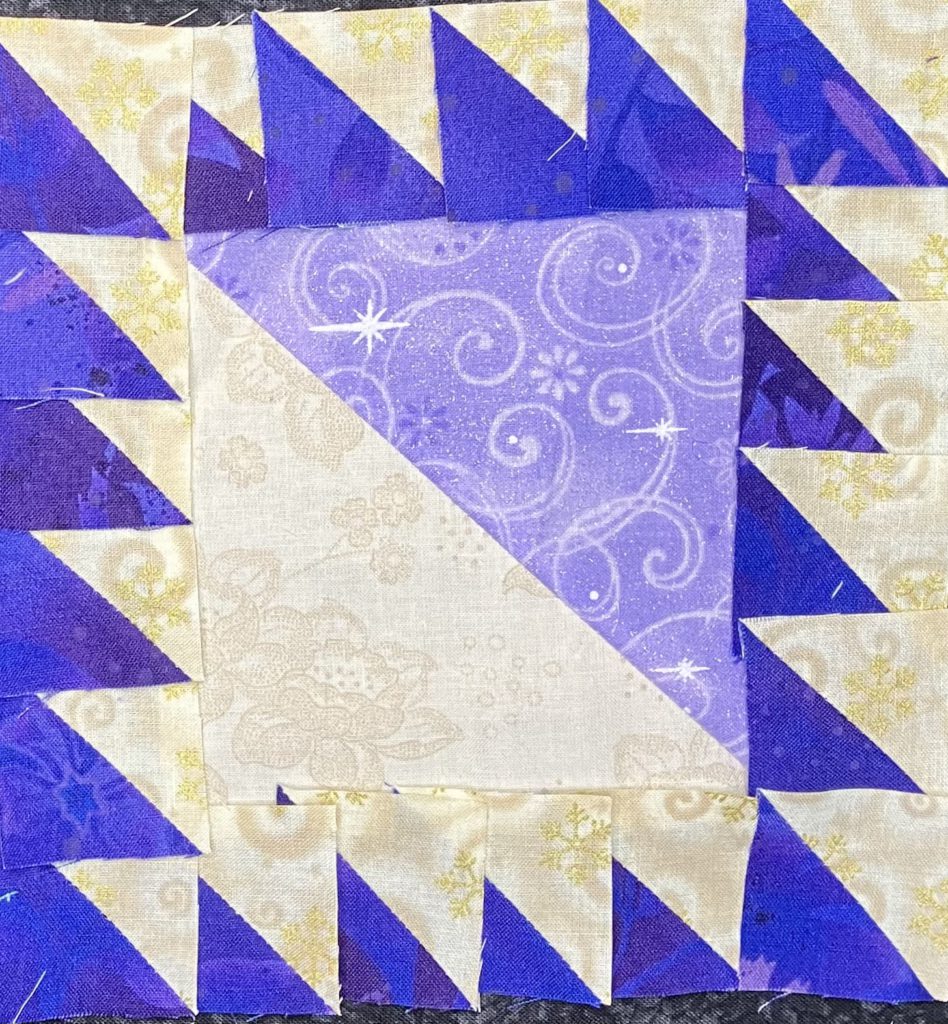
This block is constructed from two sizes of half square triangles. I used all bonus half square triangles for the layout below. It finishes at 6 1/2″.
Here is the video presentation of the block construction.
As you can see, I still have a large amount of trimmed bonus half square triangle blocks just waiting for a block.
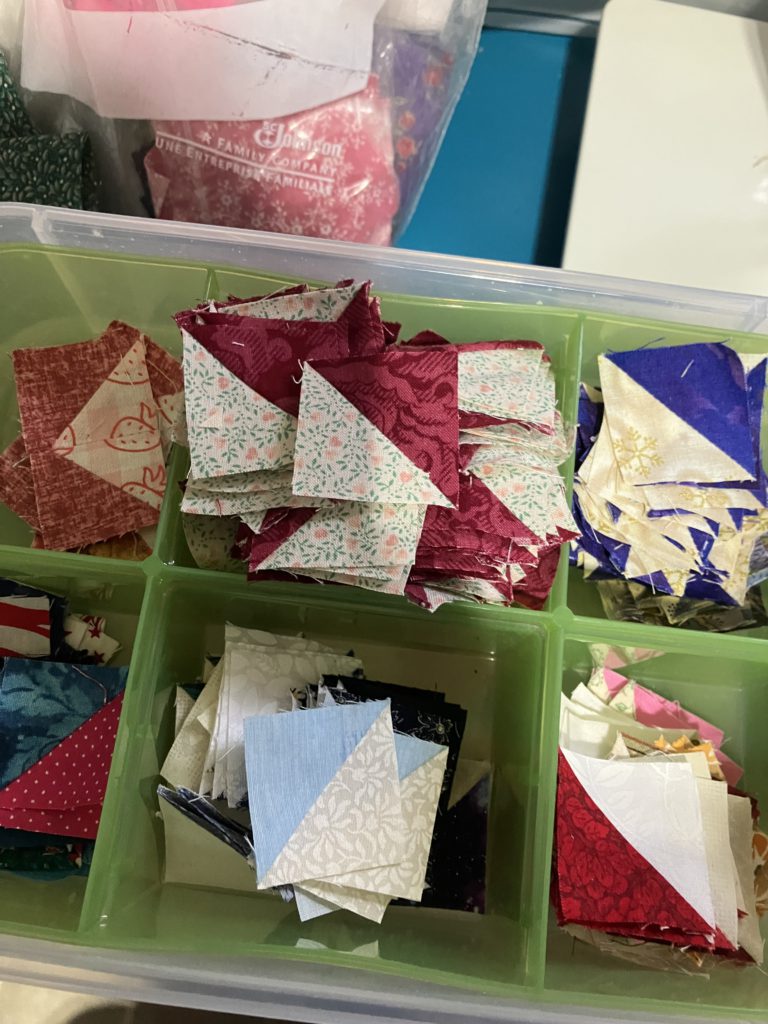
Today I am making a new center block. I have a project in mind for a Lady of the Lake block.
As you have seen in some of my YouTube videos, I love sunsets at the lake…any lake. The center of my block is going to be that! A sunset on a lake.
Both of these fabrics are directional. I want my sunset and my waves parallel to each other.
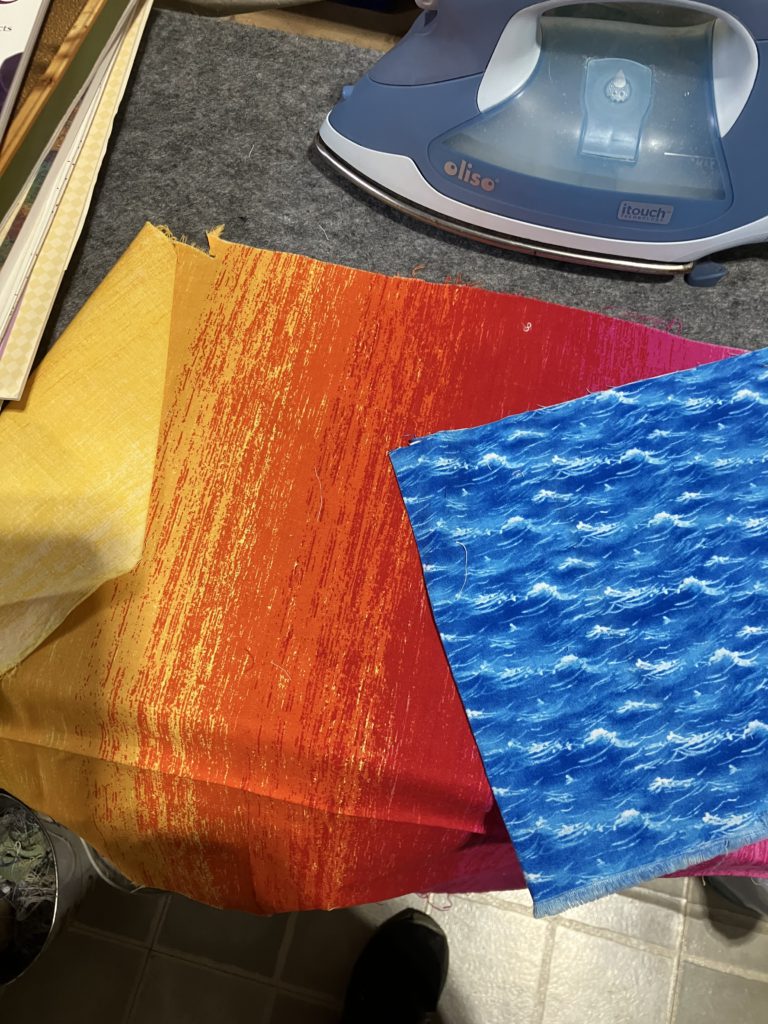
Perfect fabrics for my vision! These are 5 inch squares. My half square triangles will finish at 4 1/2 inches. I am making two blocks because I am making two of the same project that I have in mind.
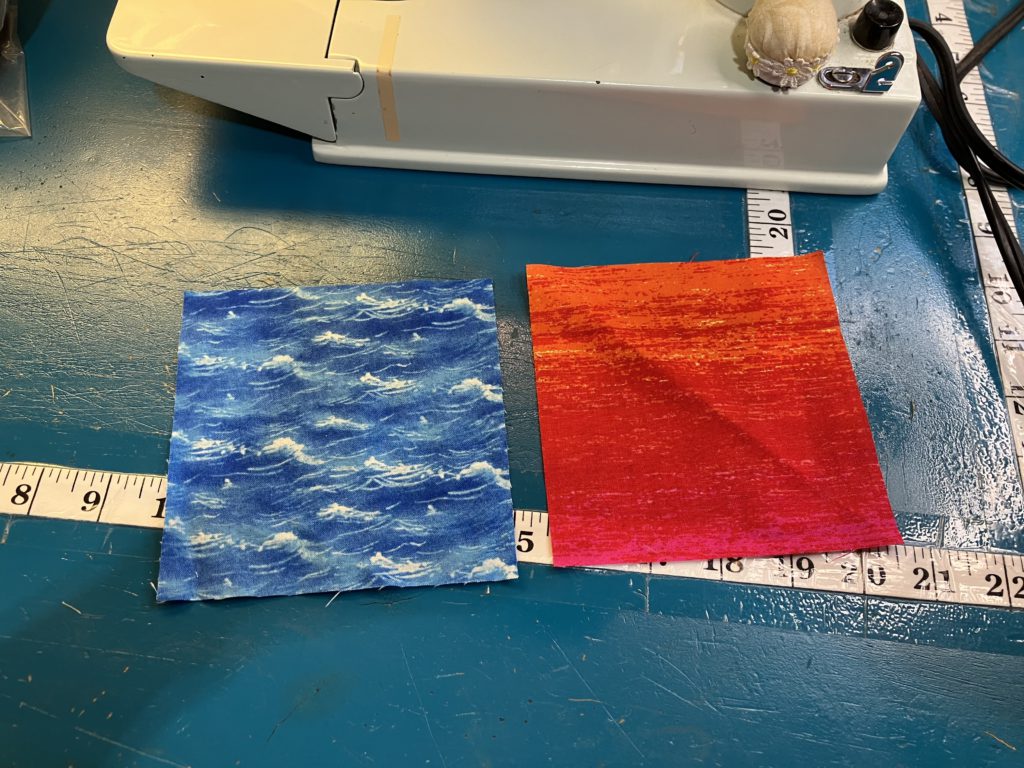
To make sure that my fabrics are going the correct direction, I audition them together…not quite it!
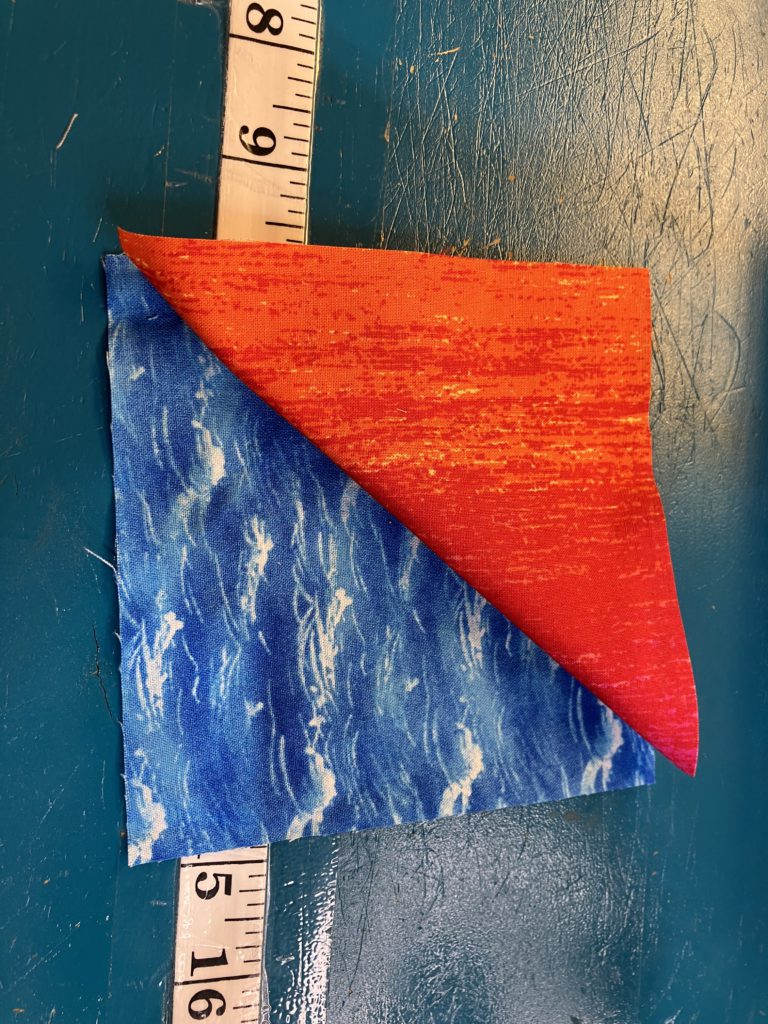
Perfect!
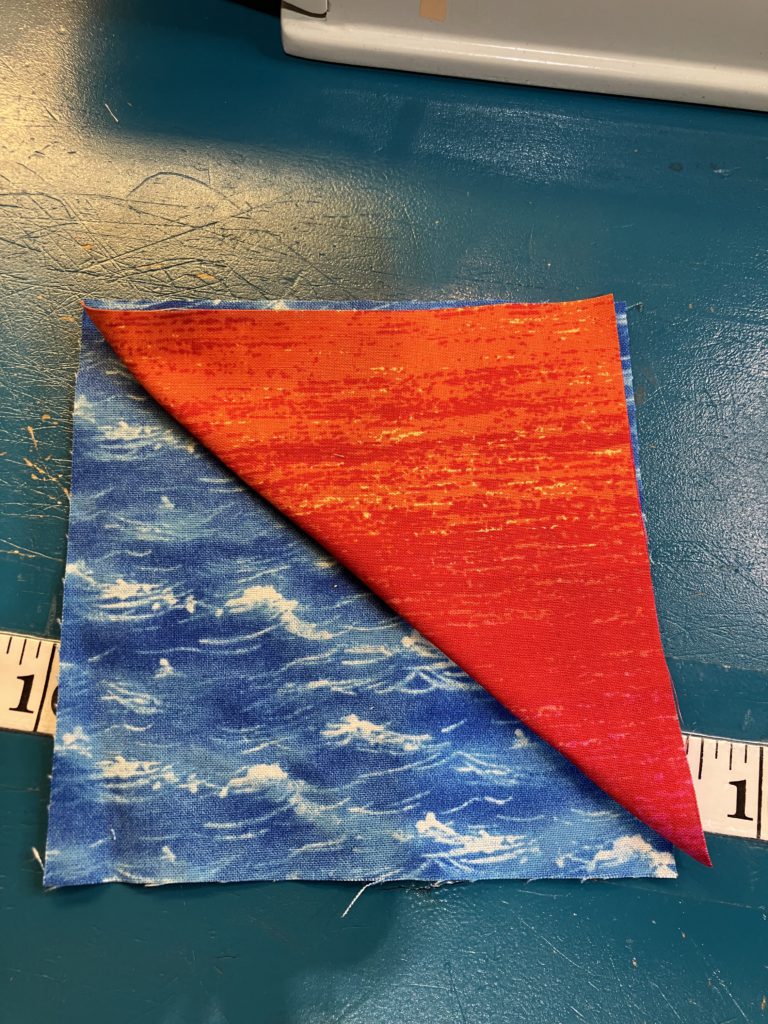
When I unfold the sunset fabric, I notice that it is perpendicular to the wave fabric. When they are sewn on the diagonal, they will be perfect.
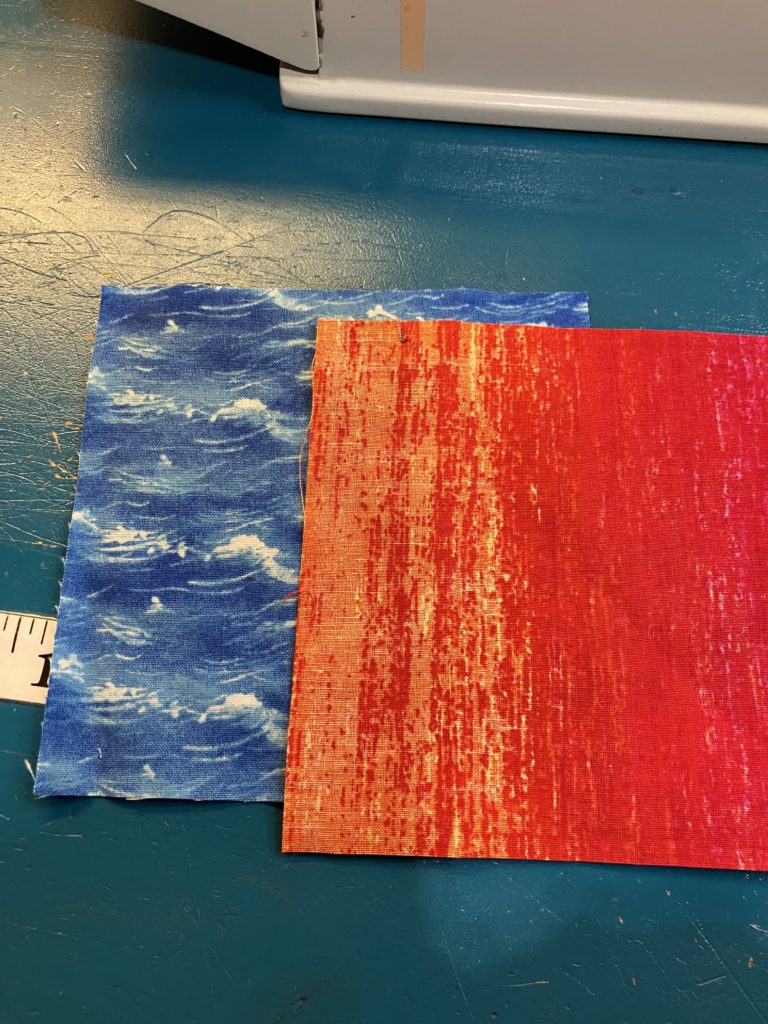
After I place the fabric right sides together, I draw my diagonal line. Sew a scant quarter of an inch on both sides of the line.
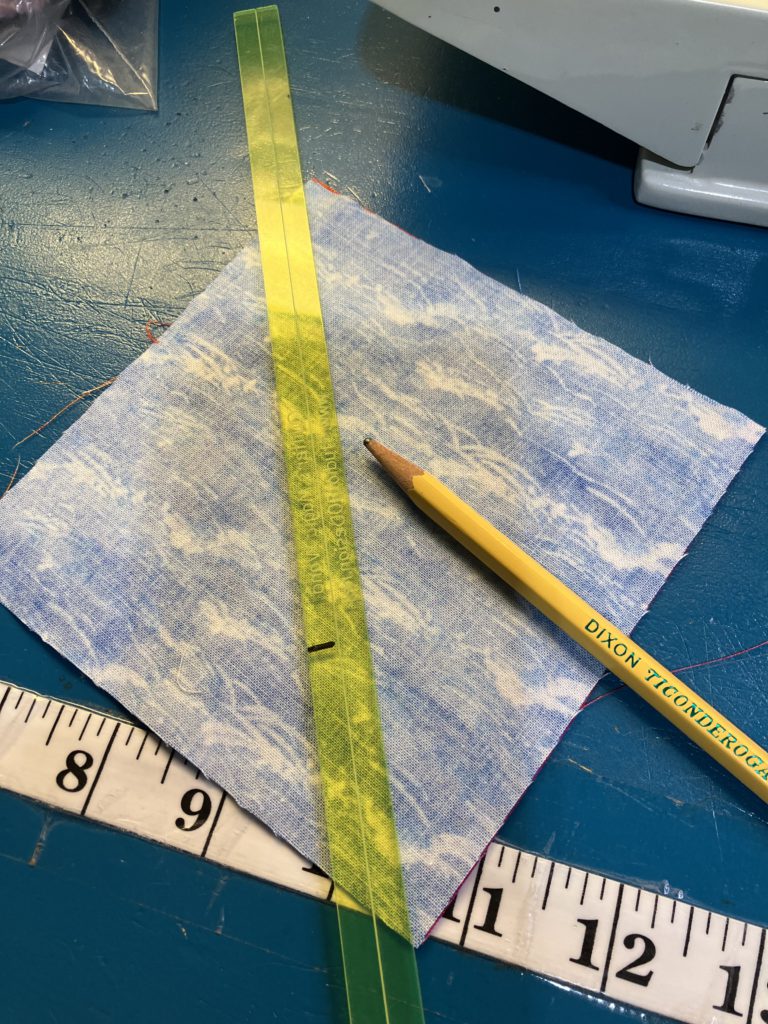
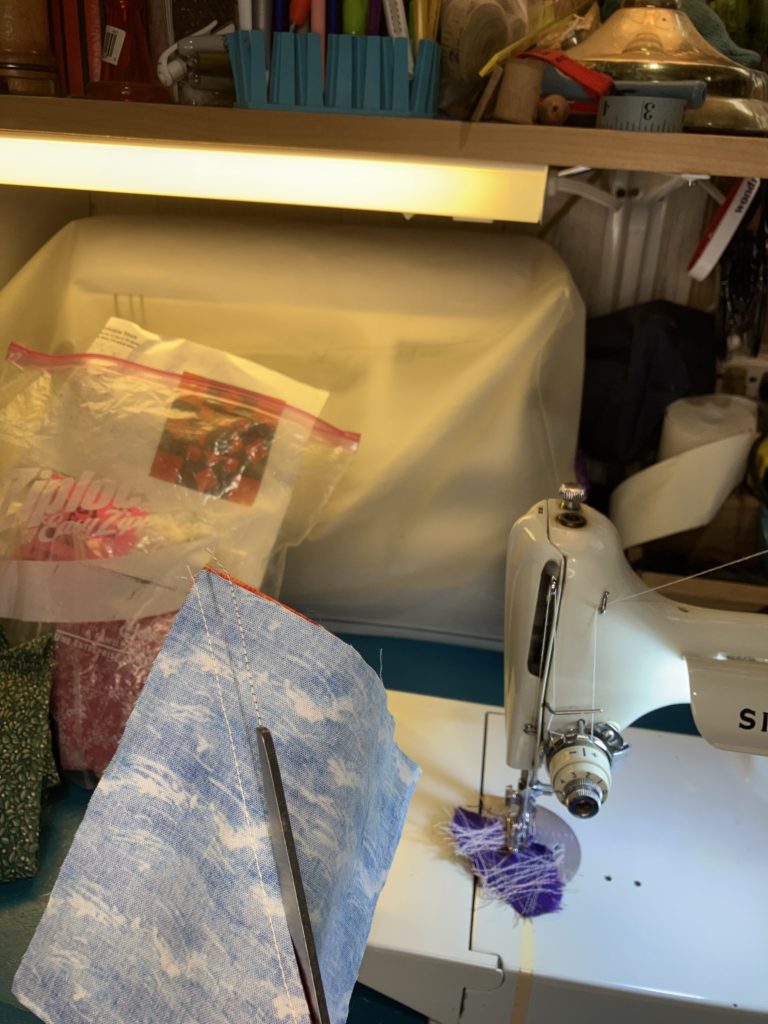
Cut on the line. Press to one side. Trim to 4 1/2″.
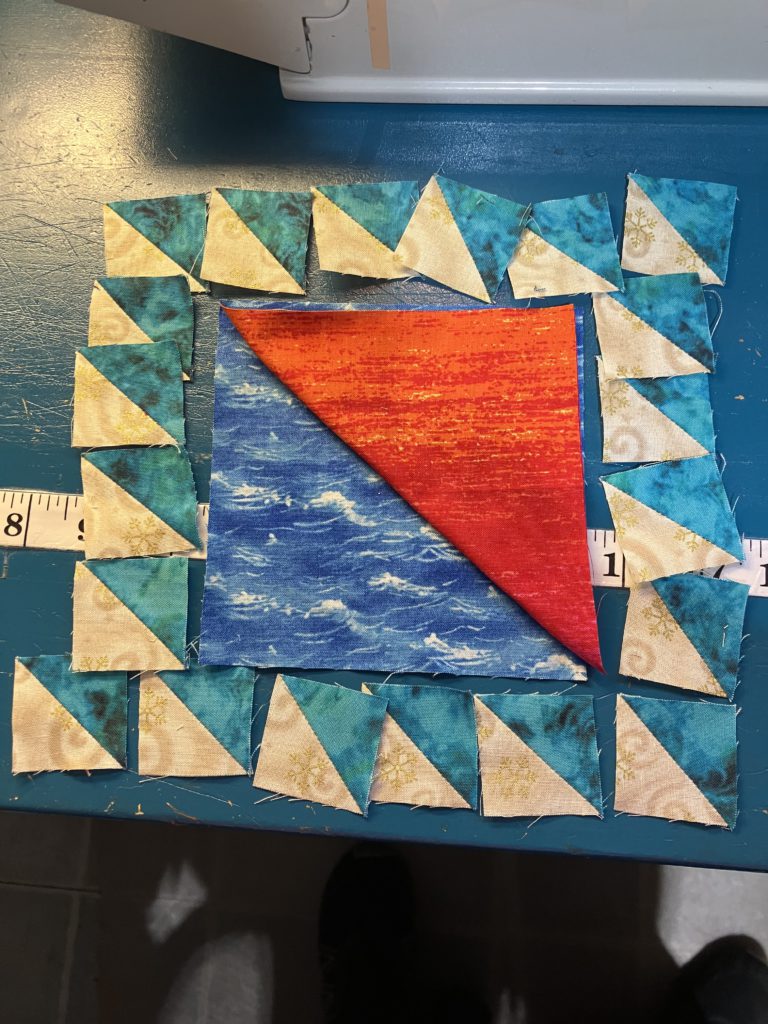
Lay out the block. Make sure that all of the small half square blocks are going the same direction. Notice the dark half is in the upper right corner the entire way around the block.
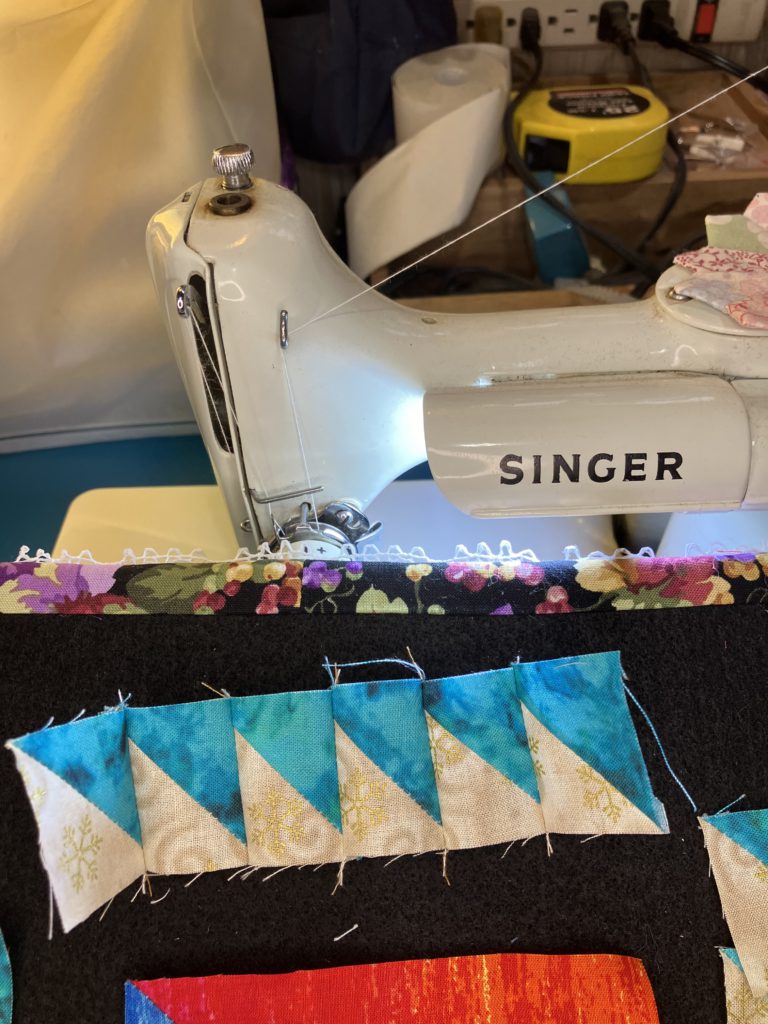
I sew the smaller half square triangles in rows…top and bottom first.
Then I sew the sides next.
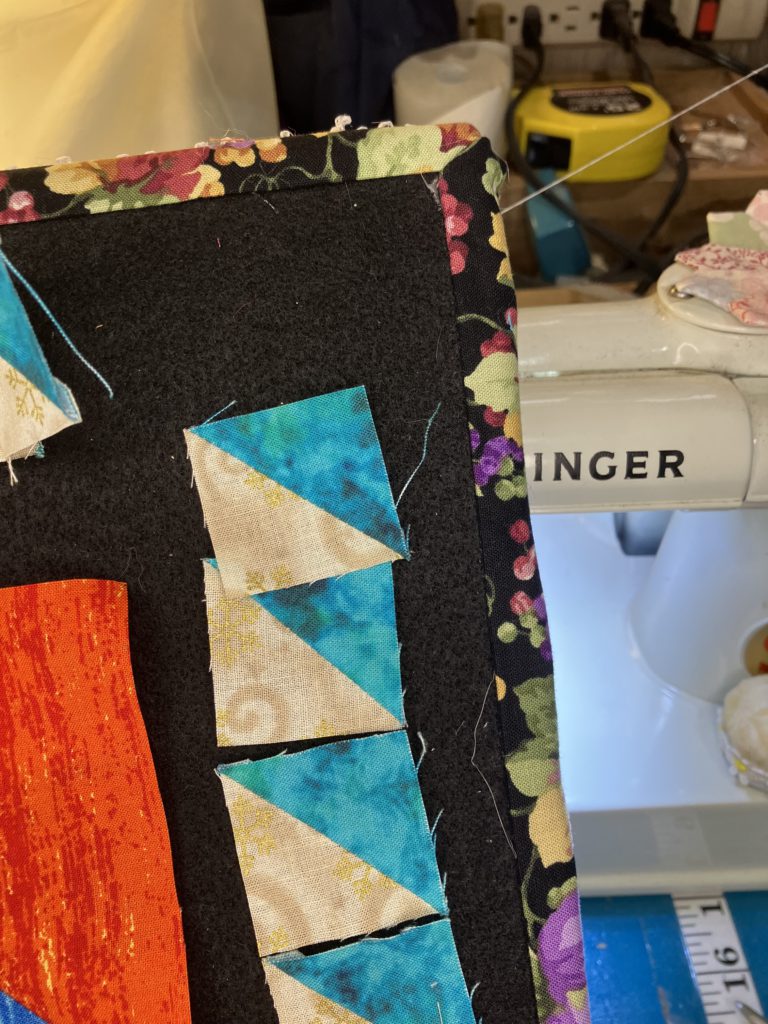
After each section, I lay it back out on my design board. It is very easy to reverse pieces…so I double check after each section.
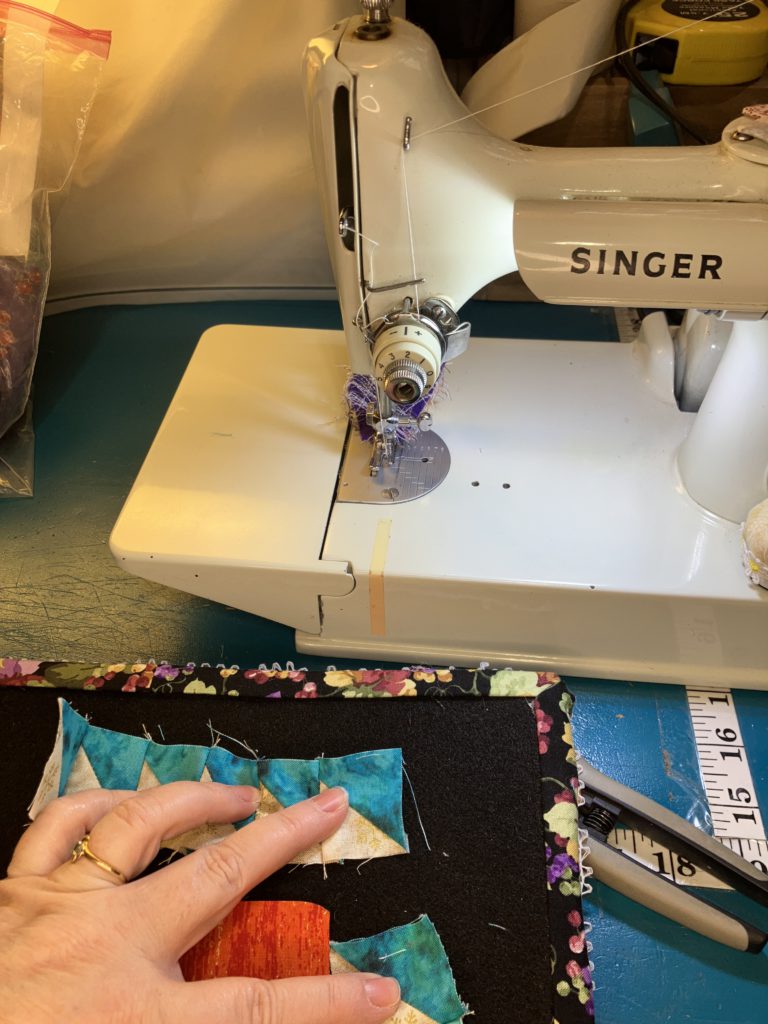
Holding this design board up to photograph it makes the sections look crooked, but they are not. Add the sides first, then the top and bottom.
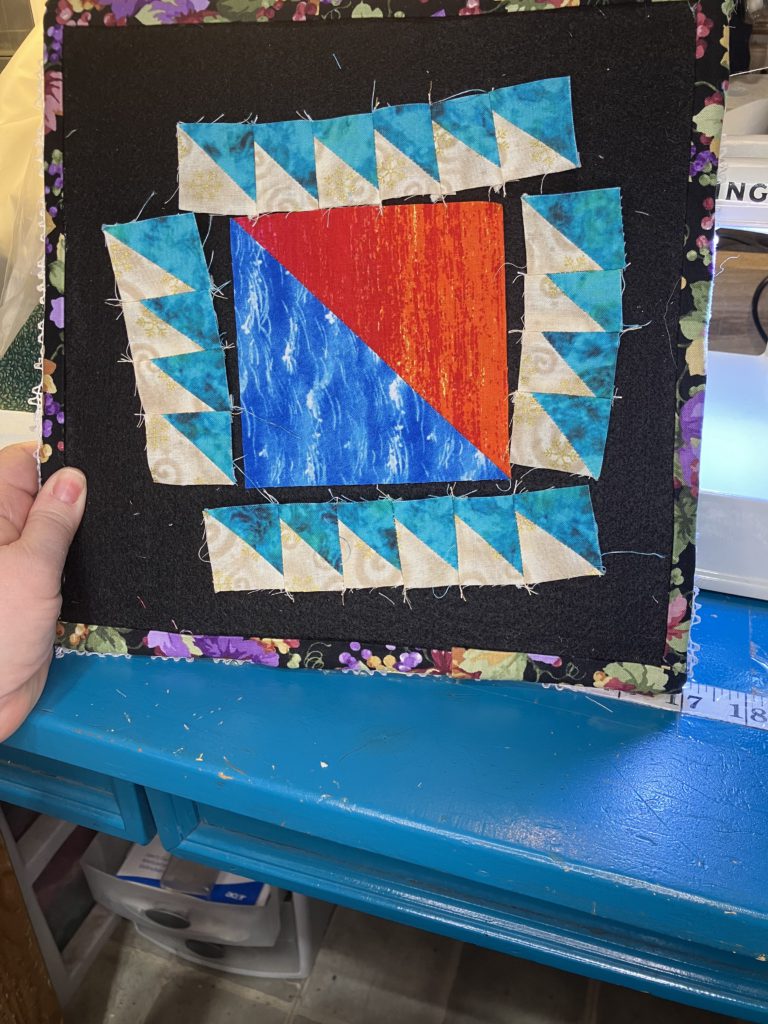
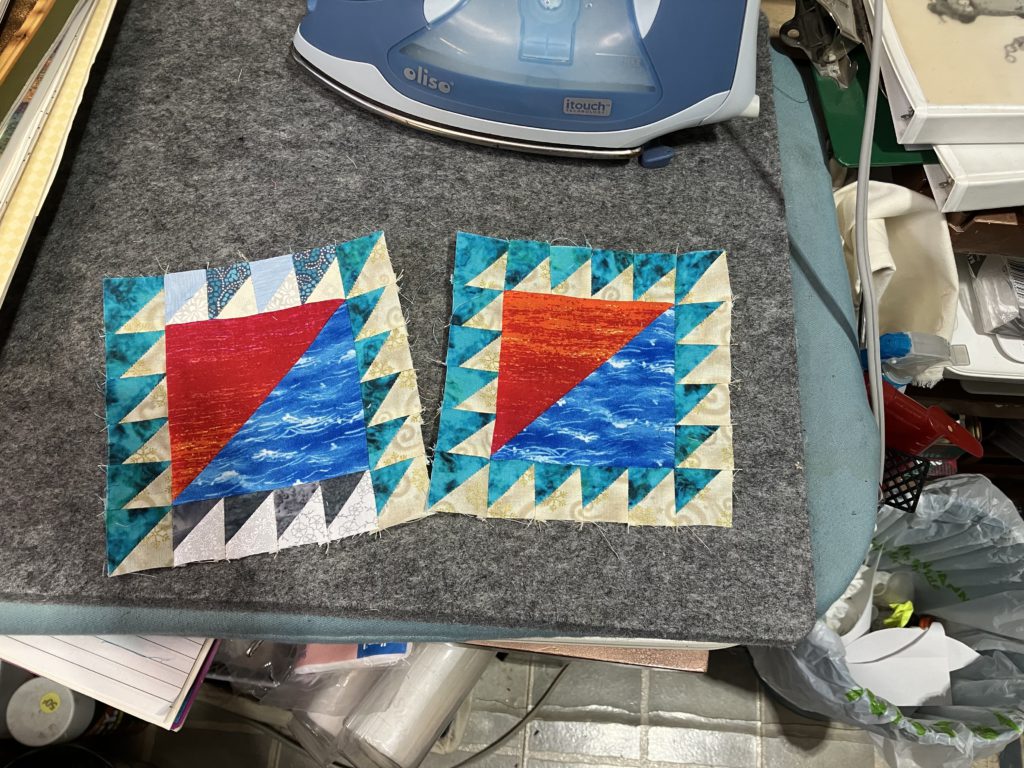
Here it is! One block finished! I think it is worth dealing with the smaller pieces to get this beautiful block, don’t you?
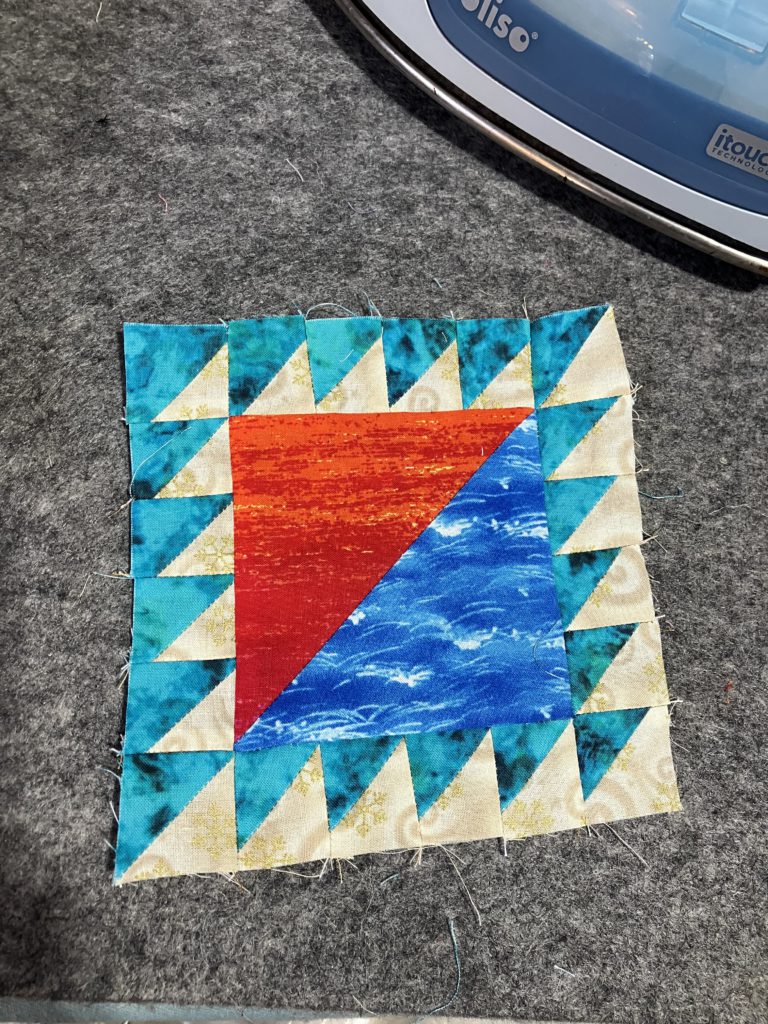
Here is the second version of this block. I didn’t have quite enough of the teal blocks, so I threw in some other blues and grays. It will work beautifully in the project that I have in mind!
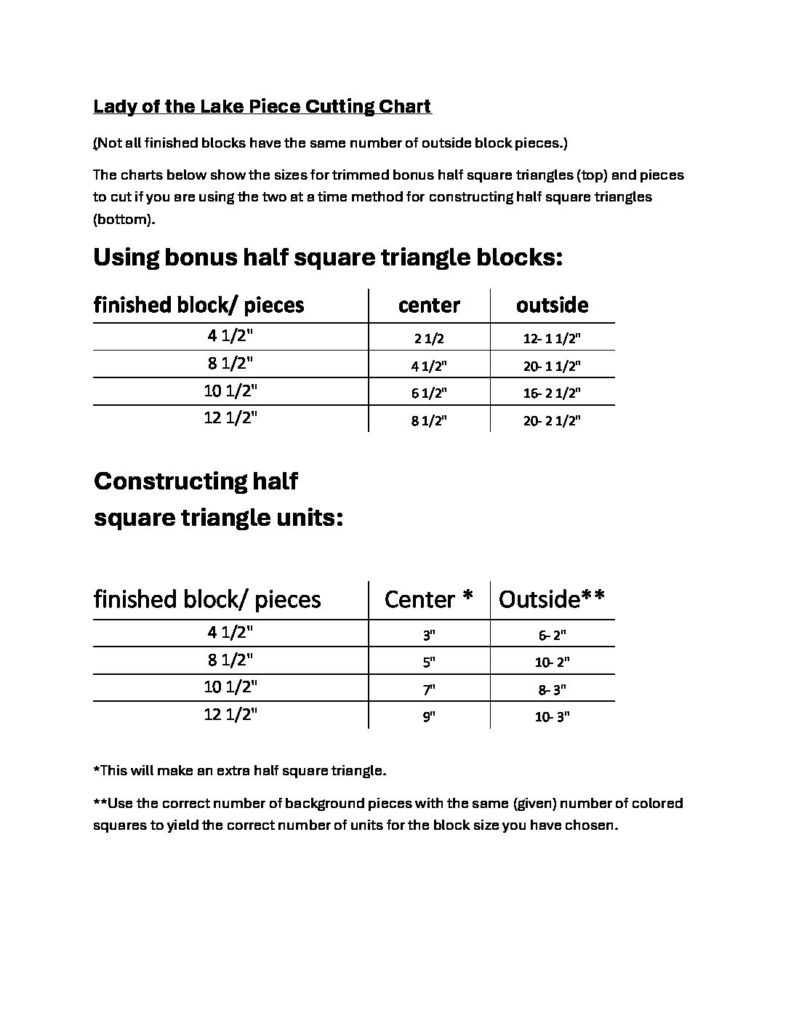
Here are the cutting charts for this block. The top chart is for using trimmed and made bonus half square tringle pieces. The bottom chart is for construction of pairs of half square triangles before assembling the pieces. Please read carefully. Ask in comments if you have any questions.
I love the boldness of this block. It is a great way to use up the smallest of the half square bonus blocks. Give it a try! You won’t be disappointed!
What blocks are you making to use those bonus half square triangles? I would love to see them! My Facebook group allows you to post pictures and share…Come on over!
Later,
Lorrie
