Categories
Build a block quilting scraps sewing

Build a Block: Bow Tie

Happy New Year!

Welcome to the New Year: 2024! Here is my first build a block for the year. I am keeping it simple for starters! This block goes together quickly. It wins the race for fastest block in this series so far. Watch the short assembly video here on YouTube. There is a chart at the end if you would like to make this block in other sizes.

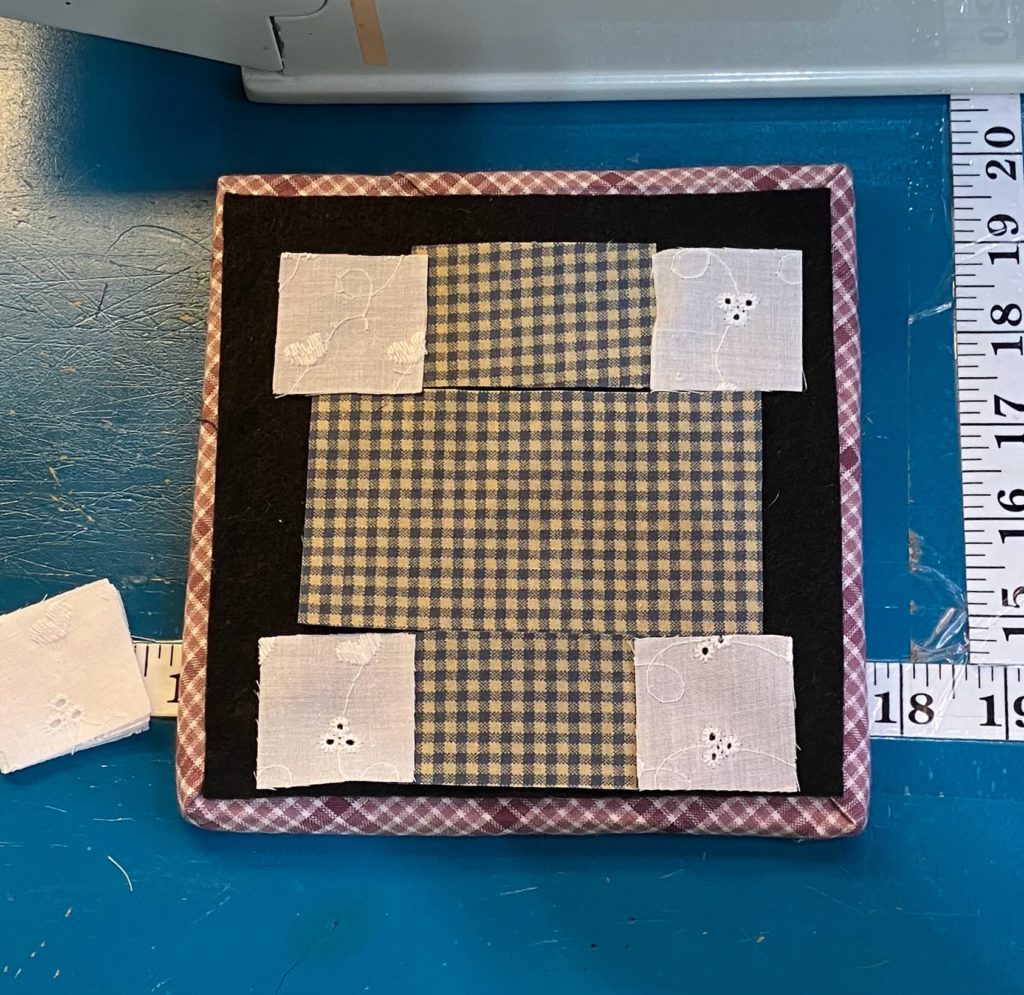
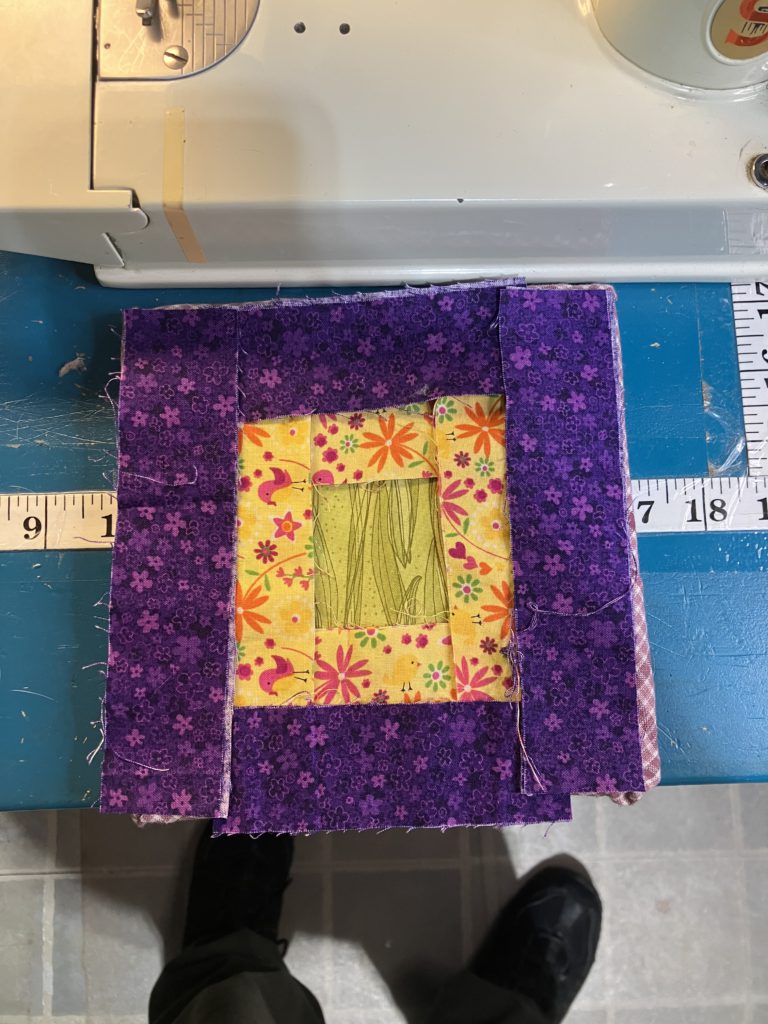
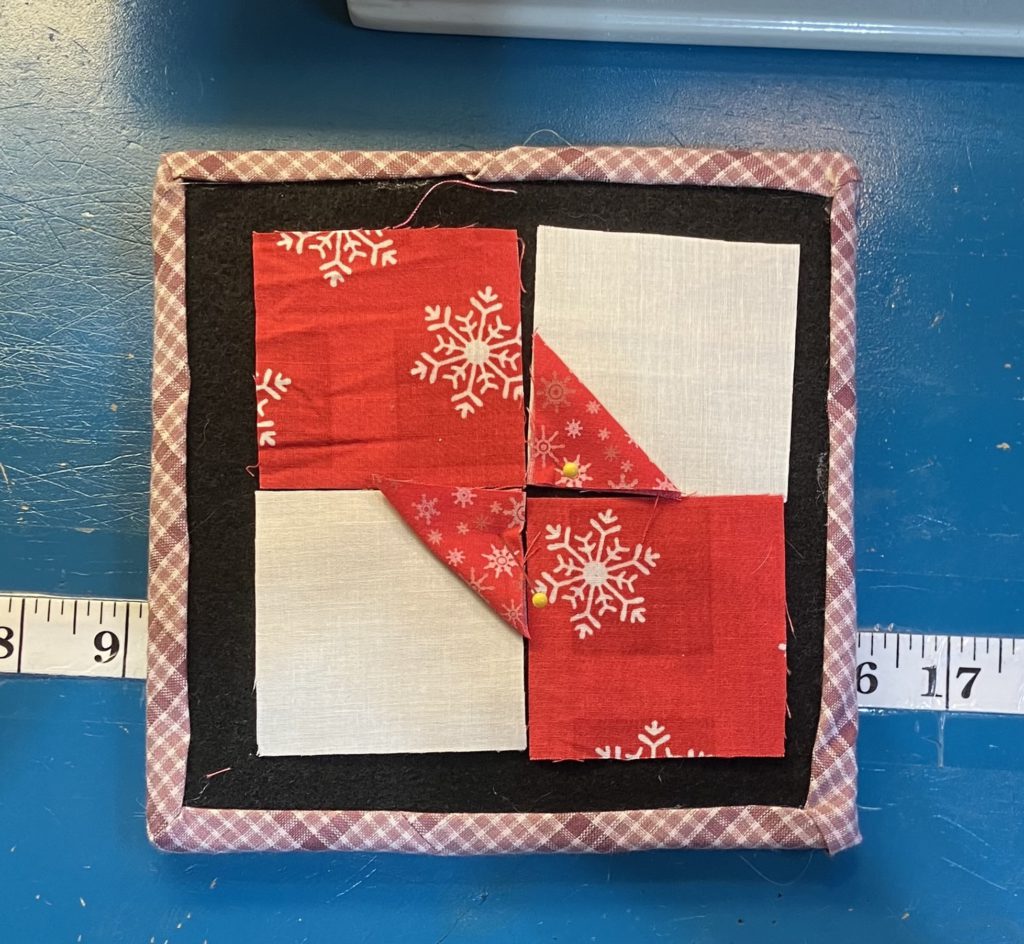
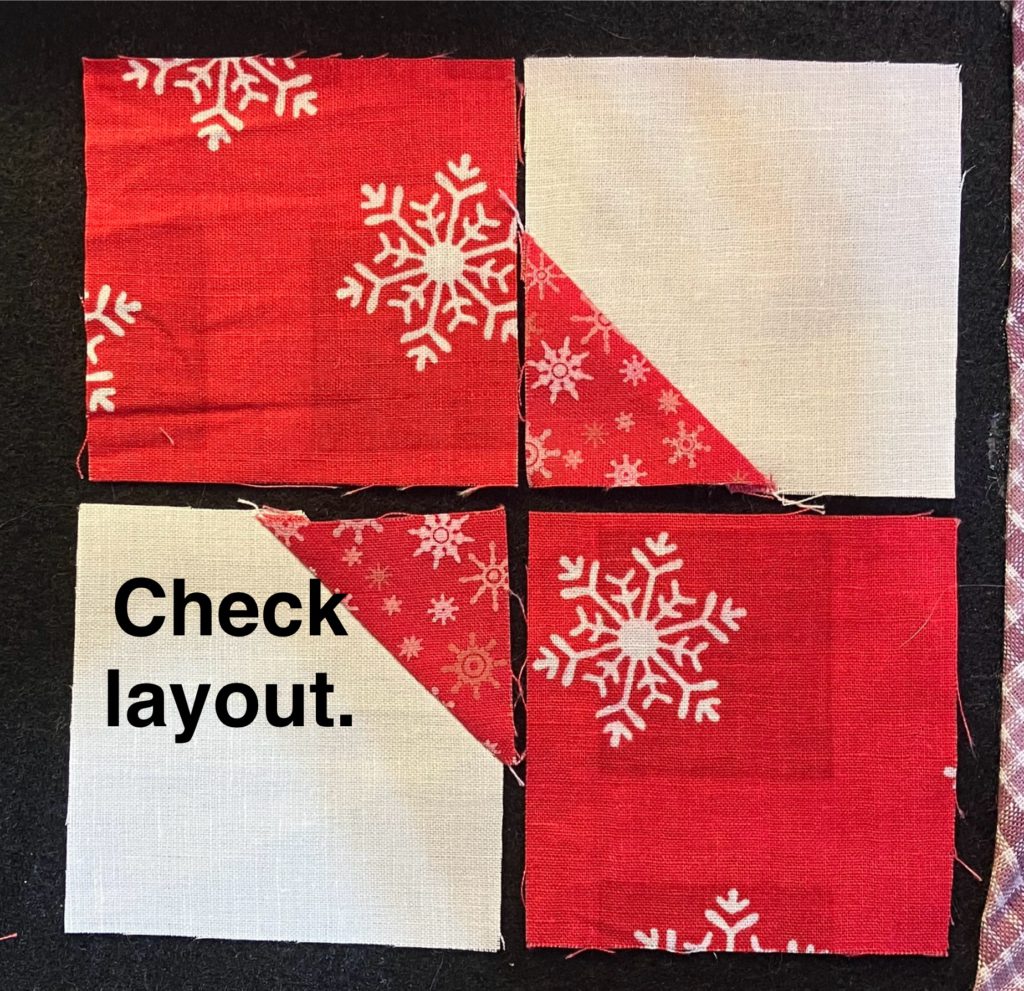
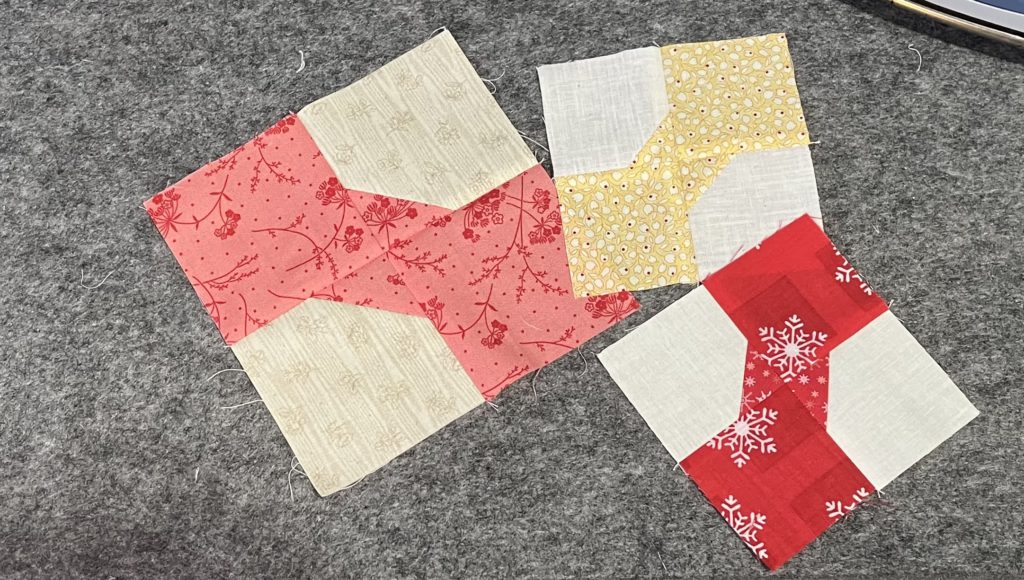
My favorite block size seems to be 4 1/2″ at the moment. That is the finished size of the block below. It is made from four 2 1/2″ squares (two bow tie color and two background) and two 1 1/2″ squares for the corners. Notice that I folded the triangles and pinned them to take the picture for this layout.

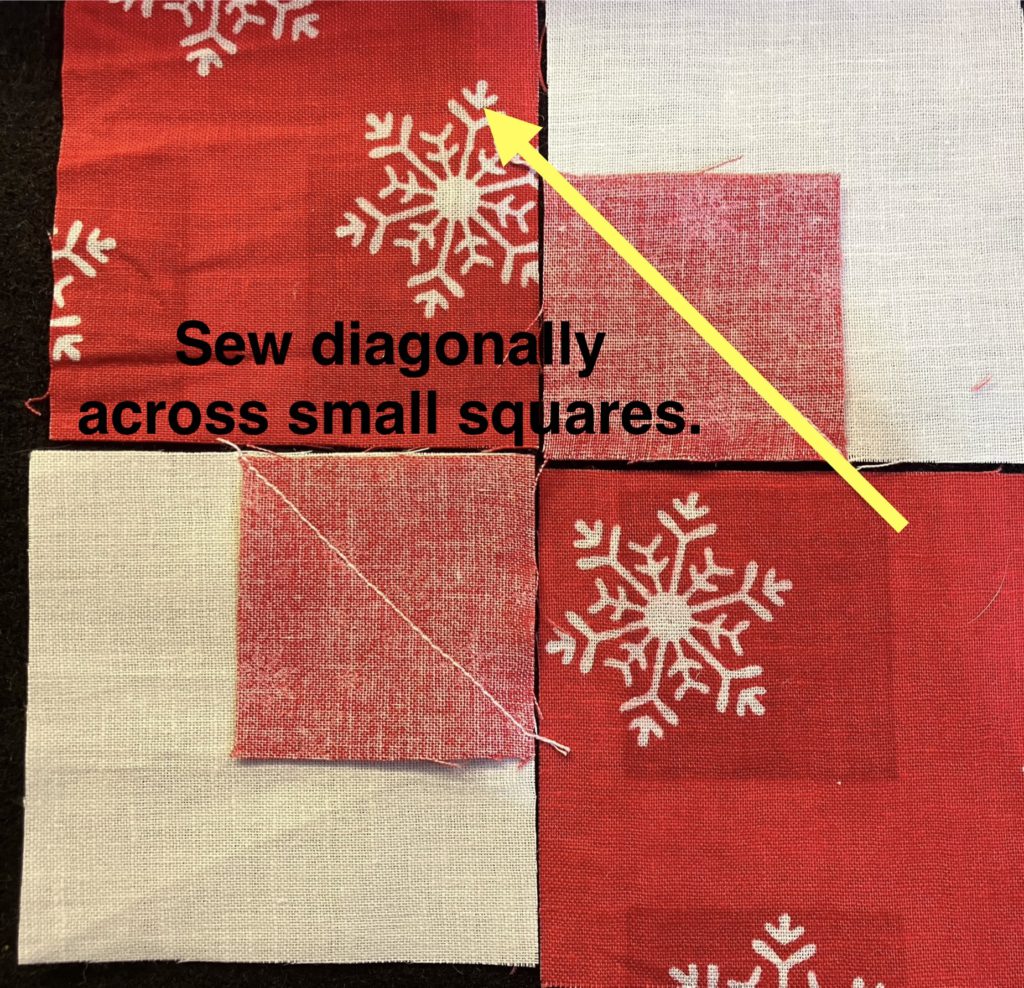
I finger pressed the small squares so I had a sewing line. I also have tape on my machine so I do not have to mark squares under 2 1/2″ when sewing on the diagonal. I am lazy and am willing to freely admit it!

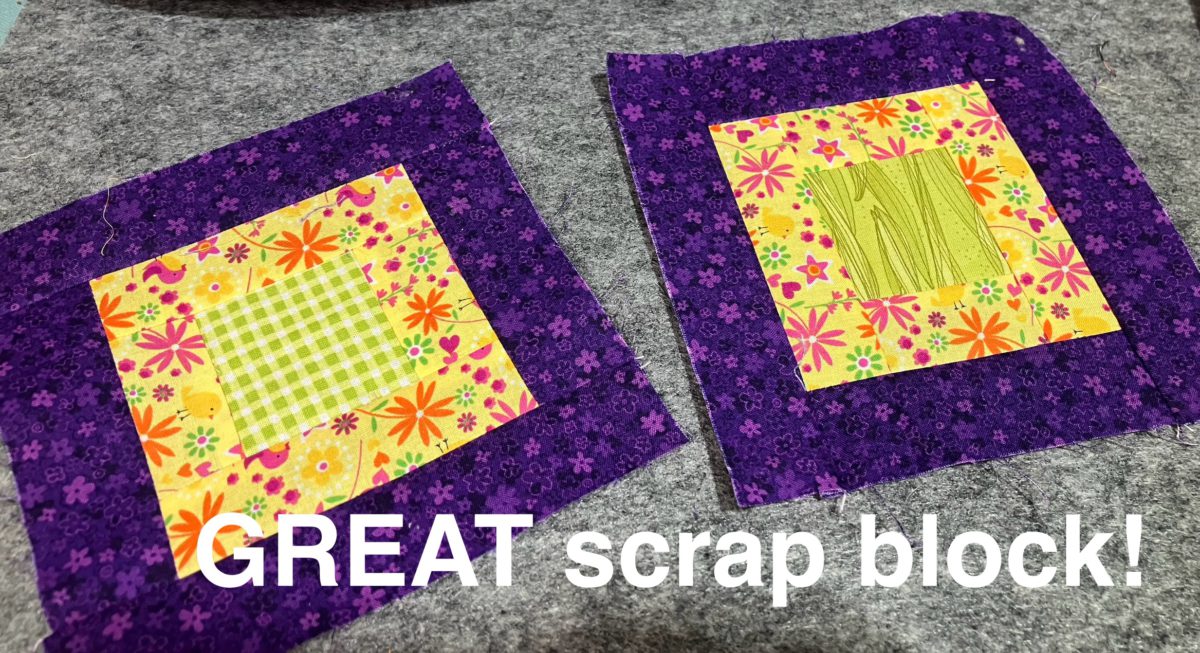
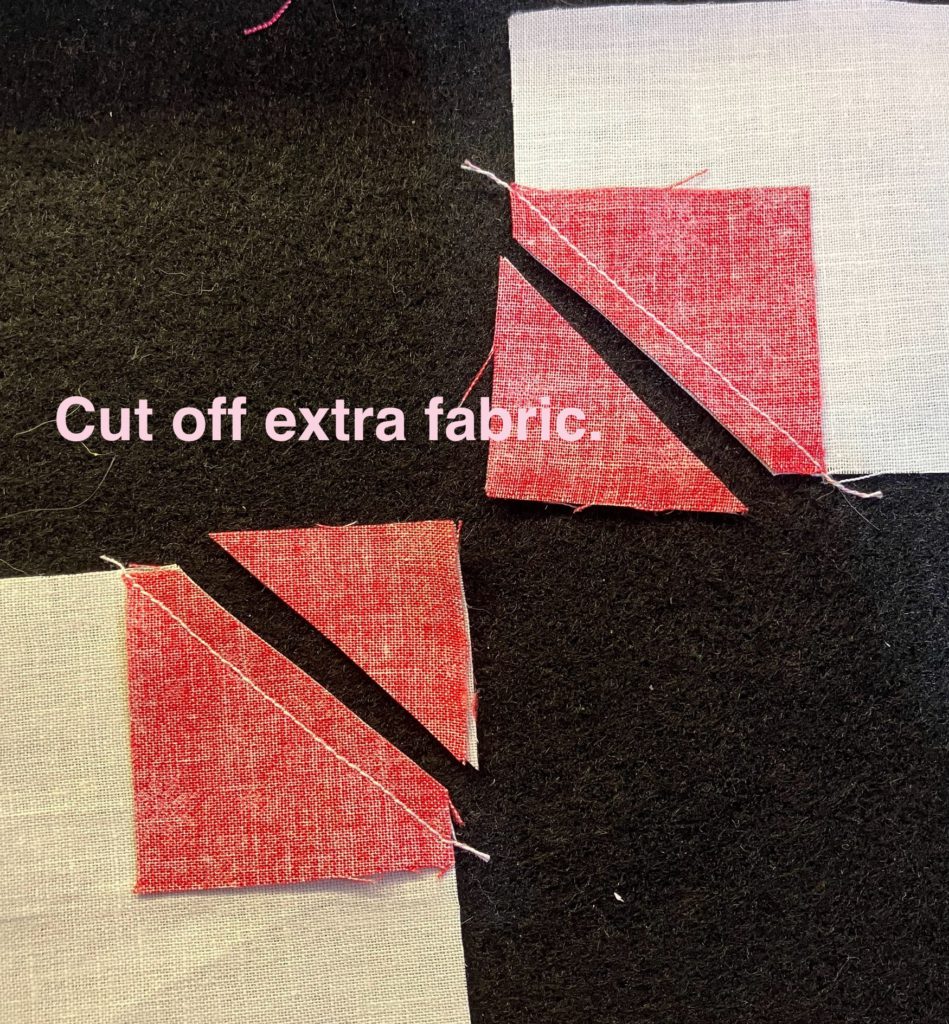
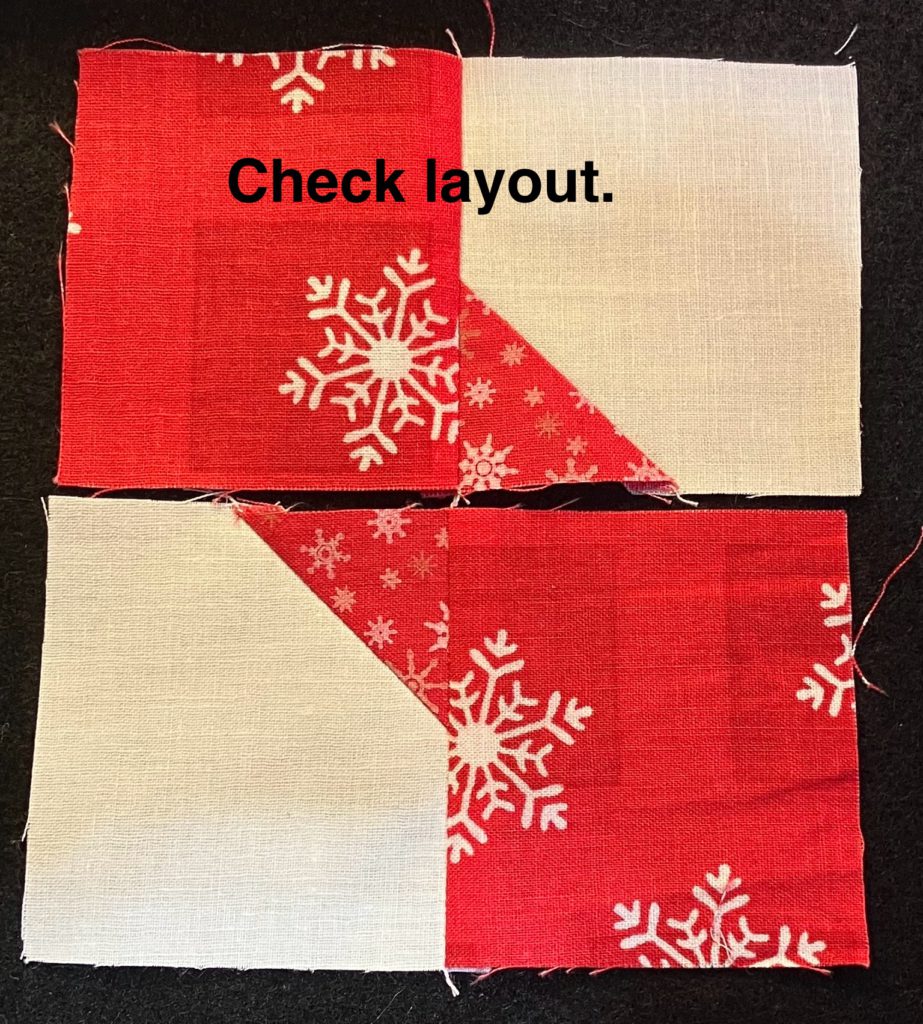
These two blocks are exactly the same. They would be easy to speed piece for a larger quilt.

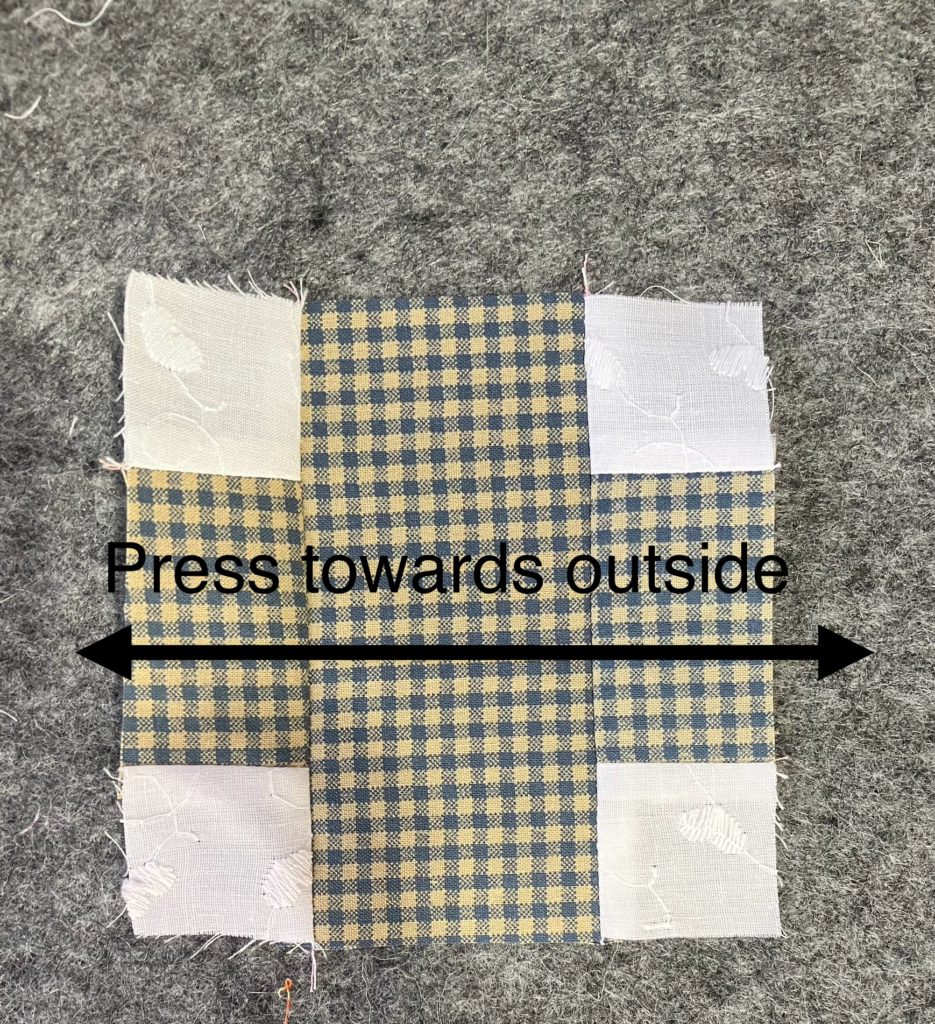
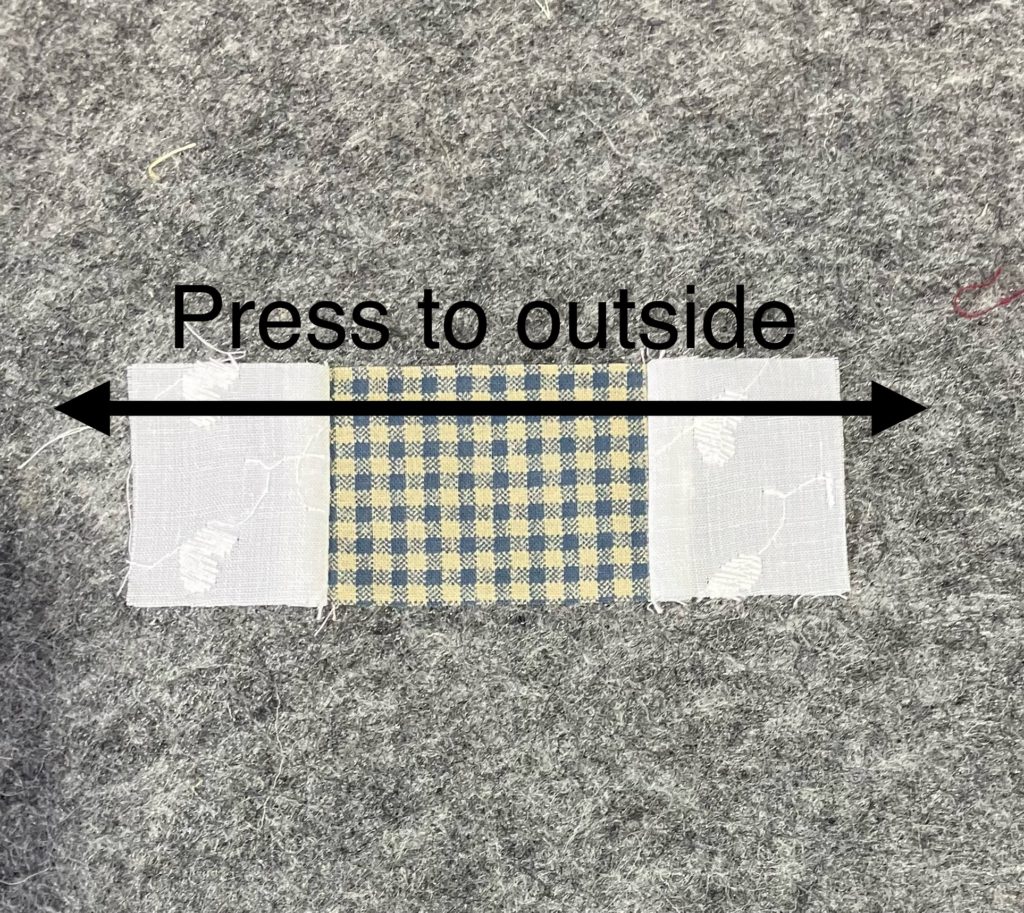
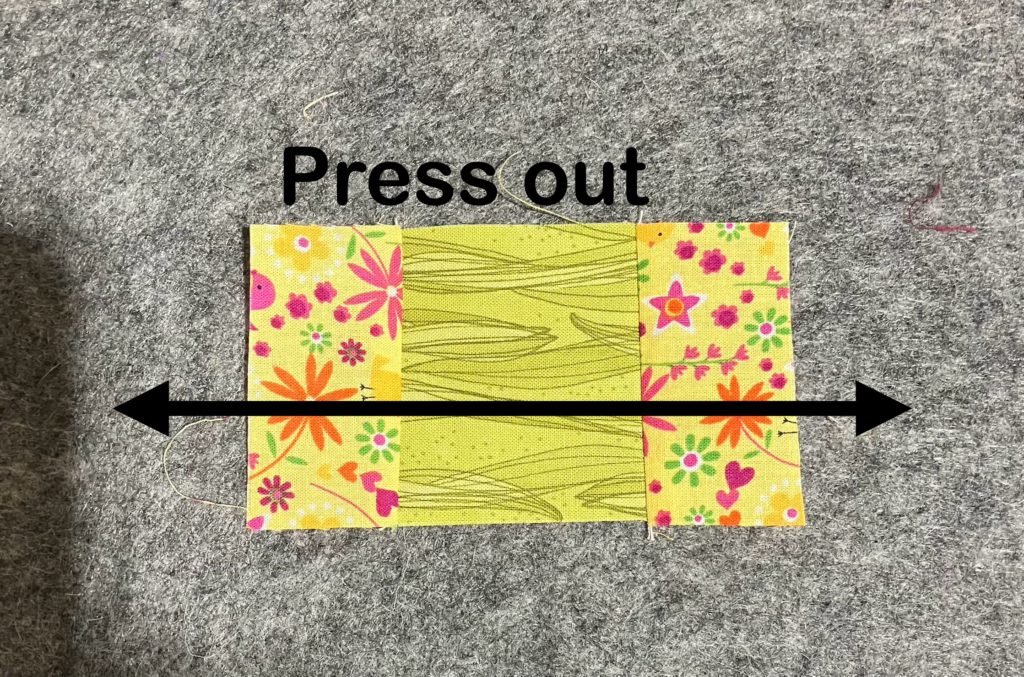
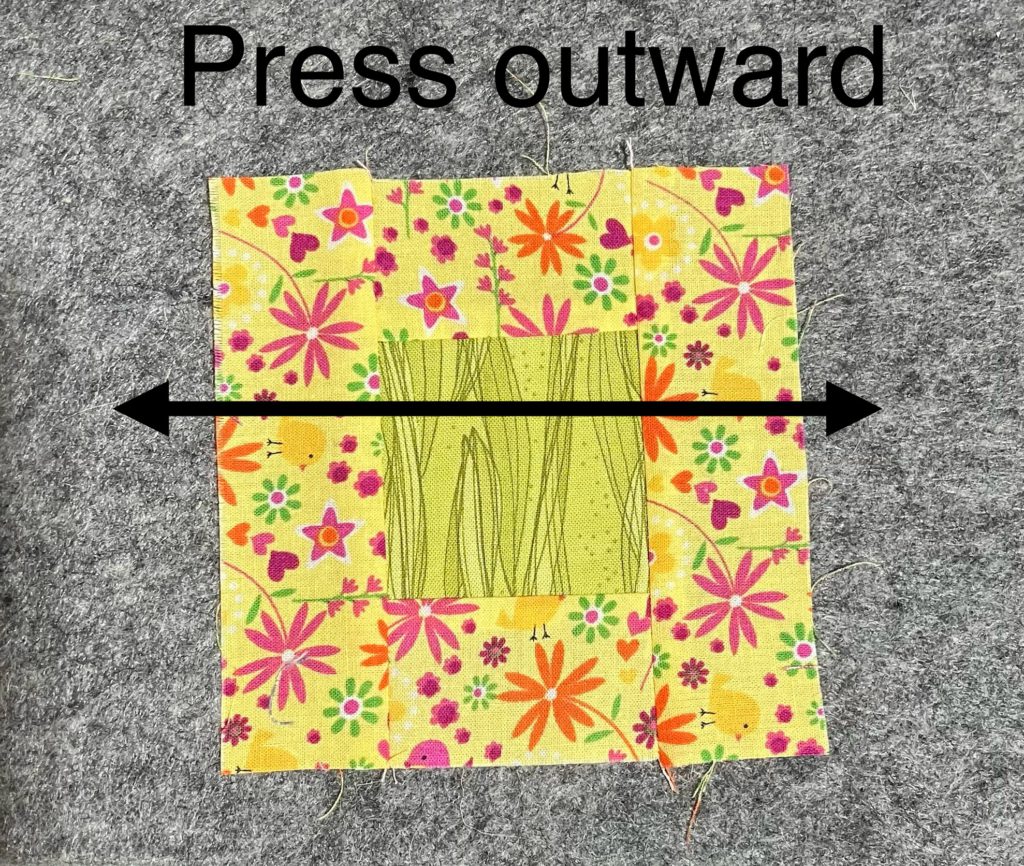
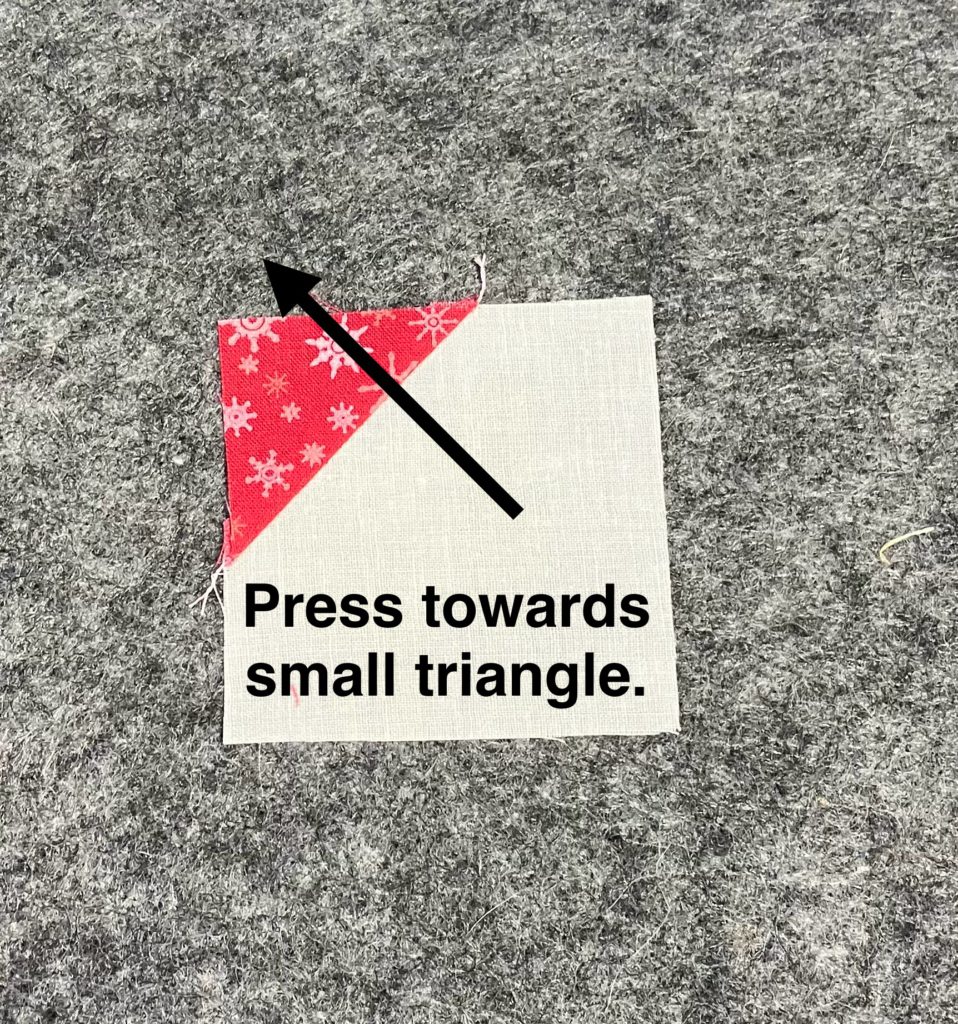
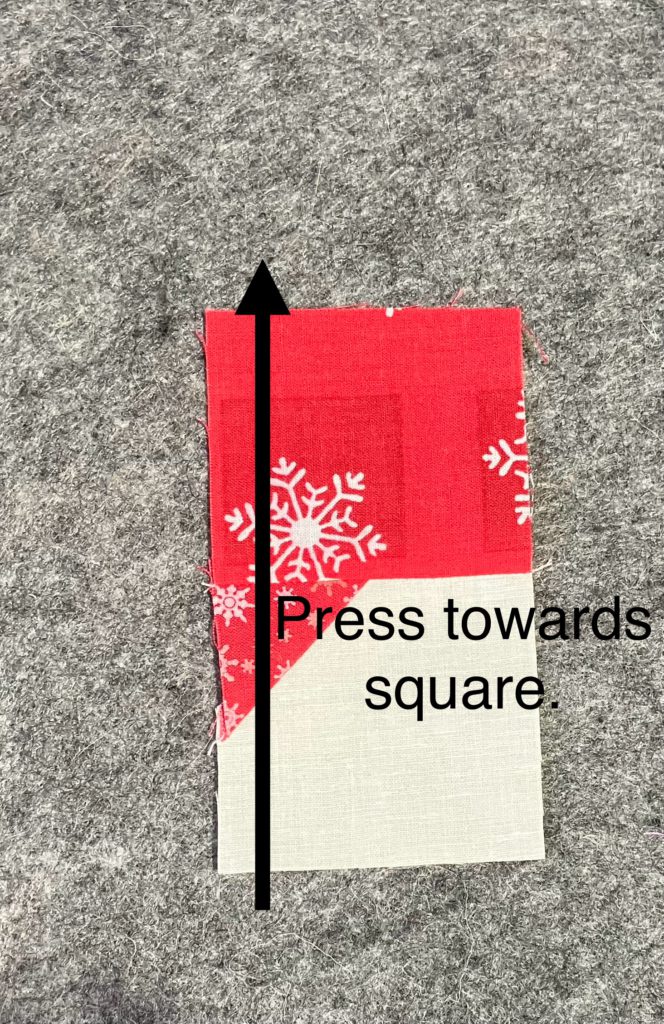
Since the small squares are sewn to a background piece, it is ideal to press towards the small triangle.

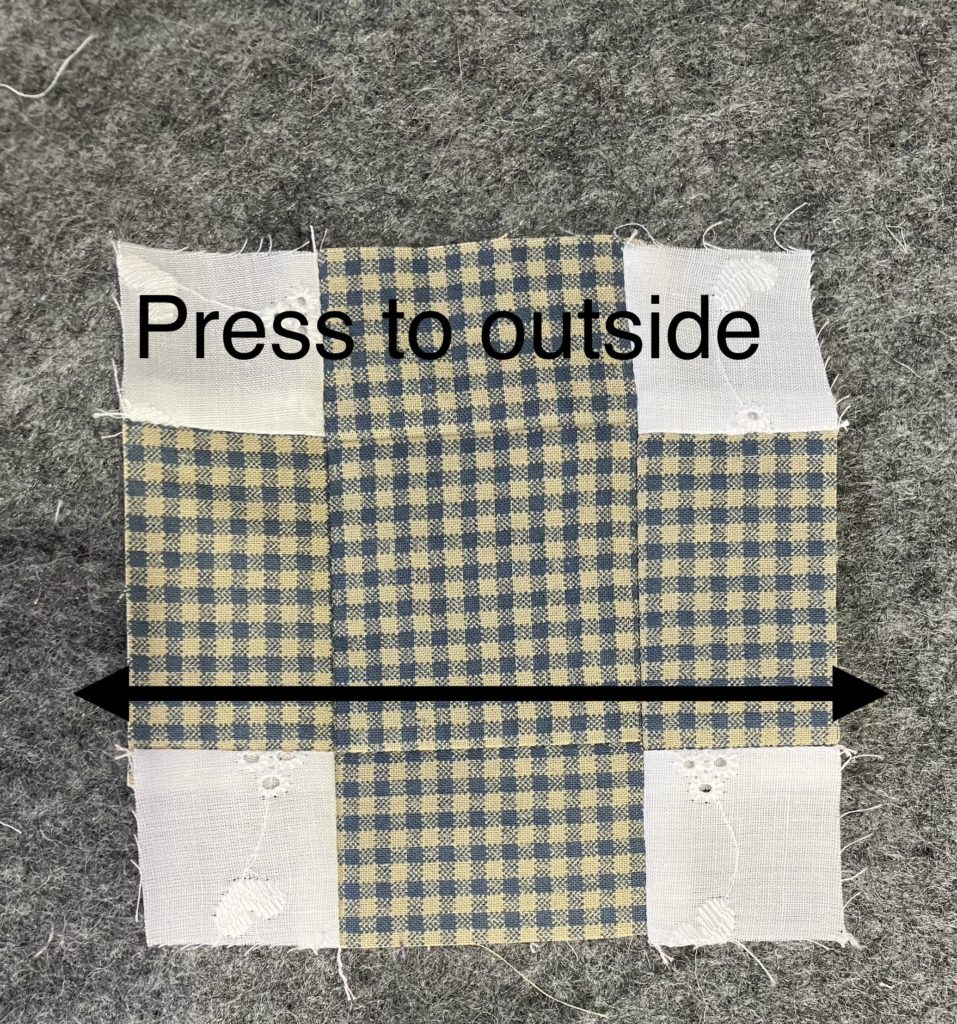
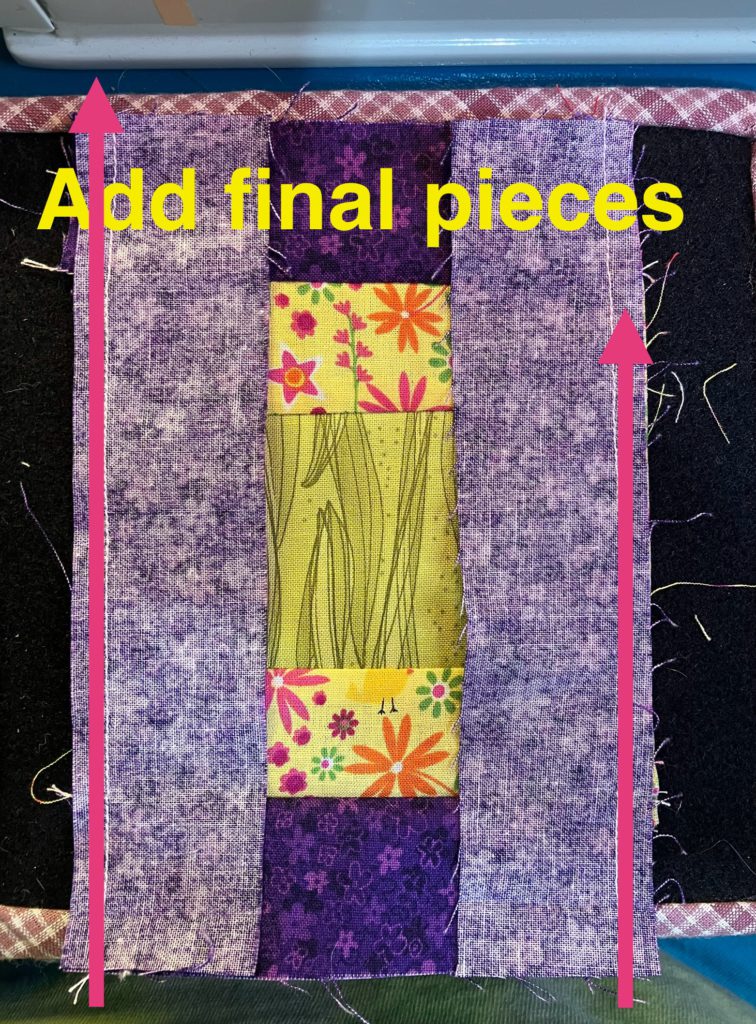
Never hurts to double check, right? We are almost done! Told you this would be quick!

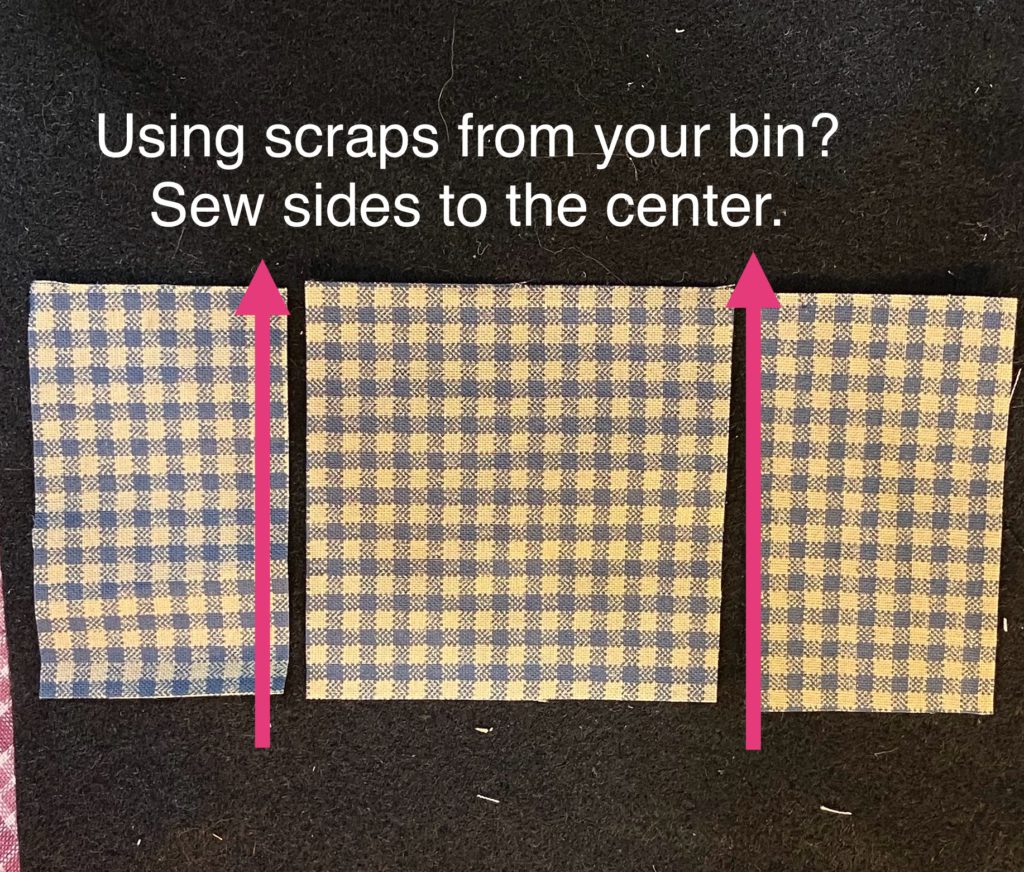
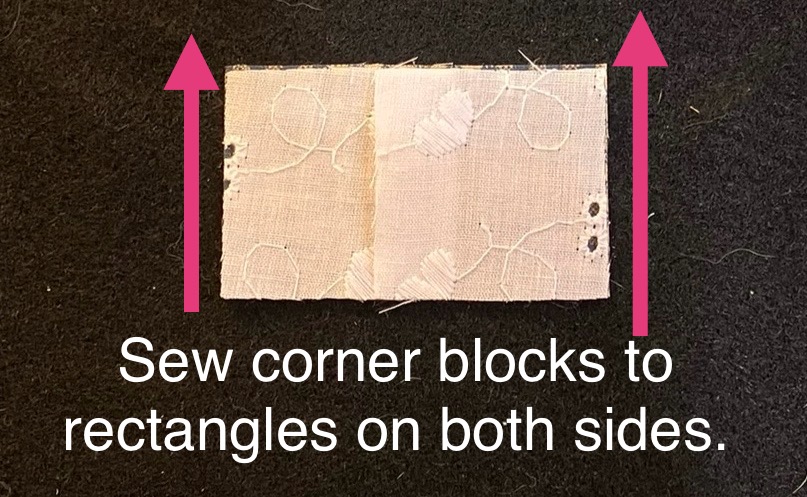
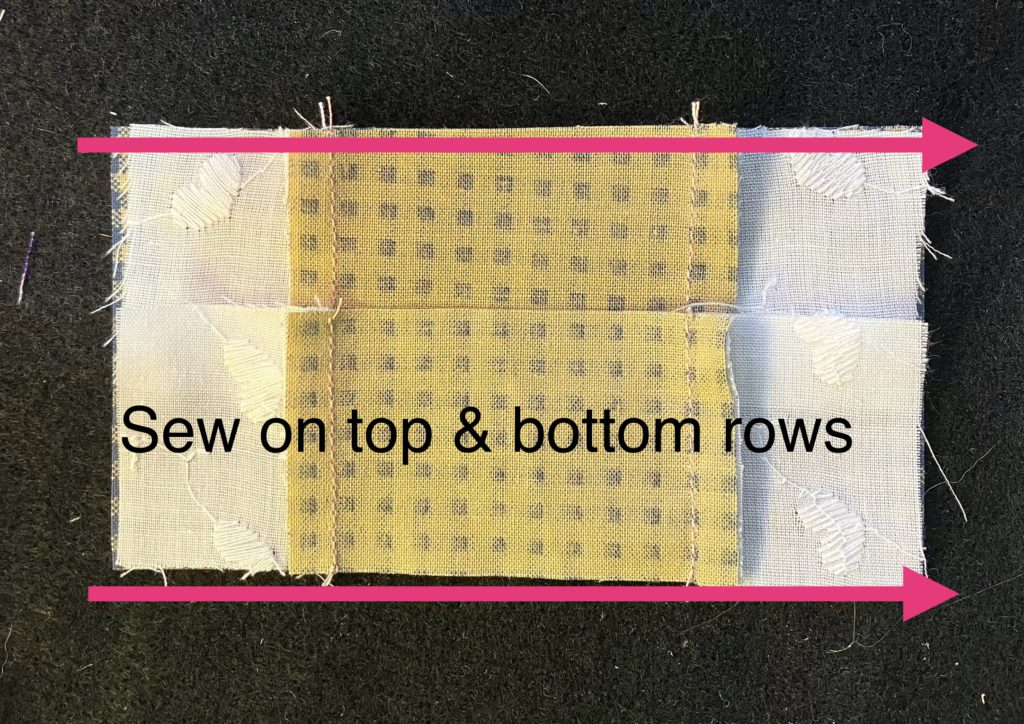
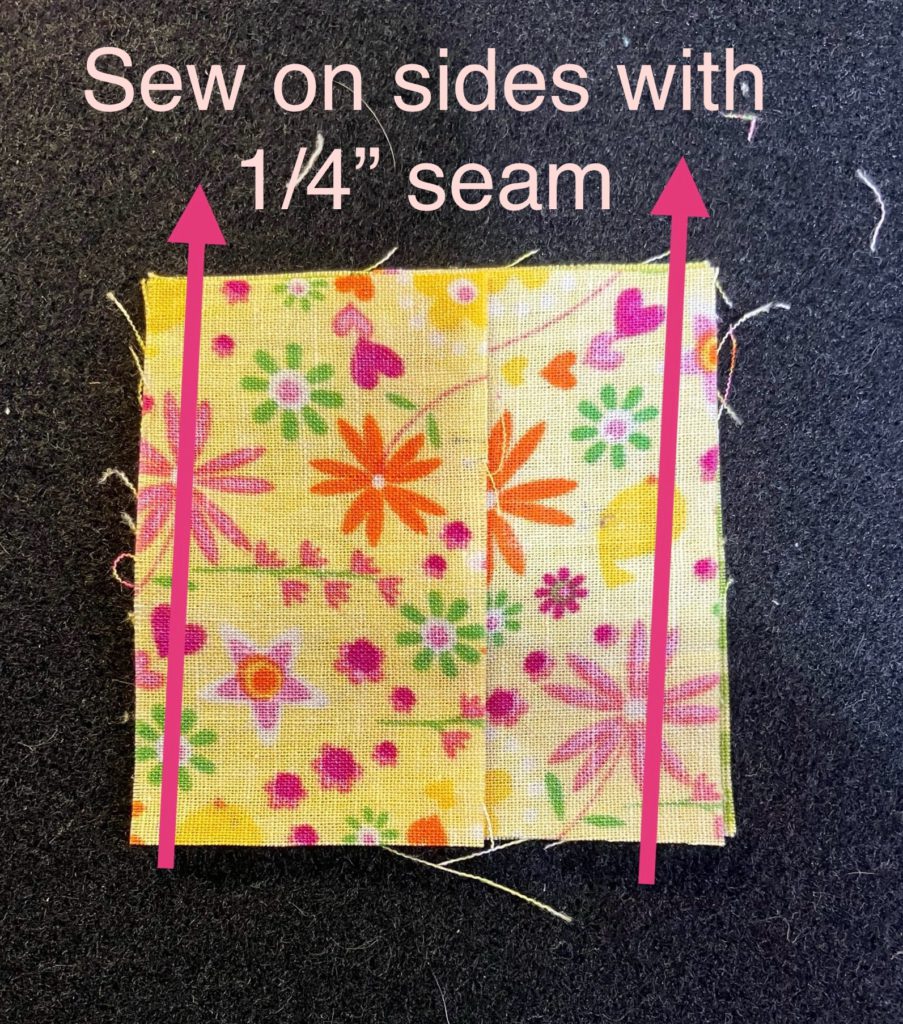
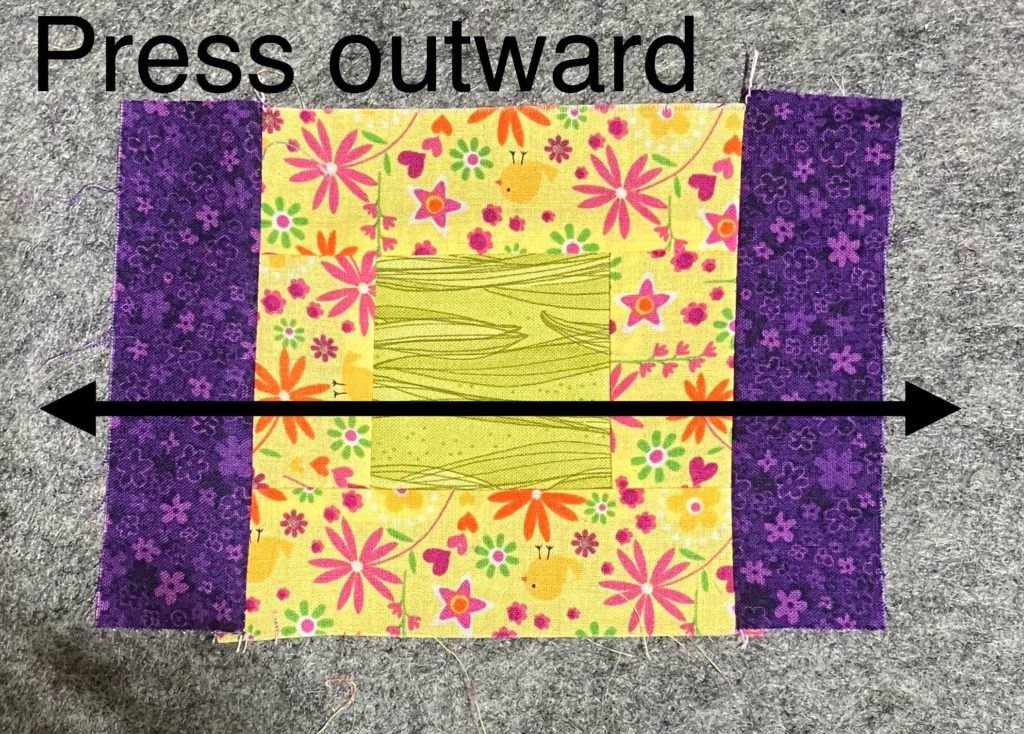
Sew the pieces together in pairs. They are both the same!

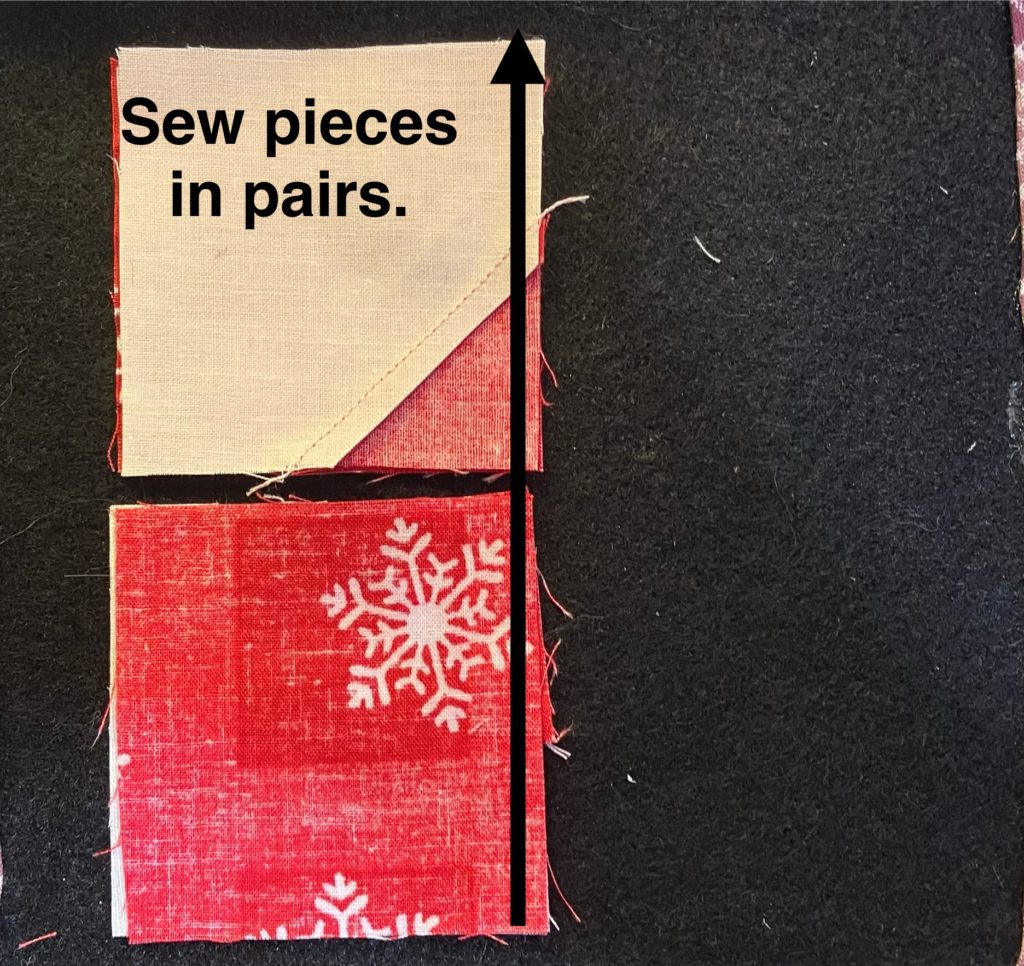
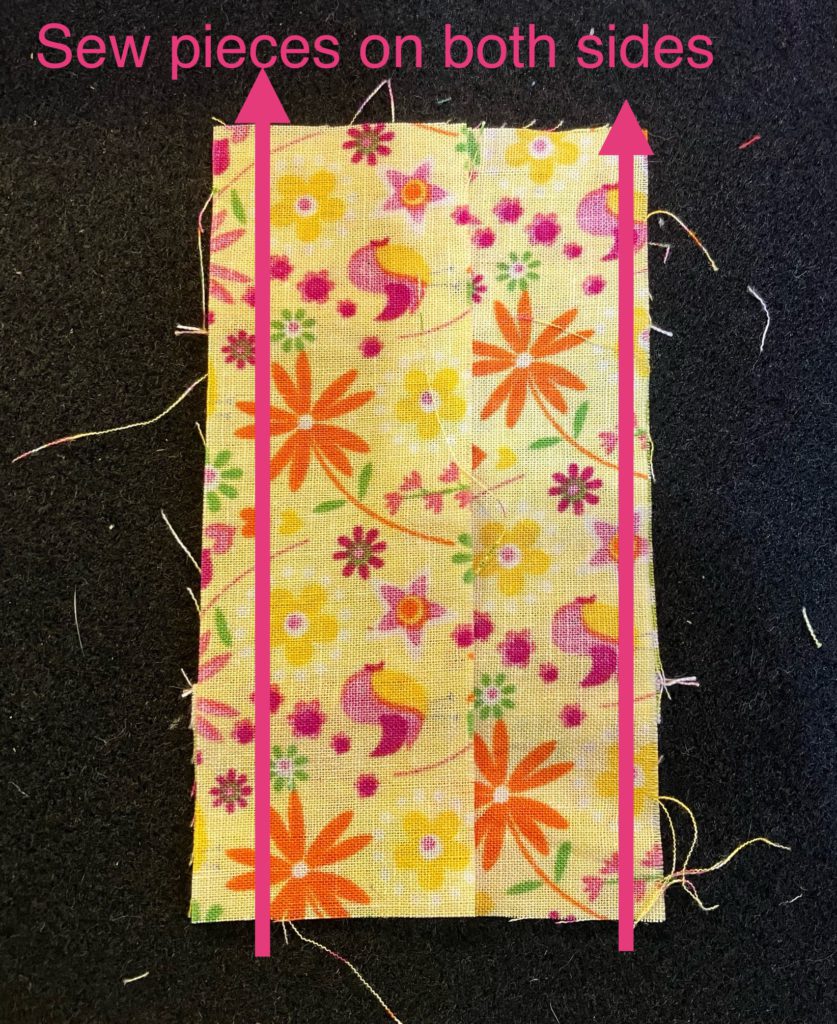
This block naturally wants to be pressed to the tie colored square. The seams will lock together in the next step when pressed this way.

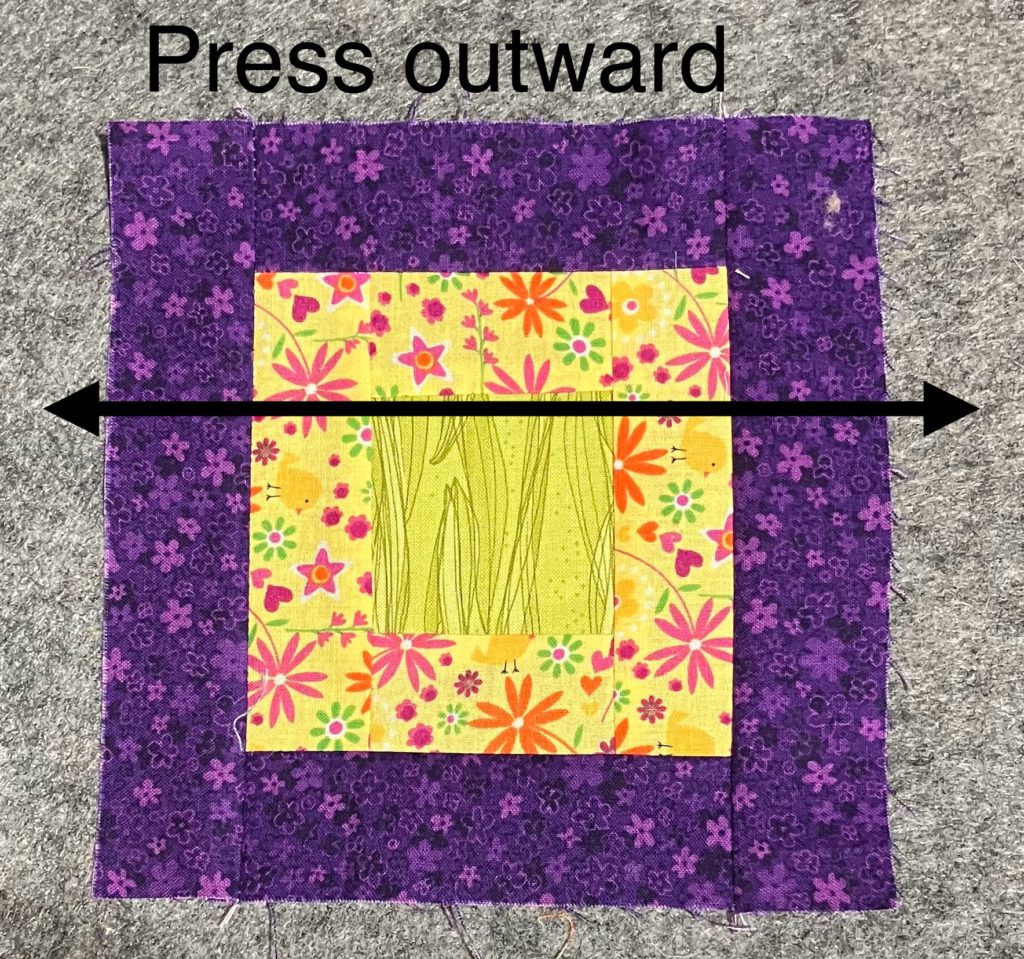
Tah-done! I show this in the 4 1/2″ and 6 1/2″ because I had to make sure the proportions were right for the parts chart at the end of this post.

If you have been watching my YouTube channel, I will show you my husband’s bow tie quilt in the Blabfest Friday video that will be live on January 5th, 2024. It is his “car quilt”. I think every vehicle needs its own quilt…just like it needs a flashlight and a toolbox.

I hope you are using up those scraps to make these easy blocks. Soon, I will have to start assembling yet another sampler scrap quilt from the pile I am accumulating! What do you do with your test blocks? I love hearing from you in the comments! Thank you for stopping by!

Later,

Lorrie

Categories
Build a block quilting scraps sewing

Build a Block: Roman Tile

This block is just a few seams above cutting out a plain square! How is that for simple construction? I wish I had grabbed some brighter colored scraps for this block, but this was in my hand waiting to be used up!

You can view the short video here of the block construction. It shows both of the ways to create this block. The first one pictured has two fewer pieces. Neither one is difficult.

I will add the variety of sizes chart at the very end of the post…after my sign off and final comments, if you are interested. This should be a printable image.

This example shows a 2 1/2″ x 4 1/2″ center. The top and bottom rows are made from two 1 1/2″ x 2 1/2″ pieces and four 1 1/2″ cornerstones. The block finishes at 4 1/2″ inches.

Sew the cornerstone squares to the rectangles on both sides. Use a 1/4″ seam.

Press to the outside.

I always like to check my layout at this point, especially when I am speed piecing…just to make sure I haven’t lost any of those important pieces.

Sew on the top and bottom rows. Press to the outside. Tah-done!

Example #2: Same block, just a little scrappier!

This example shows a 2 1/2″ square center. The top and bottom rows are made from two 1 1/2″ x 2 1/2″ pieces and four 1 1/2″ cornerstones. The side pieces are two 1 1/2″ x 2 1/2″ pieces that match the center square. The block finishes at 4 1/2″ inches.

Make a center unit. (This matches the center in the first example when you are finished sewing the pieces together.) Press this unit towards the inside…towards the block.

Assemble the top and bottom rows by sewing the cornerstones to the rectangles.

Press to the outside like pictured below.

Add the top and bottom rows to your center unit. Seams should nest together to make construction easier.

Tah-done! Press to the outside.

These blocks are quick and easy to construct. This would make a great leader/ ender project. I envision it with bright colored scraps for the center and a variety of backgrounds for the cornerstones set together with NO sashing. What a great scrap quilt that would be!

I can’t wait to make an entire quilt with these blocks! It would make a great donation or kid quilt! Would you make a quilt with these? Let me know in the comments! (about this quilt…not interested in Russian viagra or manifestos!)

Later,

Lorrie

Categories
Build a block quilting scraps sewing

Build a Block: center surrounded by 2 strips

This block is quick and easy to construct! I know that I say that almost every week, but it is true every time I say it. Using contrasting scraps is the best way to make this block pop! I pulled strips and squares from my “pre-cut” bins to make this a faster finish.

A one minute video of this block construction is available here on YouTube.

Presenting a New Feature at the bottom of this post! I have added a fantastic size chart for pieces to cut. It contains a variety of finished block sizes. Check it out at the end of this post!

The version shown below is constructed from a 2 1/2″ square in the center and 2 different 1 1/2″ strips surrounding it.

I did cut my strips to the following lengths:

  • 2- 1 1/2″ x 2 1/2″ (inside round color)
  • 2- 1 1/2″ x 4 1/2″ (inside round color)
  • 2- 1 1/2″ x 4 1/2″ (outside round color)
  • 2- 1 1/2″ x 6 1/2″ (outside round color)

This week I have words imbedded on the pictures, as well as arrows. This is a no brainer approach. Please remember to always use a good 1/4″ seam, no matter how crooked the arrows are in my photos.

Please add the 1 1/2″ x 2 1/2″ pieces to the center here.

There are not a lot of bulky seams here, so I press out.

Add the 1 1/2″ x 4 1/2″ pieces to the sides here.

Now is a great time to press it flat, flat, flat. By pressing now, the block will be crisper and flatter for the next round of strips.

Please add the 1 1/2″ x 4 1/2″ outer round pieces to both sides. (I forgot to take the picture before I sewed one of the pieces… oopsy!)

Give the strips a quick press outward.

Add the final two 1 1/2″ x 6 1/2″ strips to both sides.

Press outward one last time. If you want the block to be even flatter, give it a little shot of starch or Best Press at this point.

Tah-done! I love this little block! I told you it was quick and easy!

Below is the new size chart! This took some work to figure out how to embed this in a blog post…making the chart was the easy part!

Please let me know in the comments if you like this new feature. I look forward to hearing from you.

Later,

Lorrie